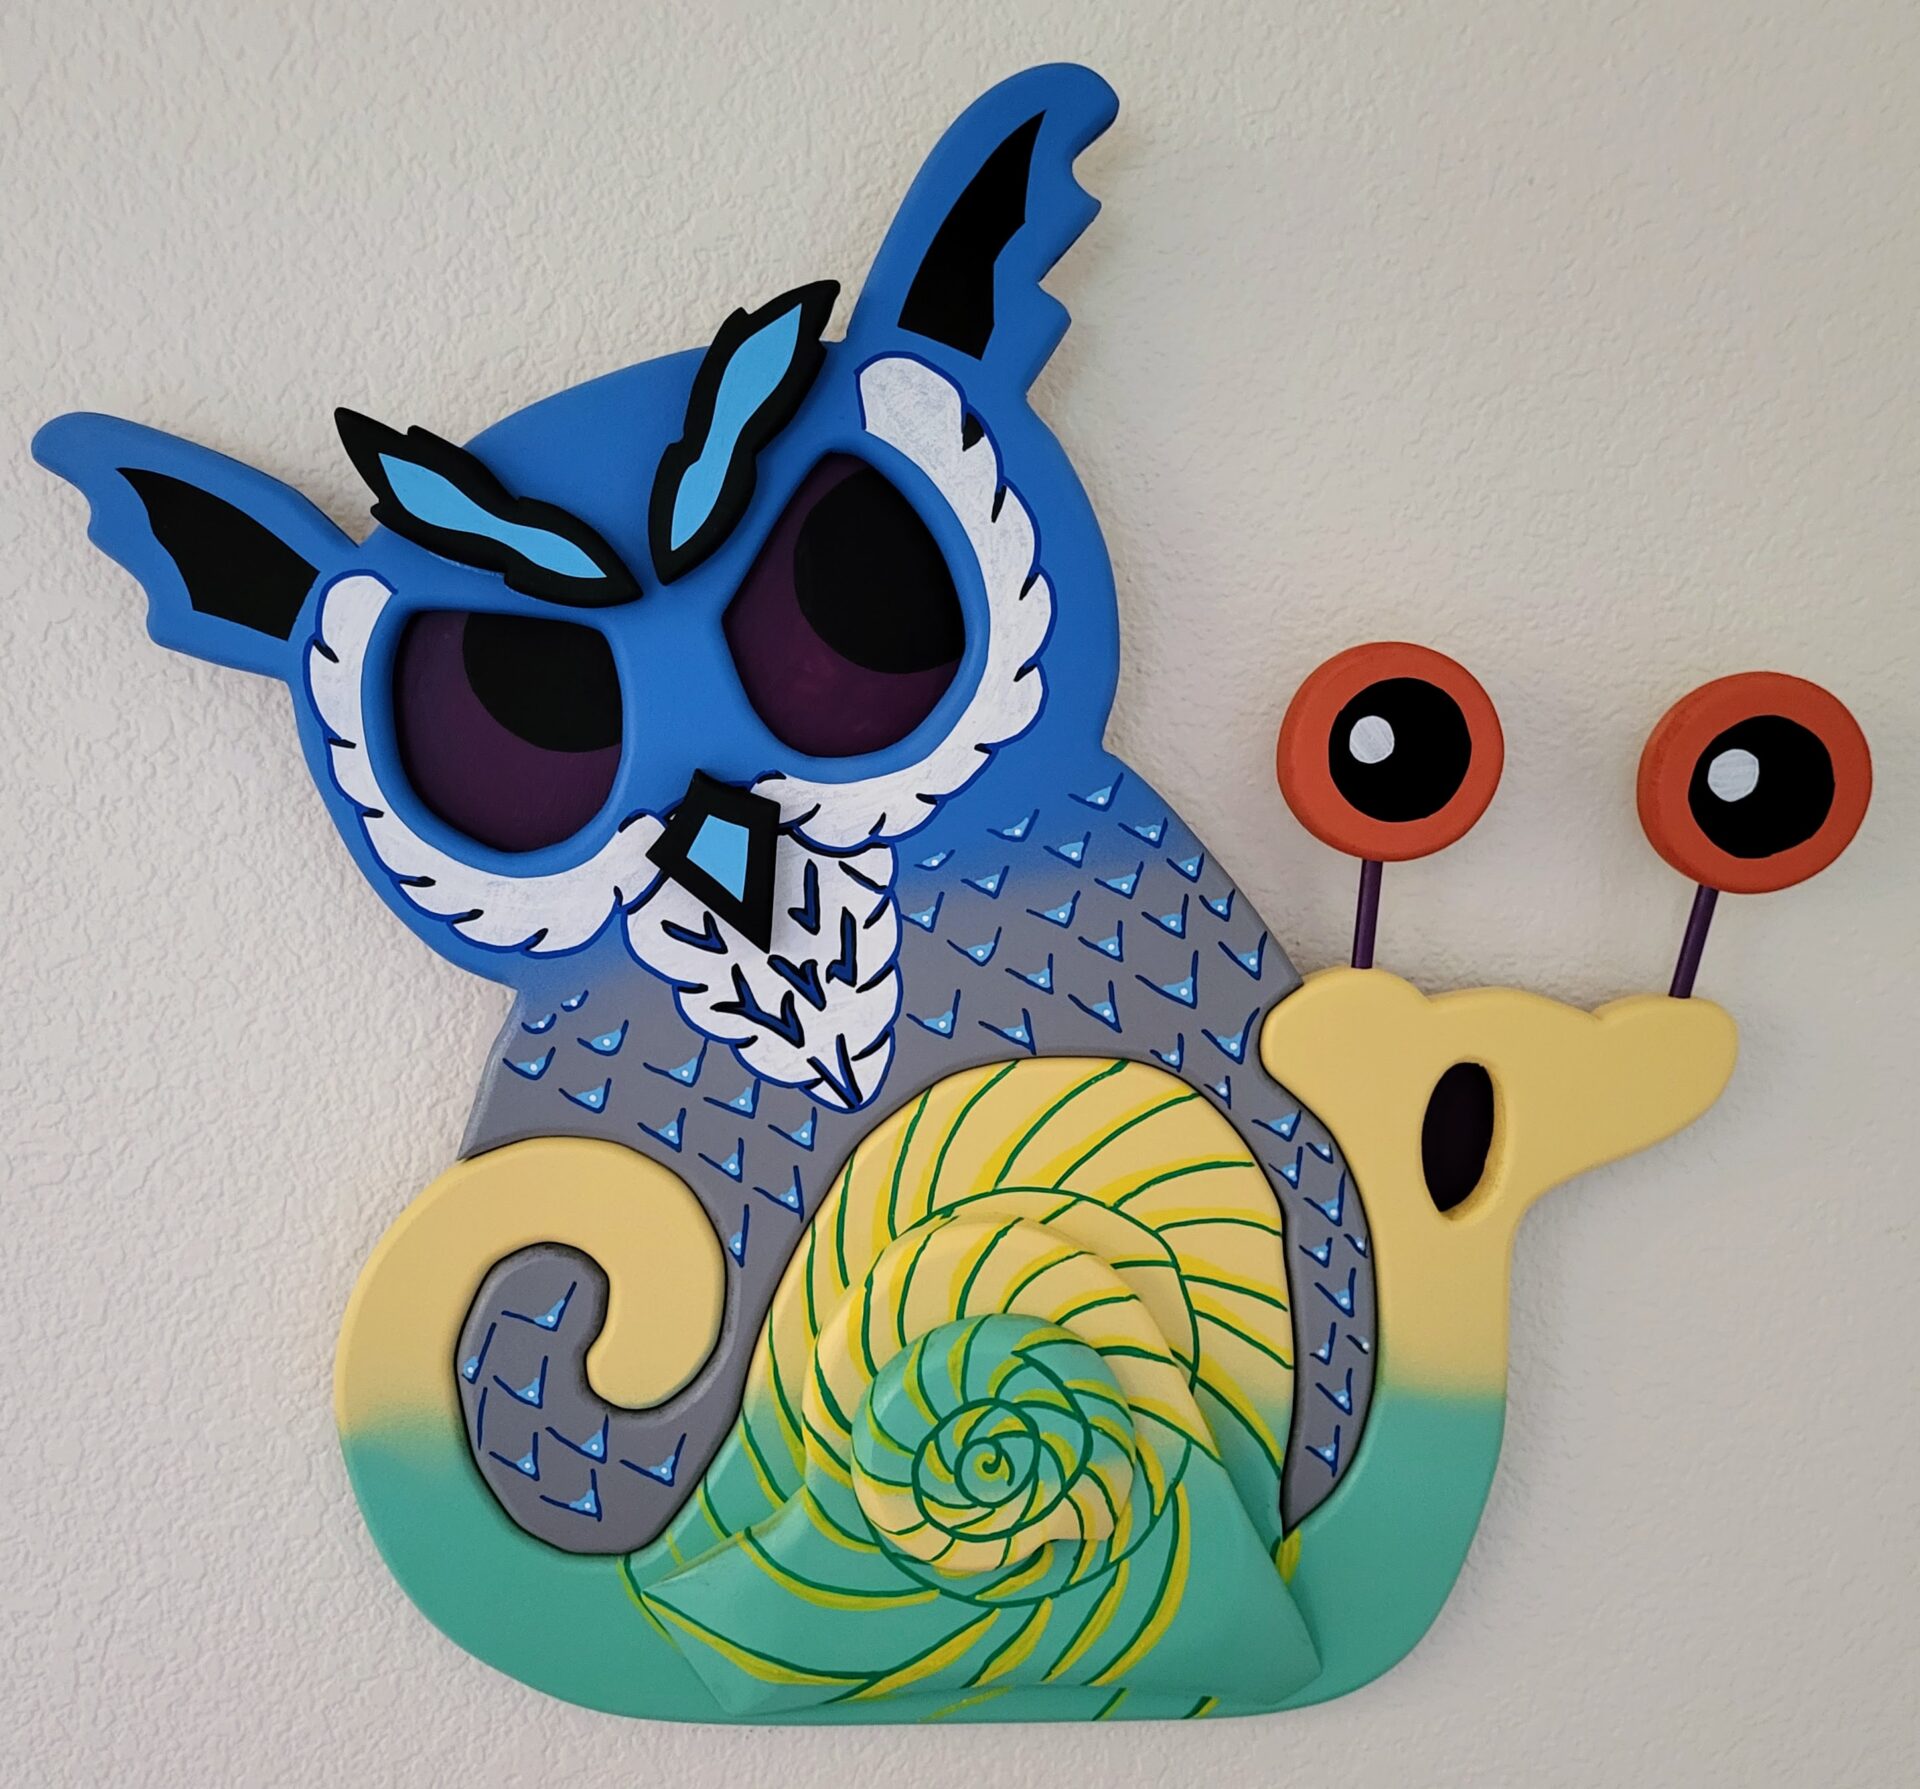
This whimsical project combines MDF wood panel, spray paint and hand painting to created a fun owl and snail wooden art for hanging.
Key Project Details
This project started with a large 3/4 inch panel of MDF where I started drawing without thinking much of the result. I took inspiration from Alex Yanez and Danilo Roots to let a snail and owl emerge. Once I had the basic outline completed, I took the jigsaw and cut out the design and then routed the edges with a round over bit and smoothed the edges with hand sanding. Then it was onto the spray paint and hand-painting which took the most time figuring how how to paint it.
| Time to Build | A bunch of time, mostly trying to figure out how to paint it. |
| Difficulty | 3 of 5 |
| Dimensions | 30 x 36 x 3/4 inches (LxWxH) |
| Materials Needed | 3/4 MDF 1/4 in plywood (backer board) Wooden dowels (to secure the snail eyes) Masking tape 180 Grit Sandpaper Box Cutter (or razor blade) Dang Spray Paint (assorted colors) Uni POSCA paint pens Wood Glue + Krazy Glue Princeton Select Artiste, Series 3750, Liner, 10/0 Golden SoFlat Matte Acrylic Paint, Pop Set (0974-0) Golden SoFlat Acrylics, Zing 6 Color Set |
| Tools Needed: | Scroll Saw + Our Product Review Trim Router and 1/2 inch round-over bit Jigsaw Belt Sander |
| Lessons Learned: | Don’t let perfection be the enemy of good. |
Step-by-Step Build Instructions
STEP 1:
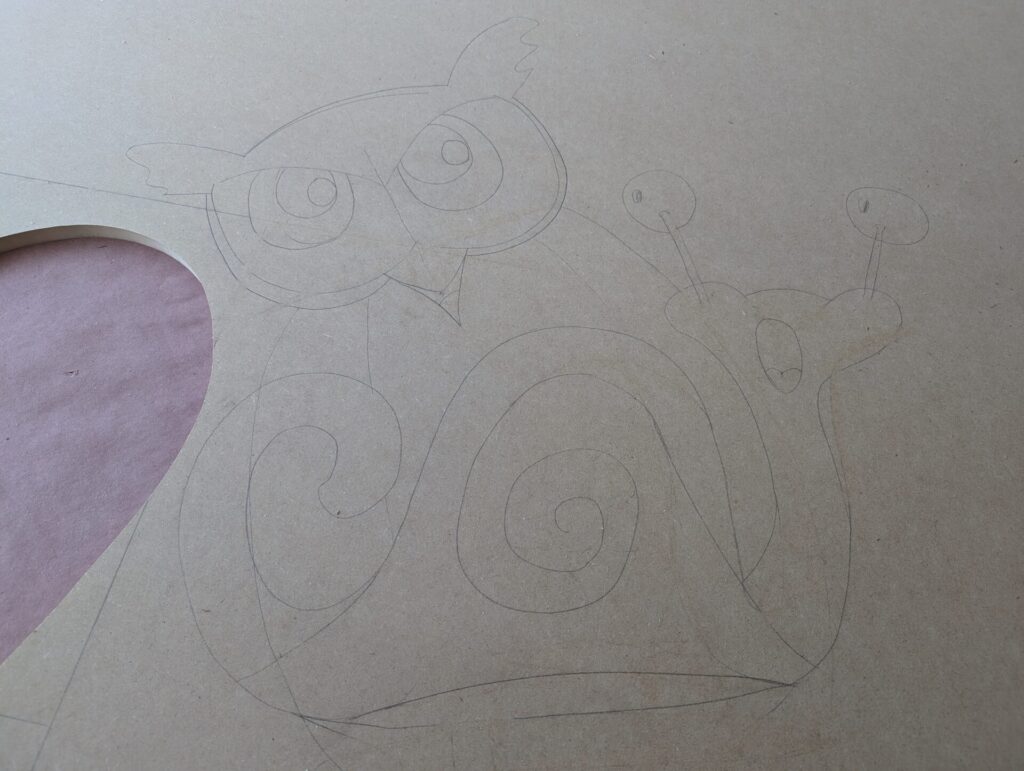
Here we start with the whimsical drawing to get the ideas on the wood. I used the eraser many times to get a general pattern down and also did a couple google searches for cartoon images of the snail and owl once the characters emerged.
STEP 2:
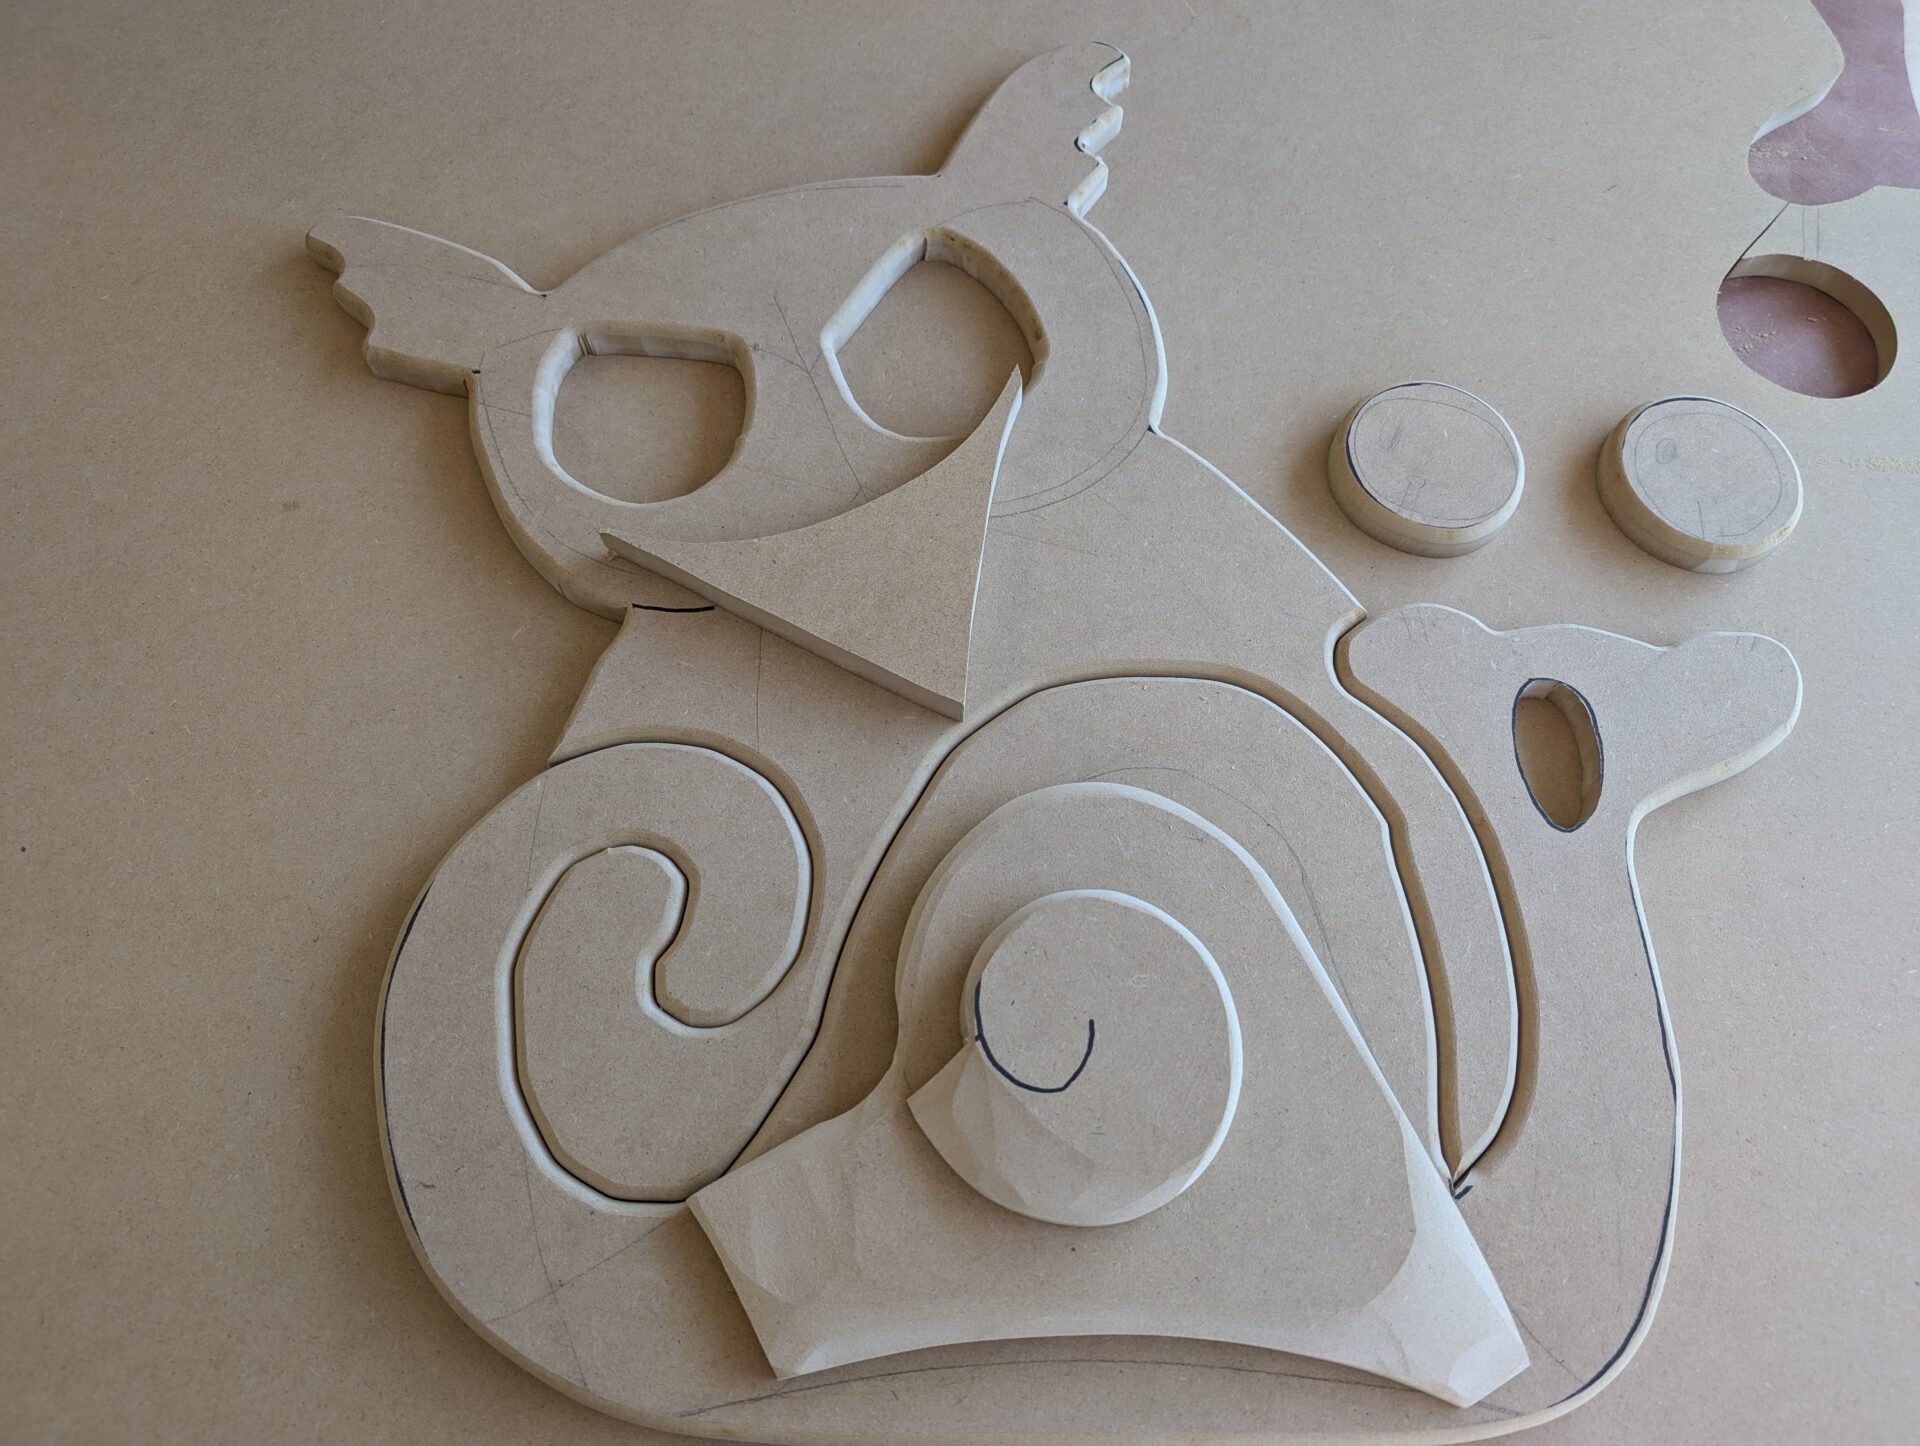
I used a jigsaw to cut out the pieces and then used a trim router with a round over edge to smooth out the sides. I also used a belt sander to shape the edges of the 3D parts. Also a protractor helped with the eyes of the snail. The owl’s beak seemed a bit too large so I later cut it down to a smaller size.
STEP 3:
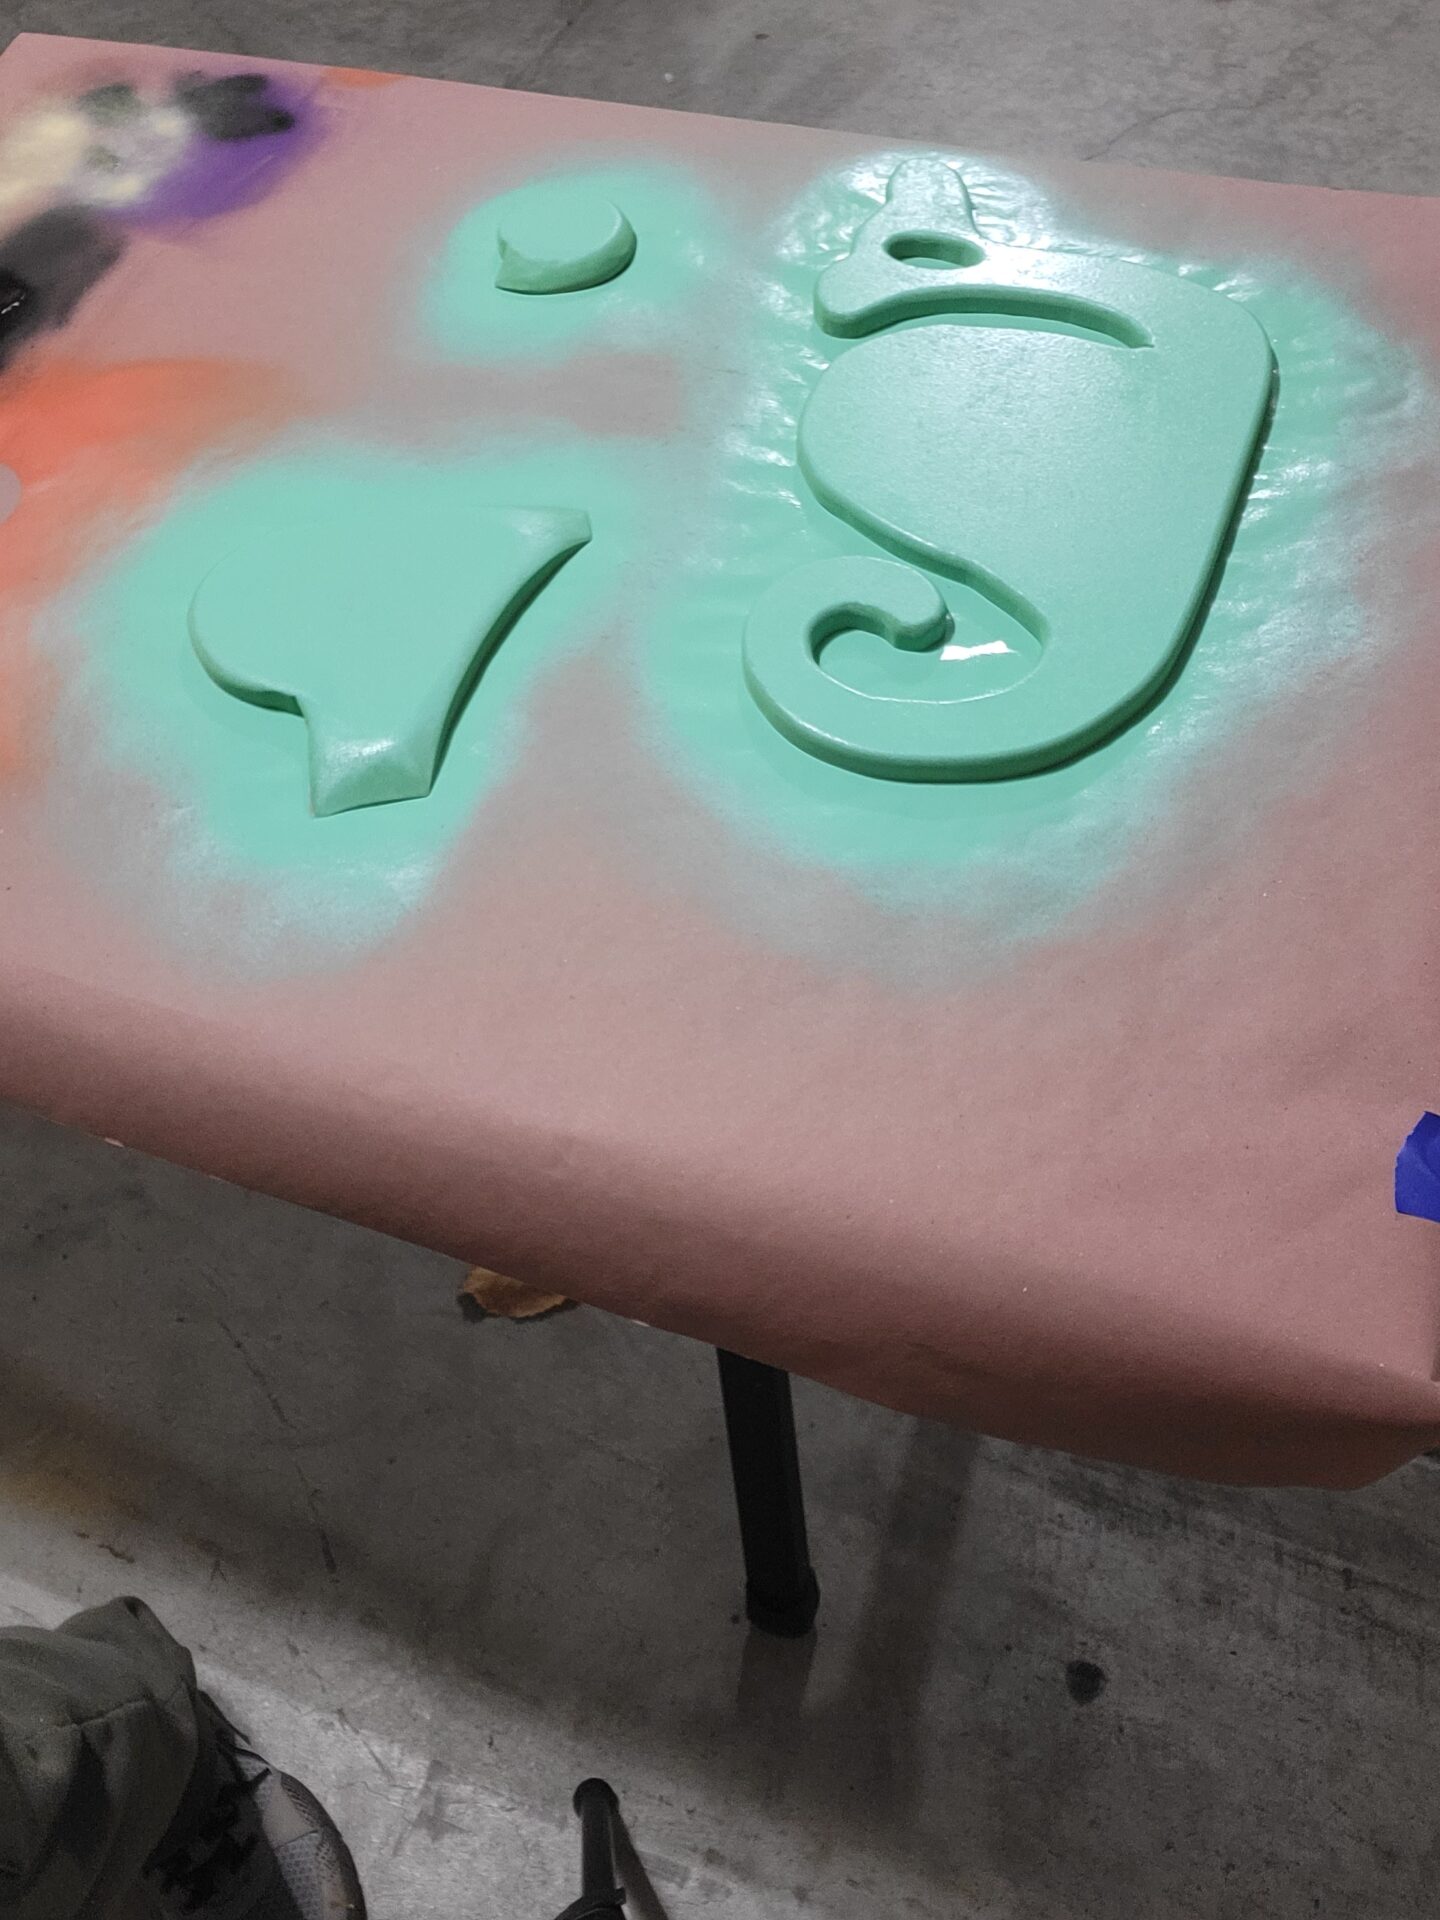
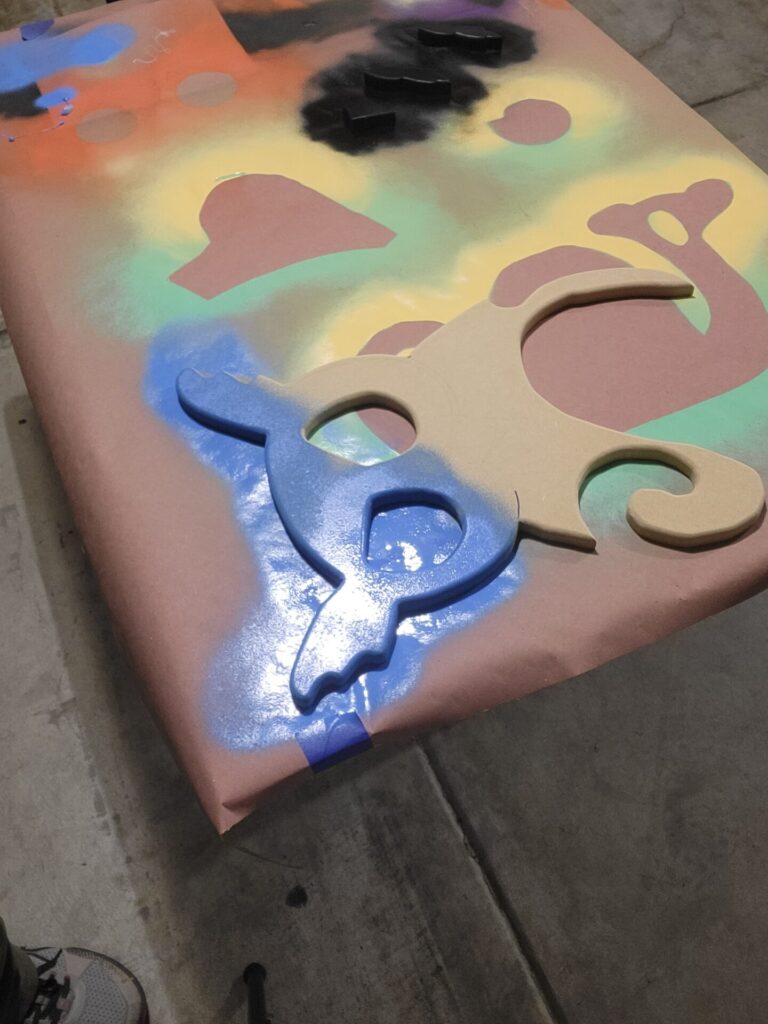
Next was spray painting all the parts. I’m not an expert here, but I took my time and was pleased with the Dang Spray Paint cans. (I bought an assortment on sale so the spray cans were what I had on hand.)
Remember, ventilation is key so also check out my DIY Air Filter. Be sure to wear a ventilator too.
STEP 4:
The next step was to cut out a 1/4 inch backer board and paint the snail’s mouth and owl’s eyes. This backer will later be glued to the MDF with the snail and owl to keep it secured.
STEP 5:
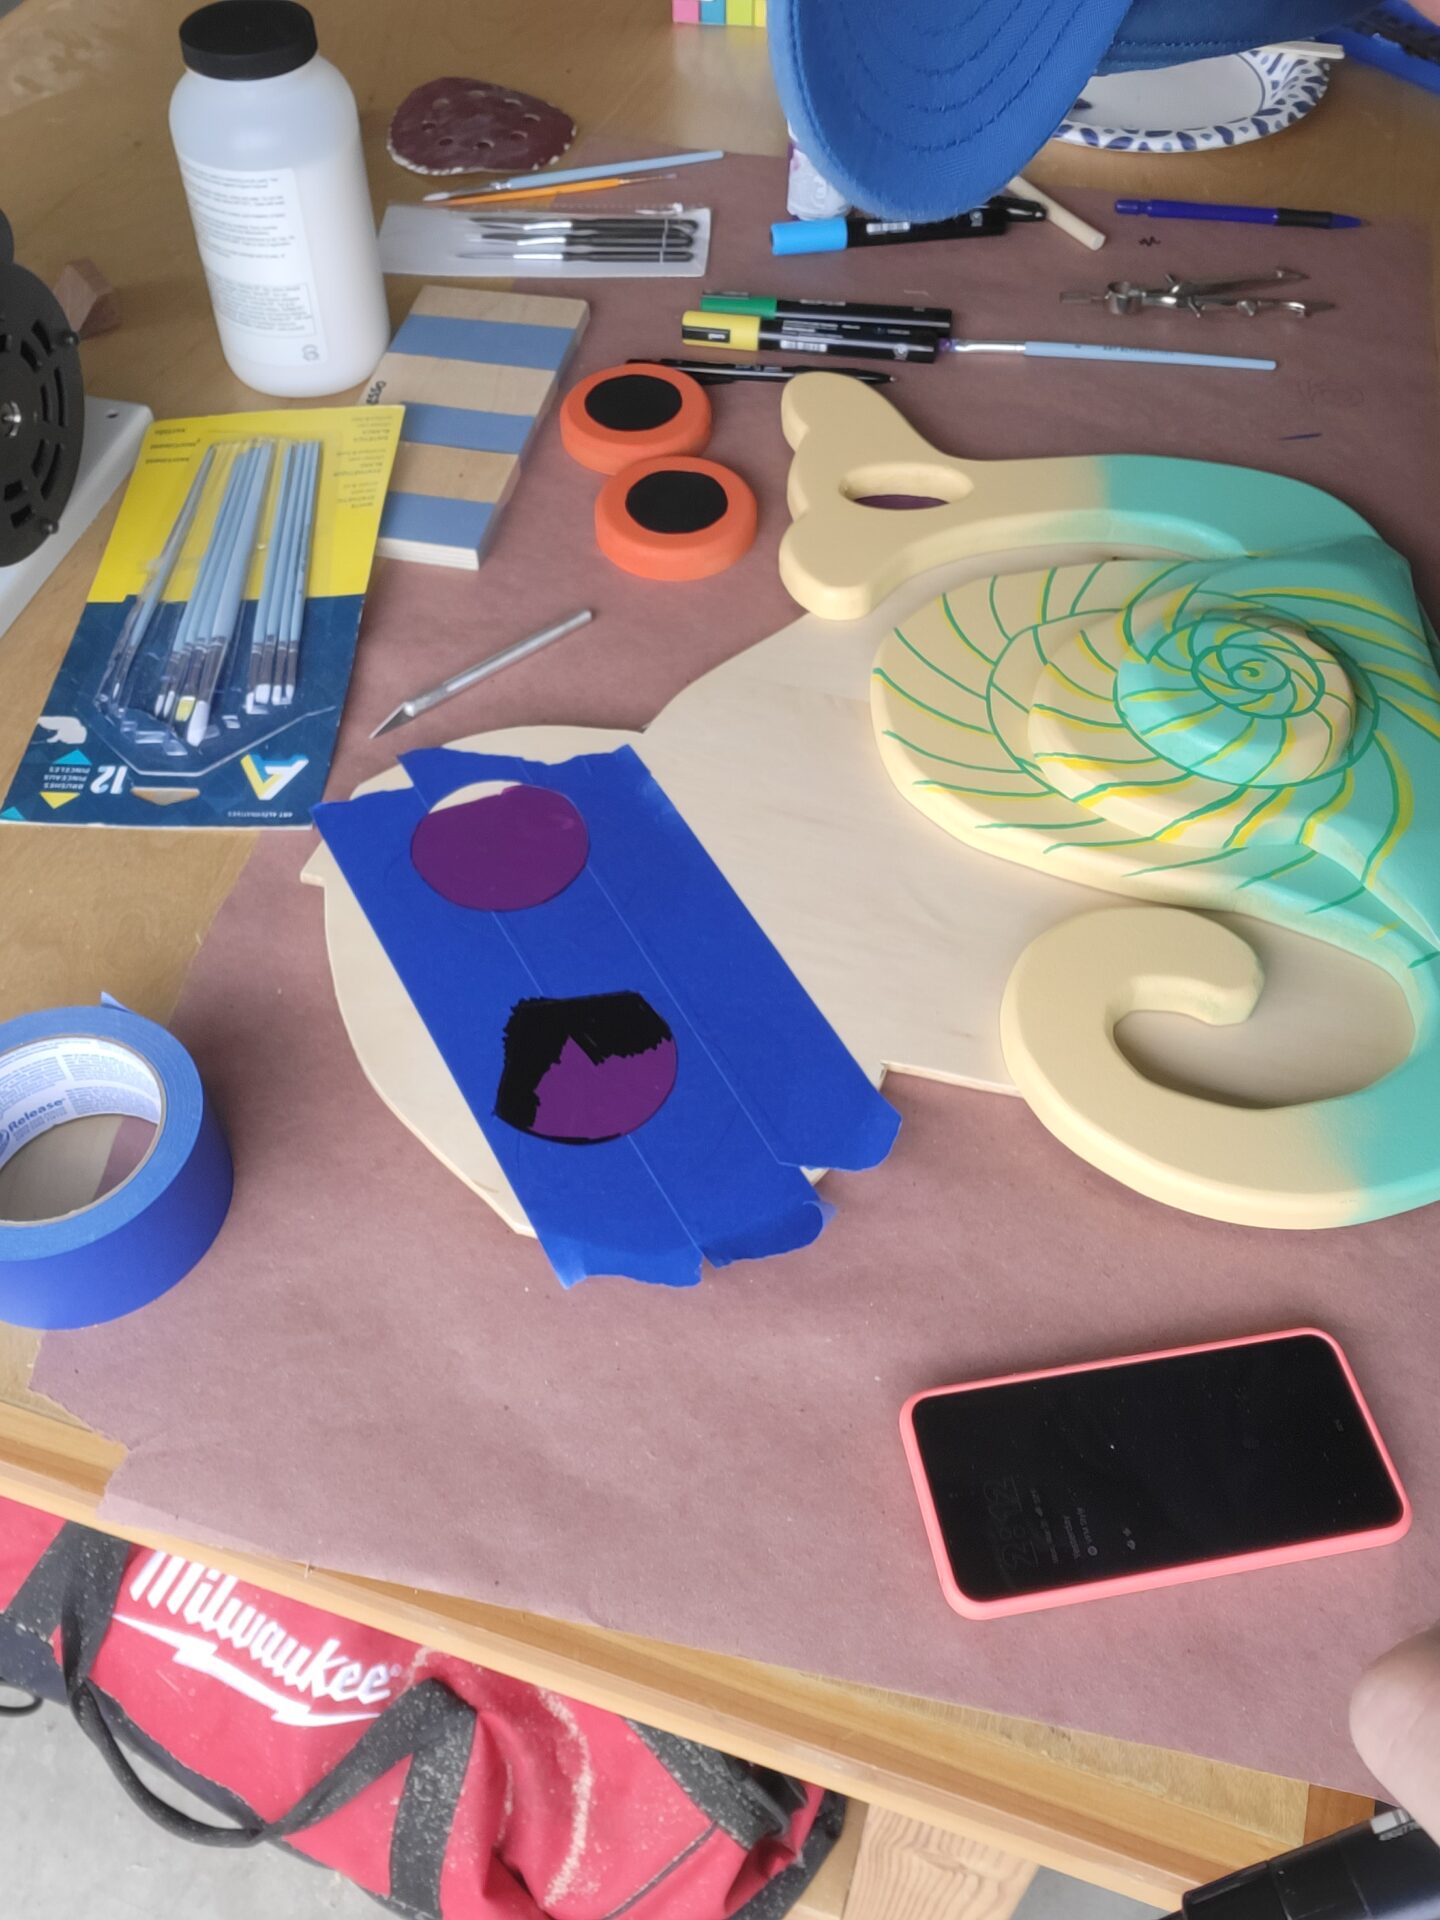
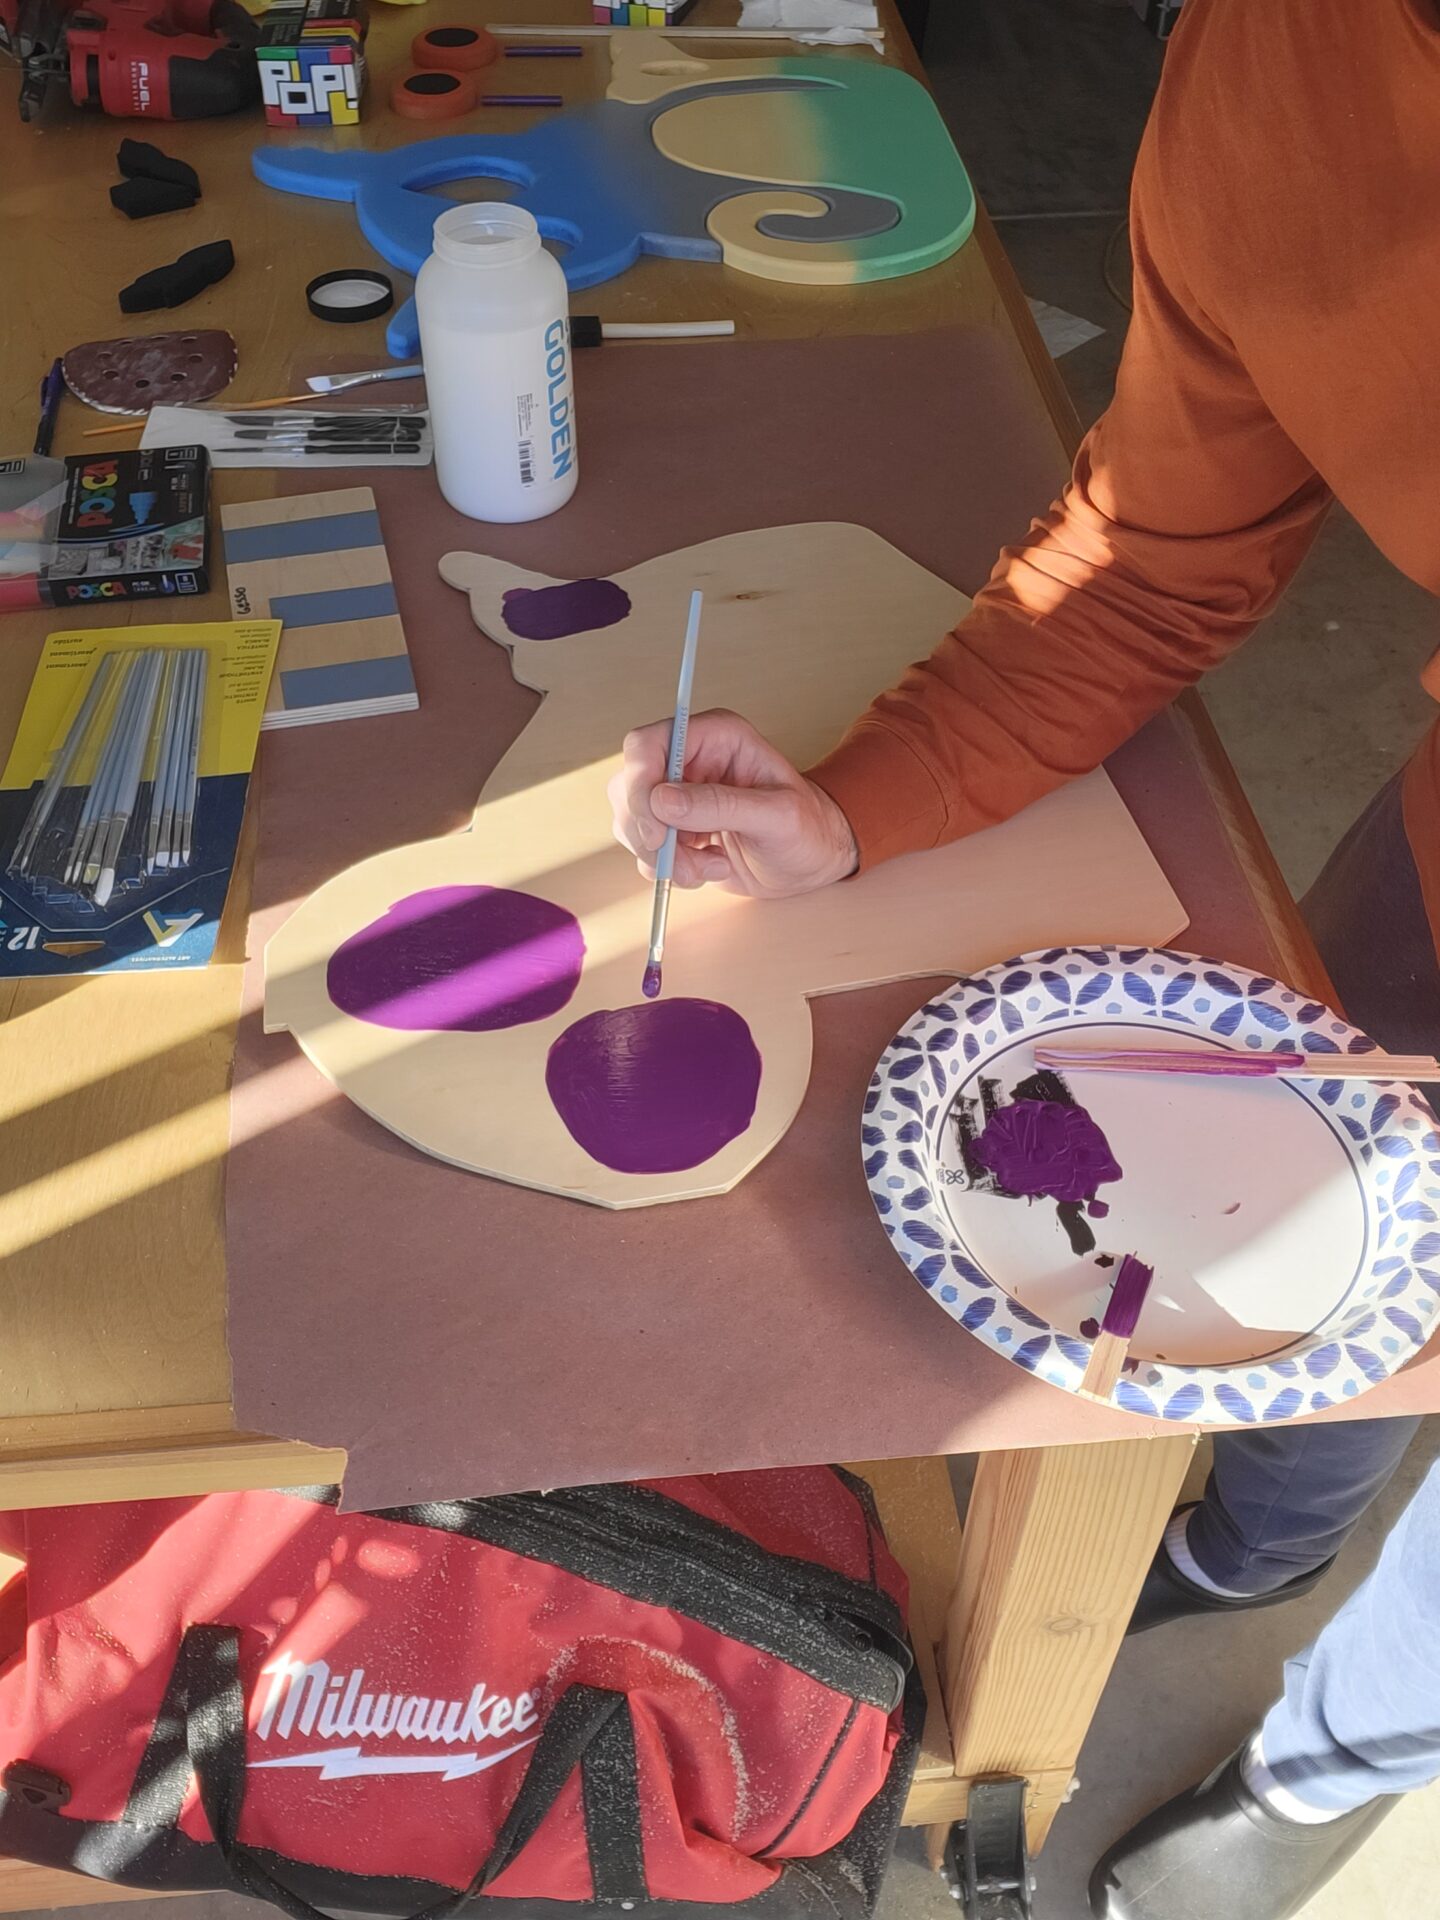
I hand painted the top and 3D parts using Golden SoFlat Acrylics, Zing 6 Color Set. I used a lot of masking tape and a razor blade to control the painted edges. For the snail eyes, I used a couple dowels to secure the floating eyes of the snail.
STEP 6:
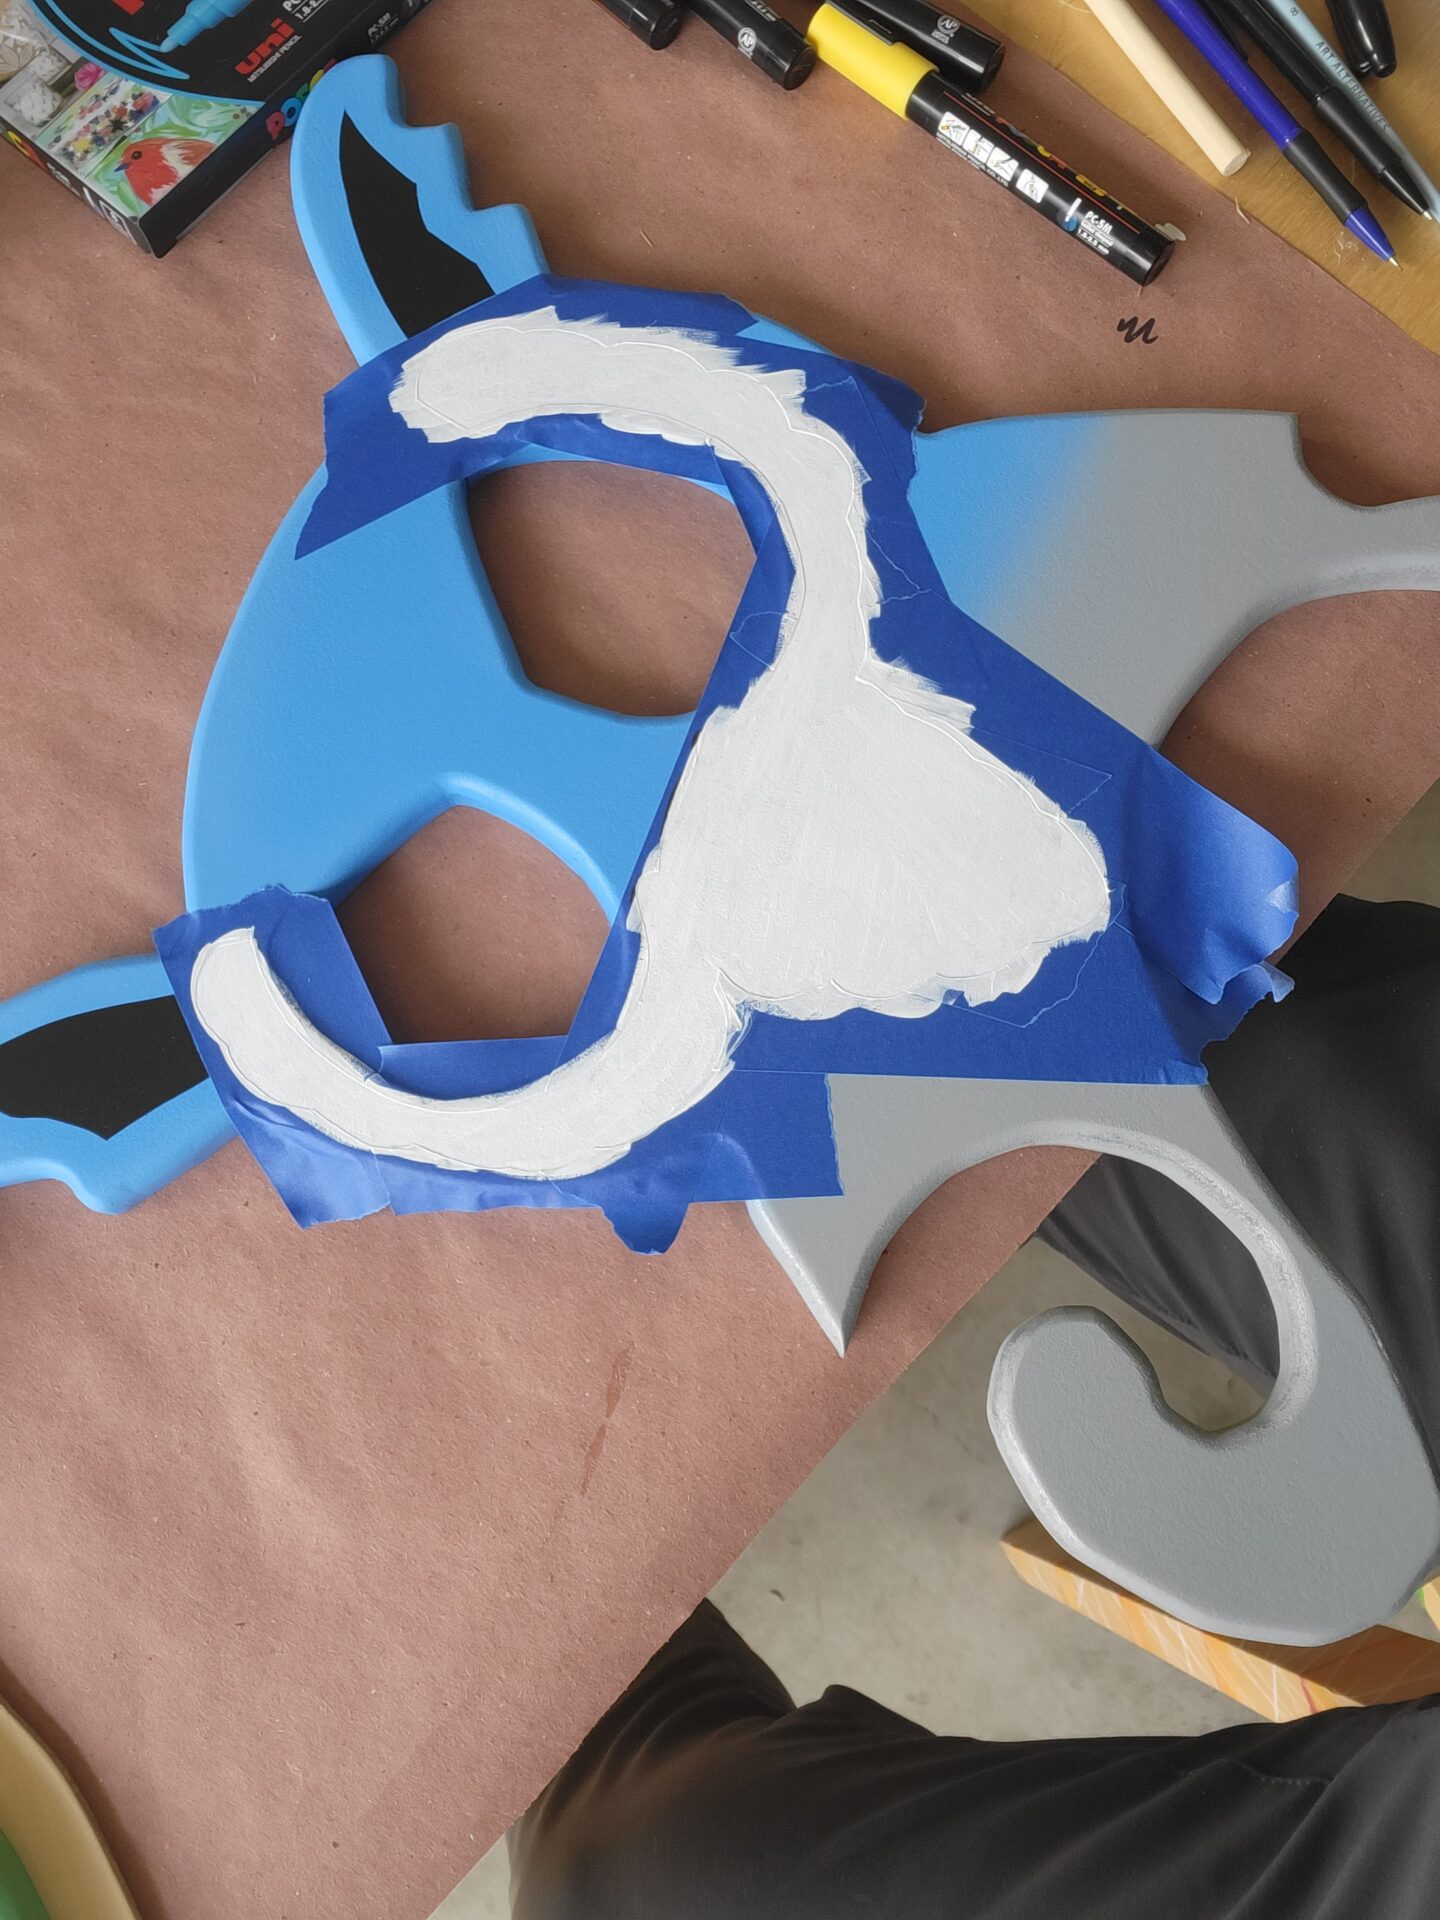
Again, lots of masking tape and a razor blade to cut in the painting.
At this point you should have the neon bunny looking like the photo above.
STEP 7:
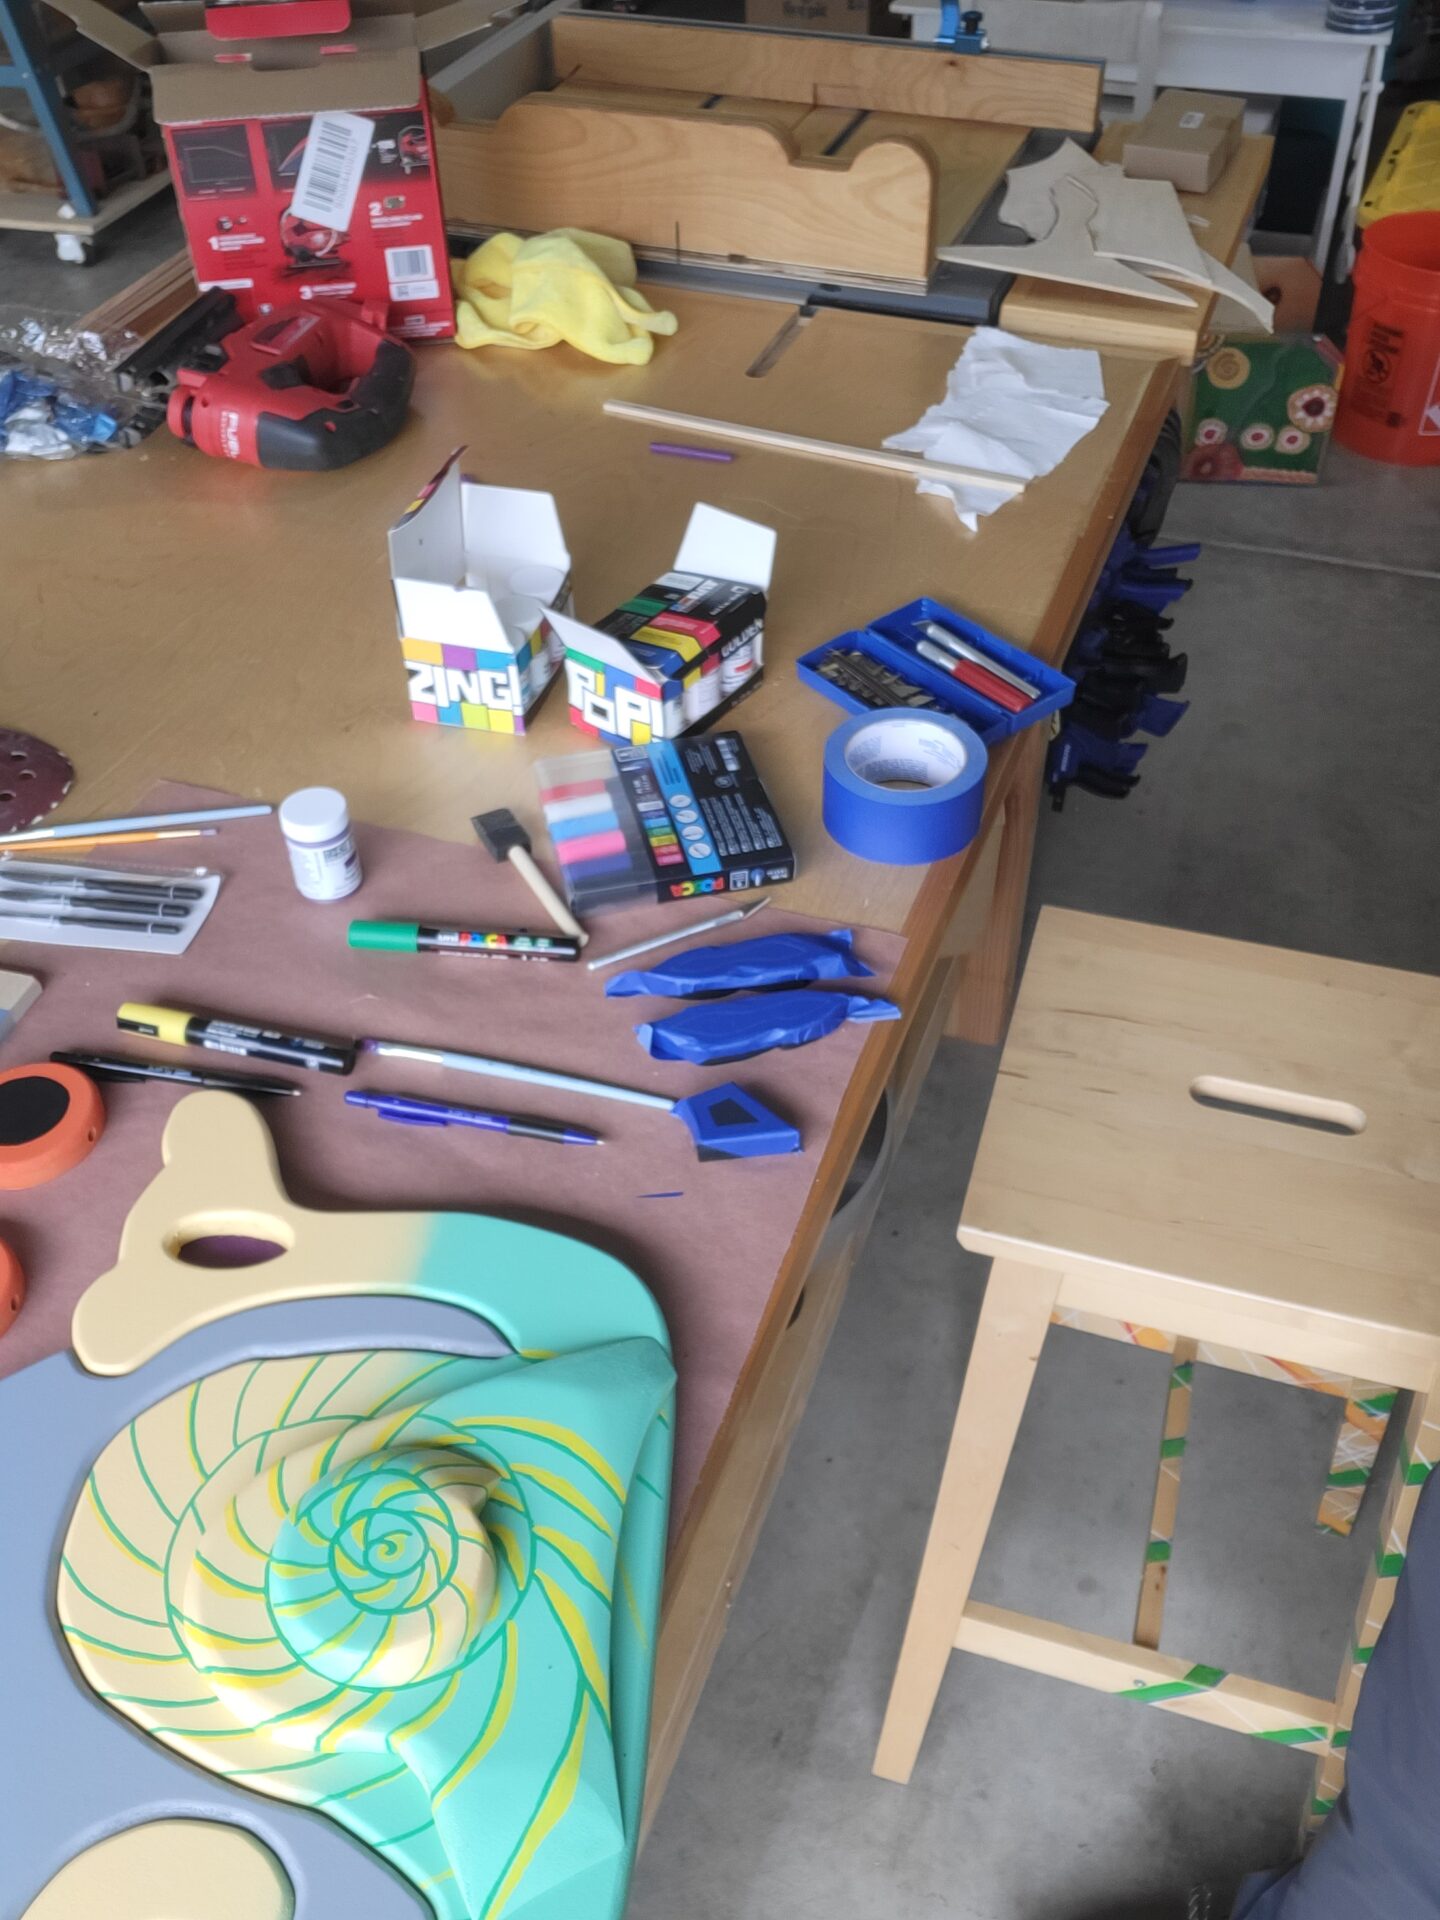
Here is another look at the various painting supplies. The Uni POSCA paint pens worked really well.
STEP 8:
The final steps are to glue the pieces together and I used a combination of wood glue and Krazy glue. The snail and owl glue directly to the backer board and the 3D pieces attach quickly with the Krazy glue and the wood glue will help to secure it for a longer lasting attachment.
Conclusion
This was a project that took a LONG time to complete, mainly because I didn’t know how to paint it. It took an afternoon dedicated to just getting into the zone and not worrying about the outcome. If you ever feel stuck like this, just start. You’ll be glad you did!