Step-By-Step: Make A Wooden Toy Helicopter

Photo of author

By John

Disclaimer: As an Amazon Associate, Timber Topia earns commissions on qualifying purchases. There is no extra cost to you and this helps support the site.

Follow this step-by-step guide to build a practical and durable wooden toy helicopter that will last generations.
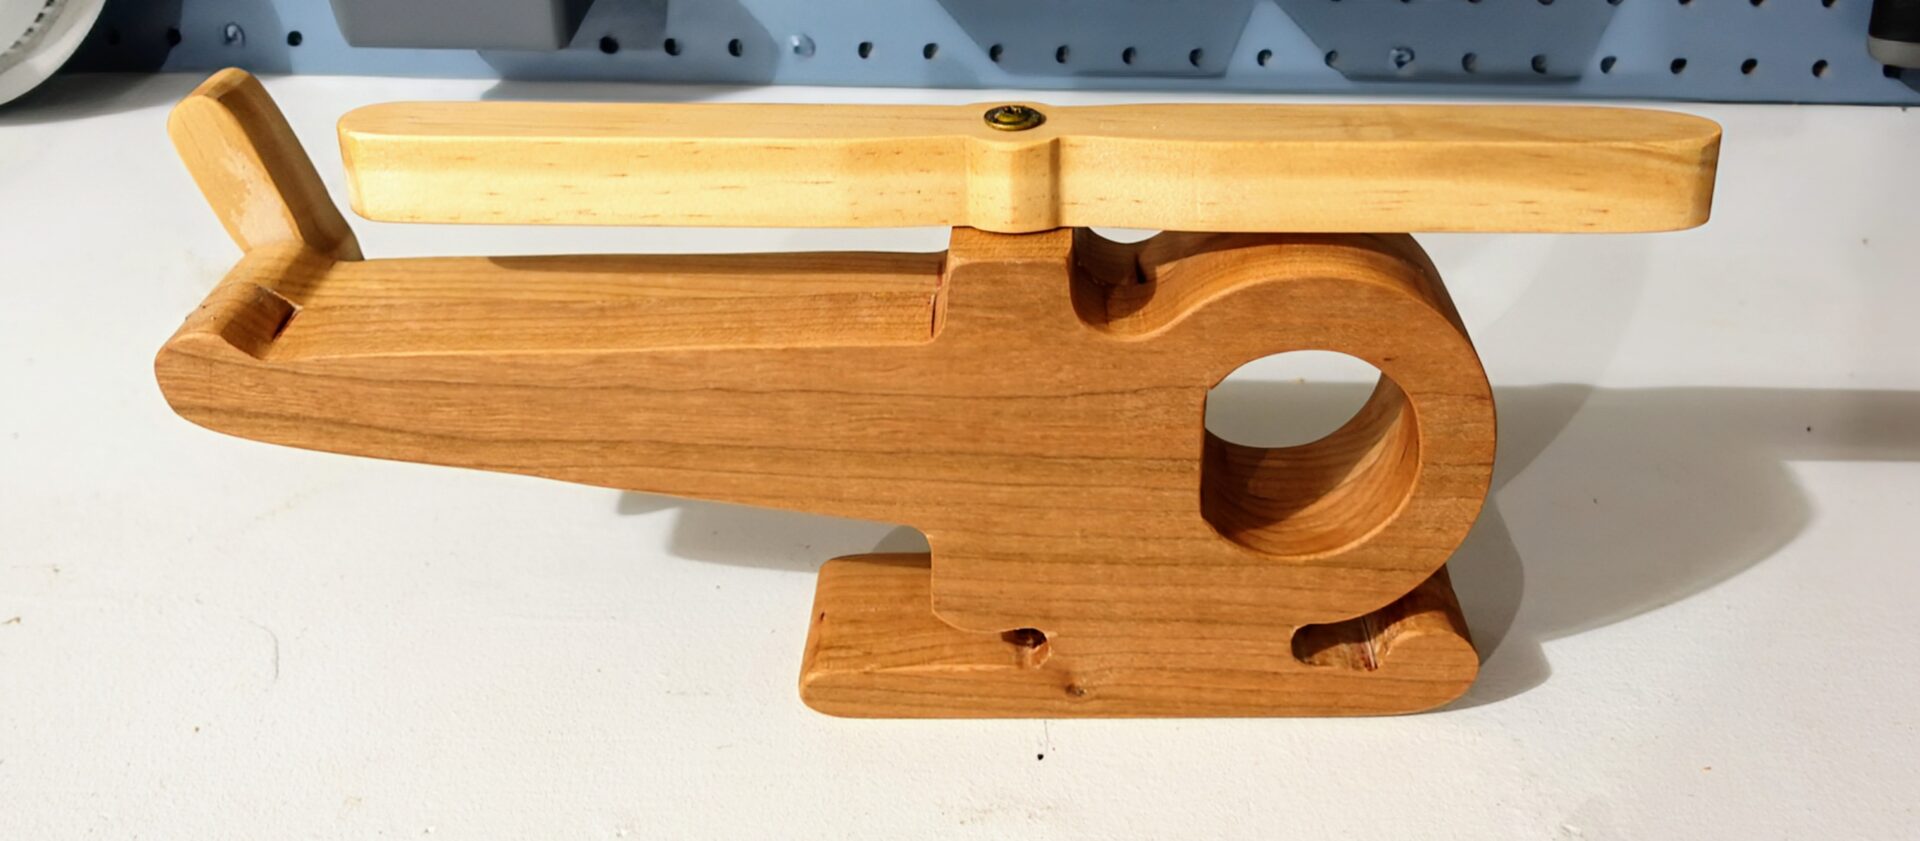

Cropped picture of the completed helicopter

Key Project Details

What’s better than a handmade wood toy that will last for years to come? This helicopter from Forest Street Designs features two tones of wood (cherry and maple), solid construction for rough play, and provides endless play value with two spinning rotors. It’s a classic to build and treasure.

Time to Build2 Days
Difficulty2 of 5
Dimensions13″ x 5″ x 1.5″ (LxHxW)
Materials Needed3/4 inch Cherry (body)
3/4 inch Maple (rotors)
3/8 inch forstner bit
1 cabinet screw (#8 2 inch)
1 cabinet screw (#8 1-1/2 inch)
Washers
Wood Glue (Tite Bond II)
3M Super 77 (spray adhesive)
Mineral Spirits (Optional)
Osmos Polyx Oil (plus gloves and applicator)
Tools Needed:Scroll Saw (or band saw)
Drill Press (or cordless drill)
Clamps
Belt & Disc Sander (or equivalent)
Spindle Sander for Drill Press (or sand paper)
Lessons Learned:– I could have done a better job scrolling to ensure both helicopters matched
– The top rotor could have been smaller to allow more clearance
– I was apprehensive about using screws but they turned out well

Download Free Plans from Forest Street Designs:
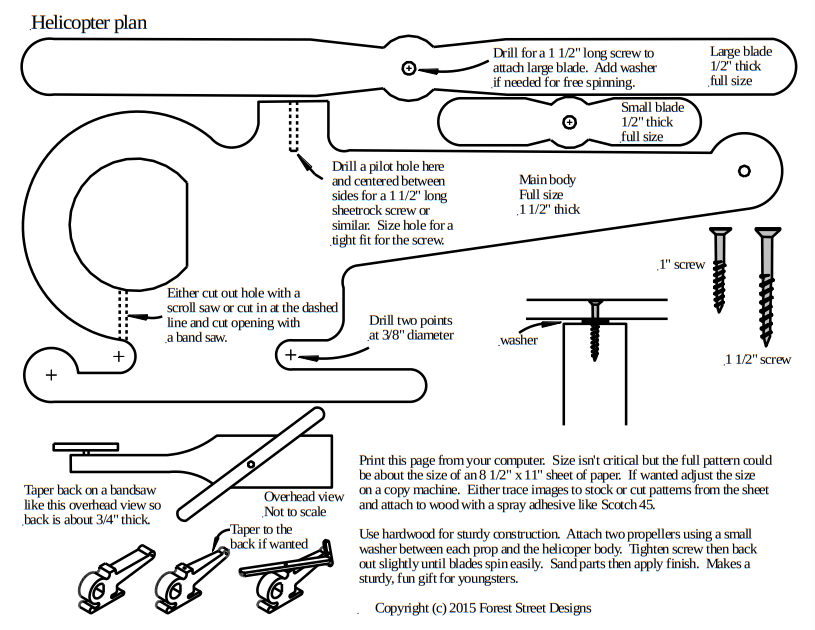
Helicopter-plans-screenshot

Step-by-Step Build Instructions
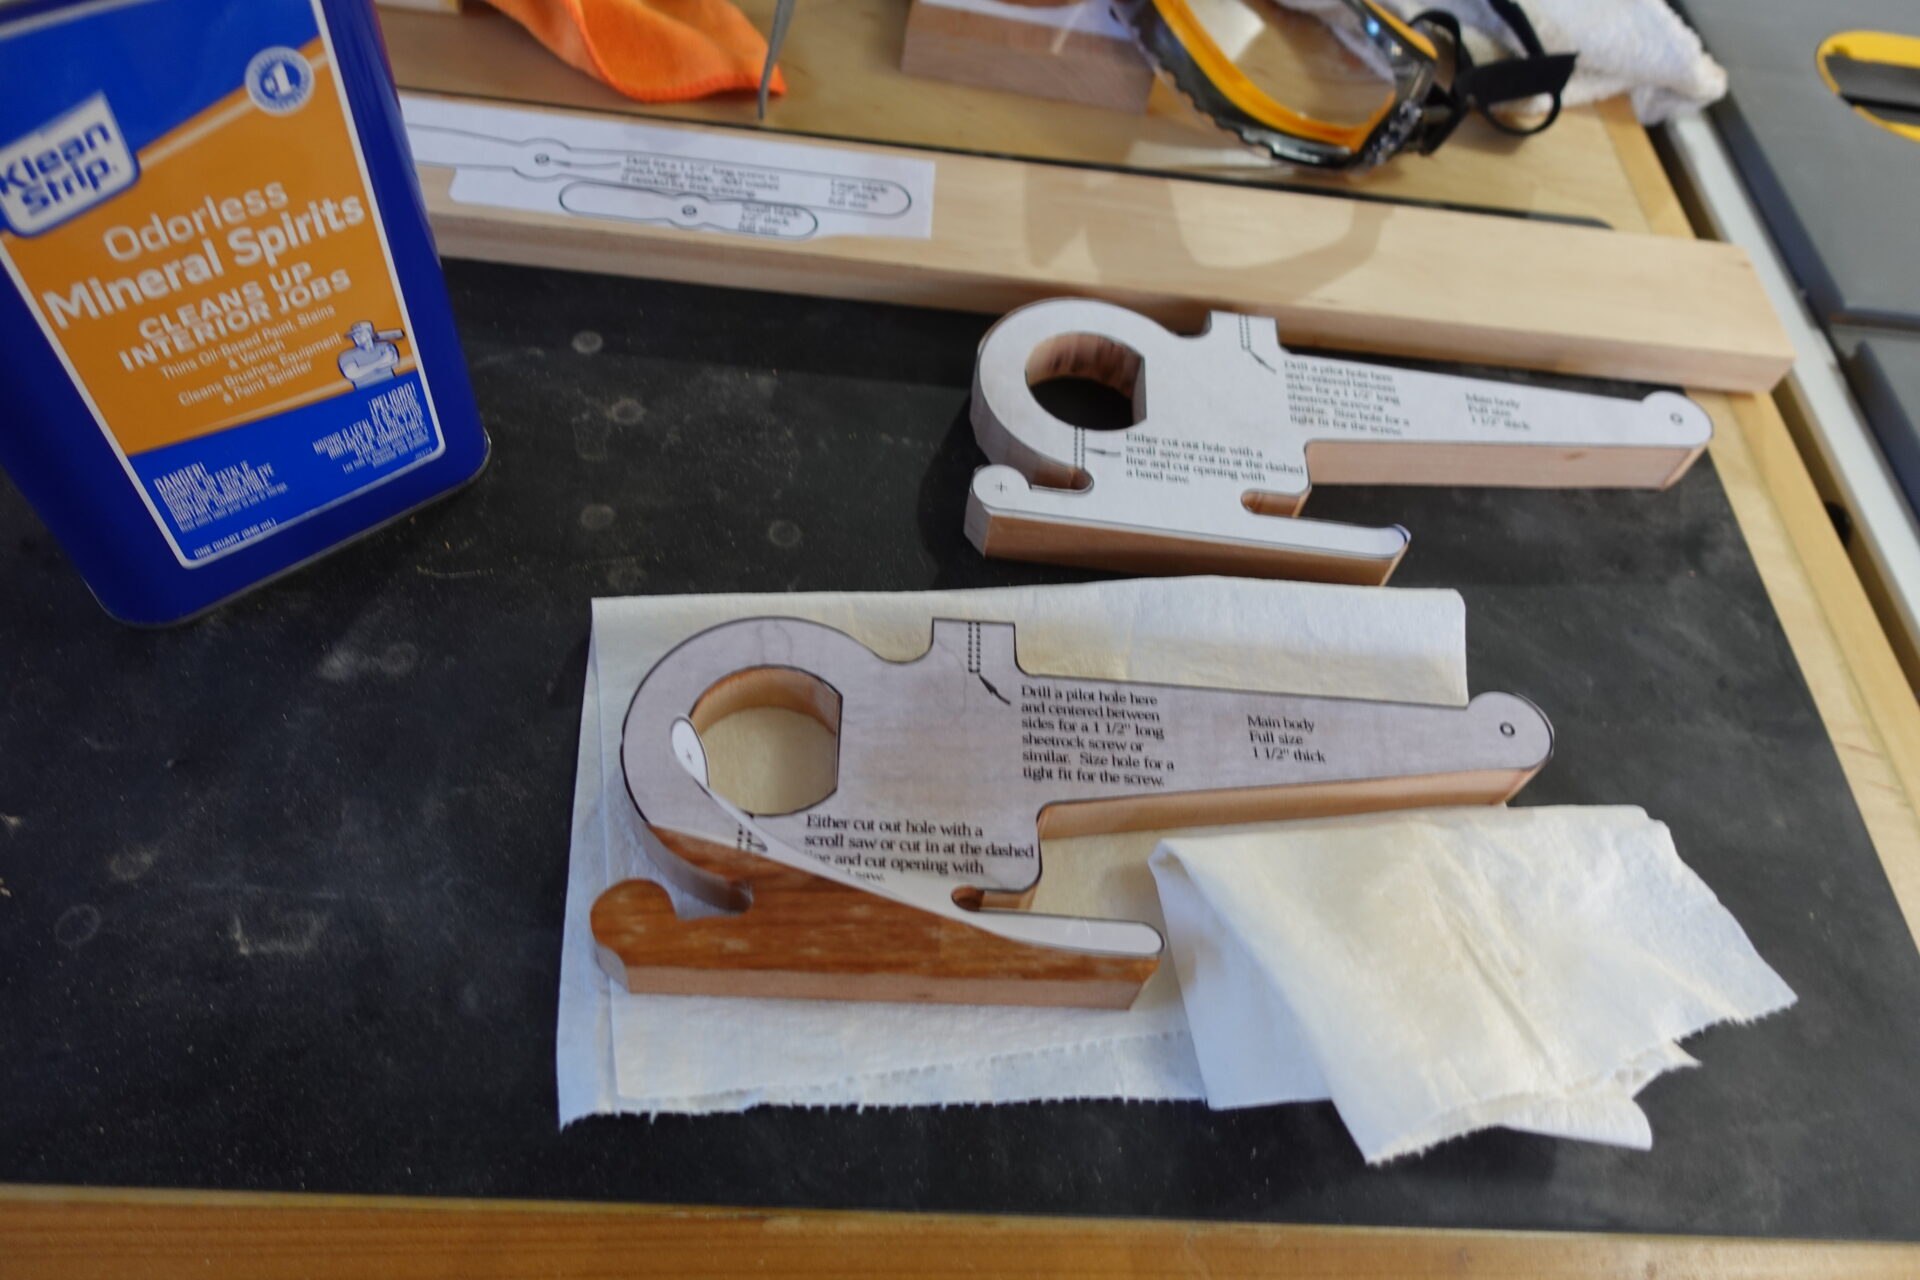
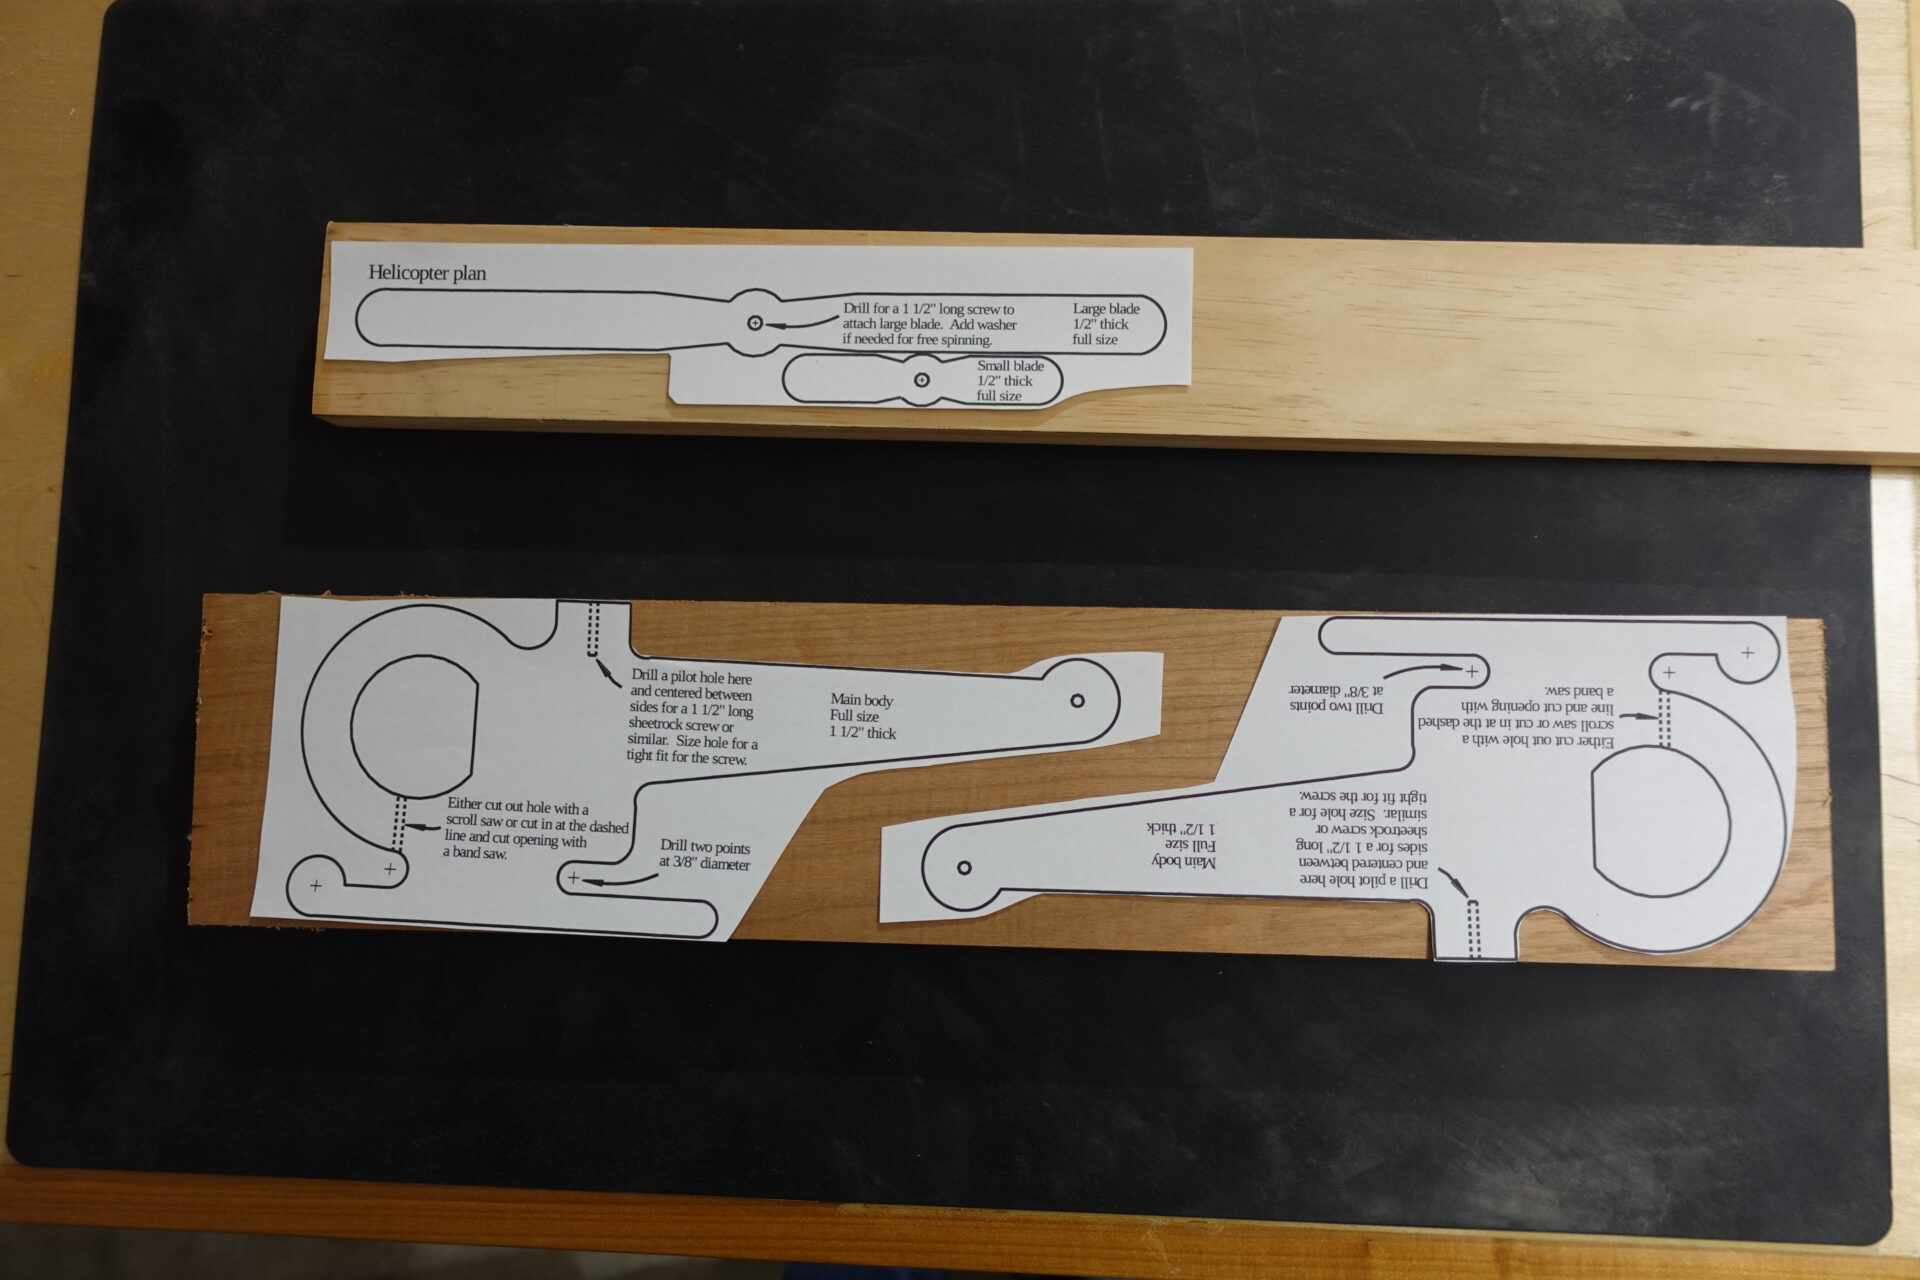
STEP 1: Print out two copies of the plans. Cut out plans and attach to wood using an adhesive (See next photo for adhesive). The two bodies will be glued together in a following step. Shown above is cherry wood for the body and maple for the rotors to give a nice contrast.
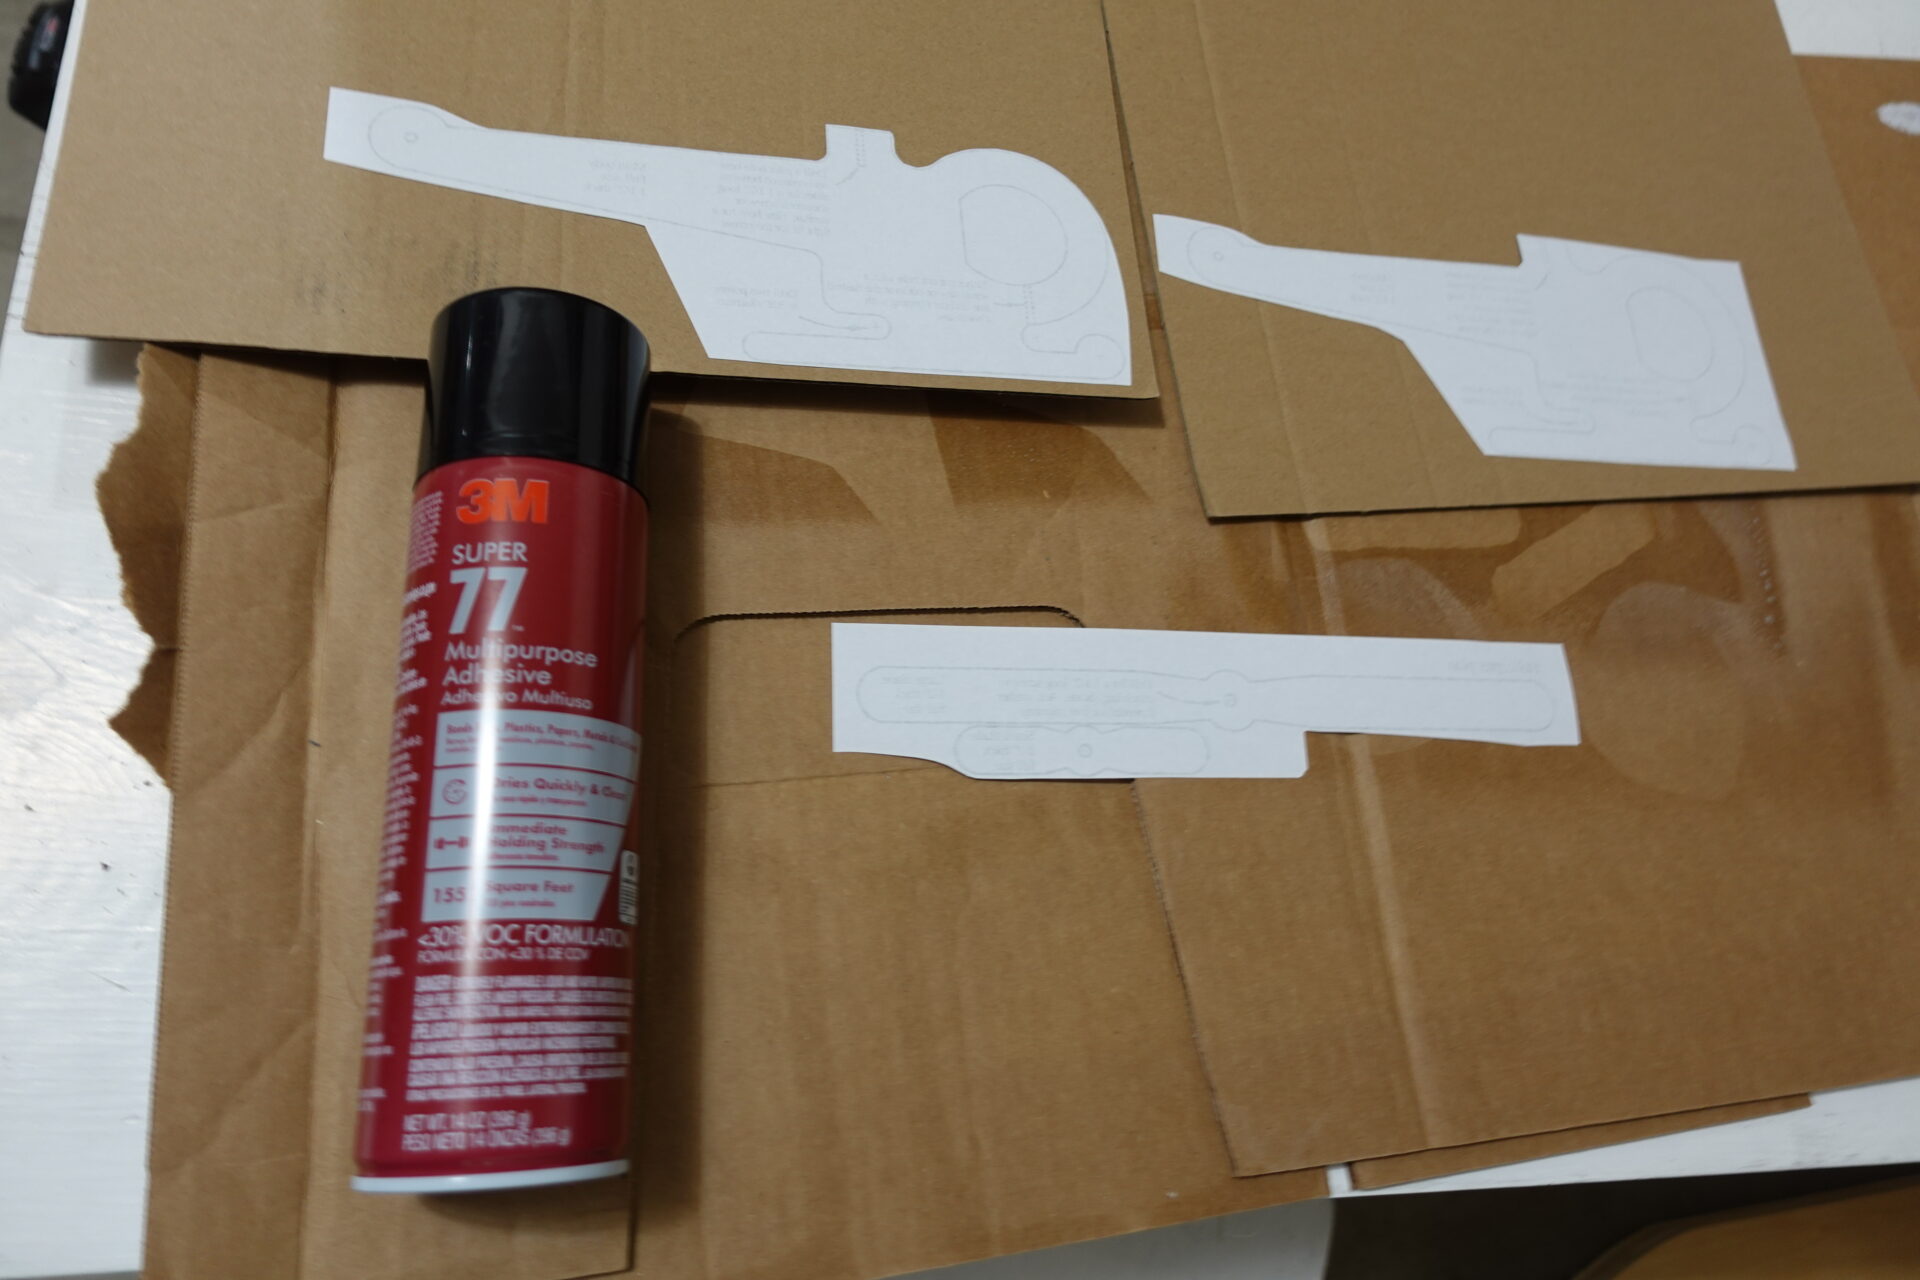
Wooden-Toy-Helicopter with spray adhesive on cardboard
3M Super 77 was used as an adhesive on the back of the paper plans and then pressed onto the wood.
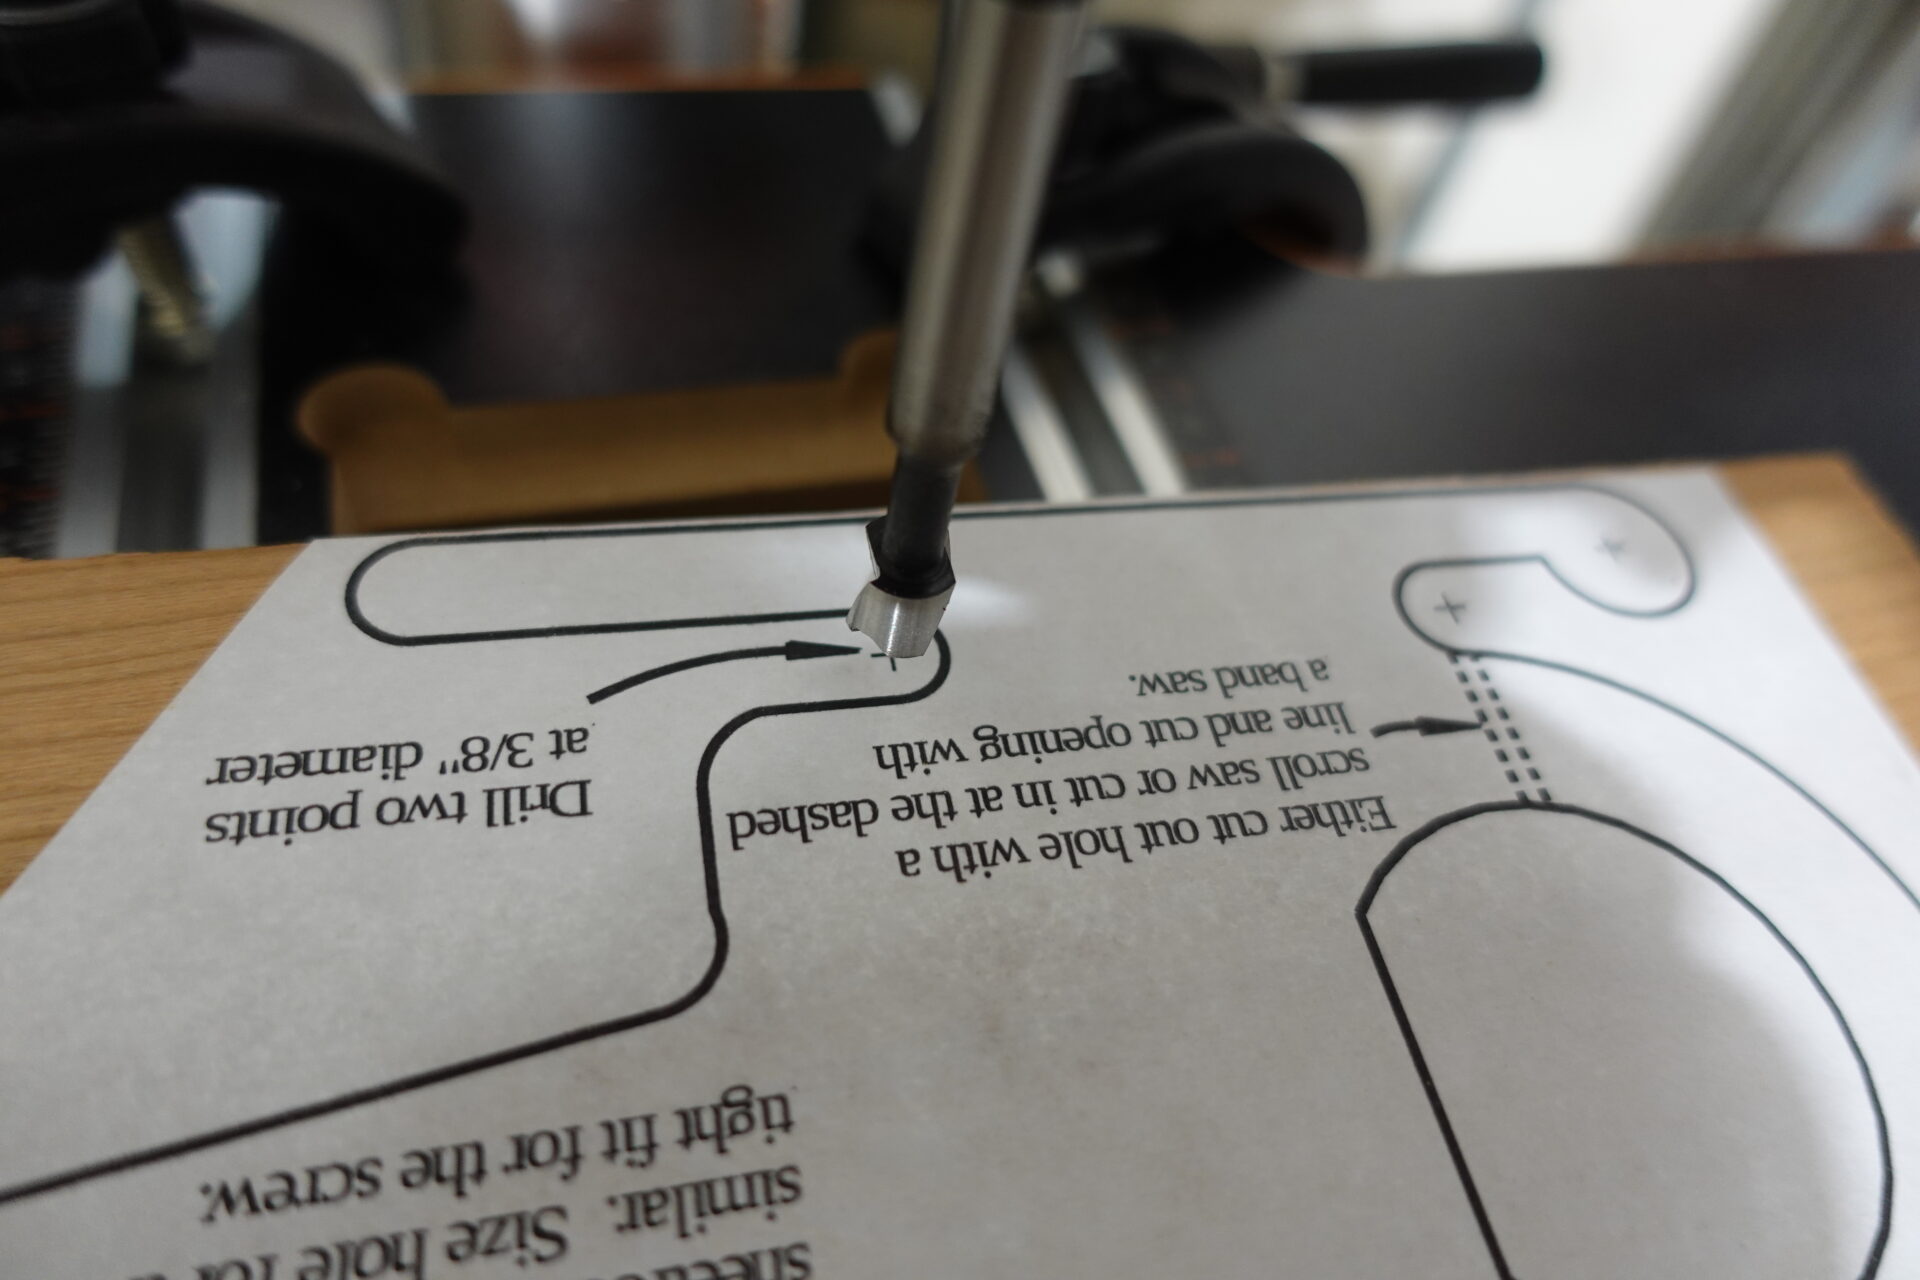
Wooden-Toy-Helicopter Drill Press to makes holes
STEP 2: Use a drill press (or cordless drill) with a 3/8 inch forstner bit to drill holes on the marked points.
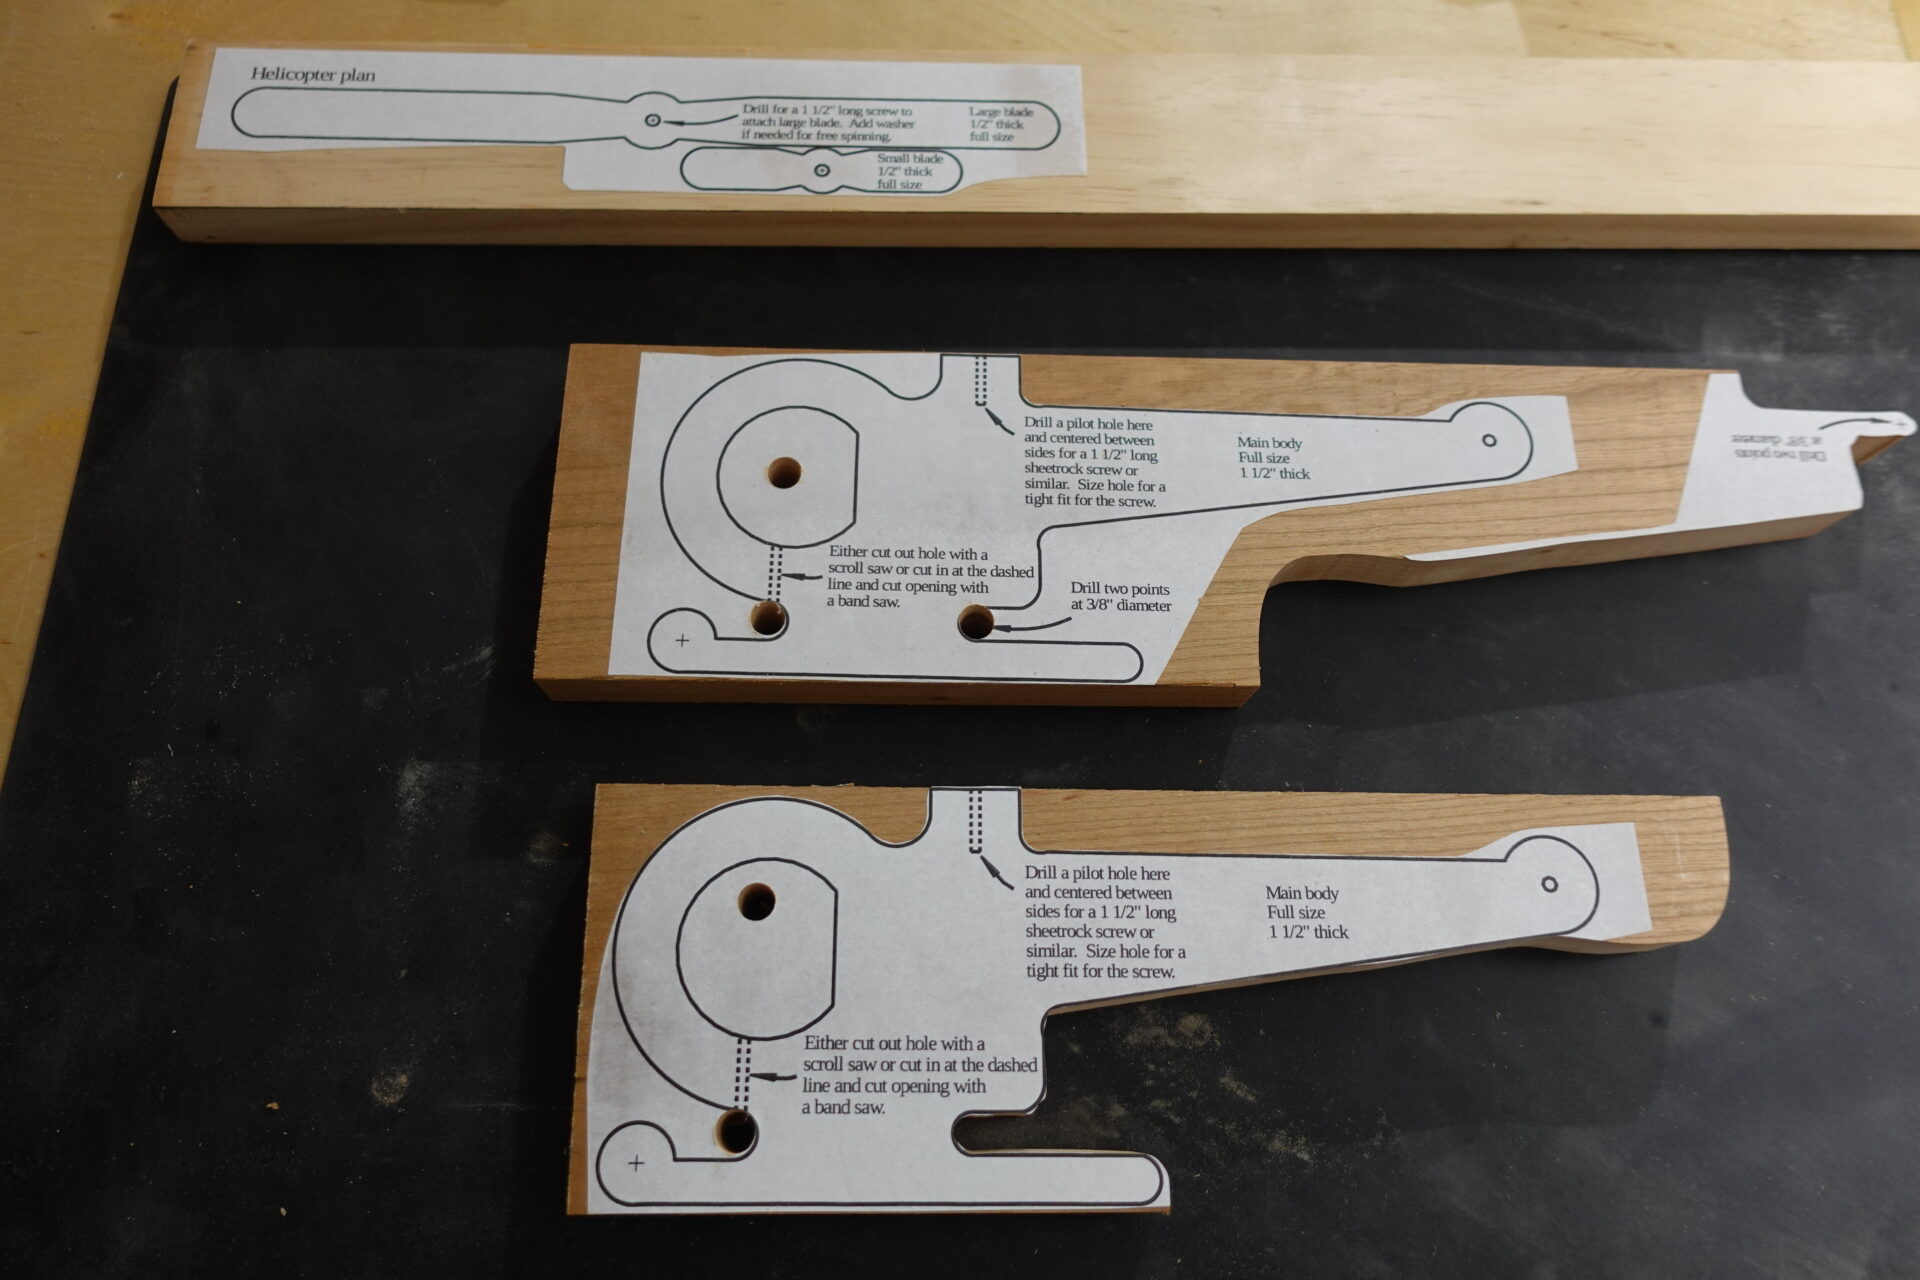
Wooden Toy Helicopter with holes drilled
Here we can see the holes drilled in the appropriate places.
Wooden-Toy-Helicopter scroll saw to drill center
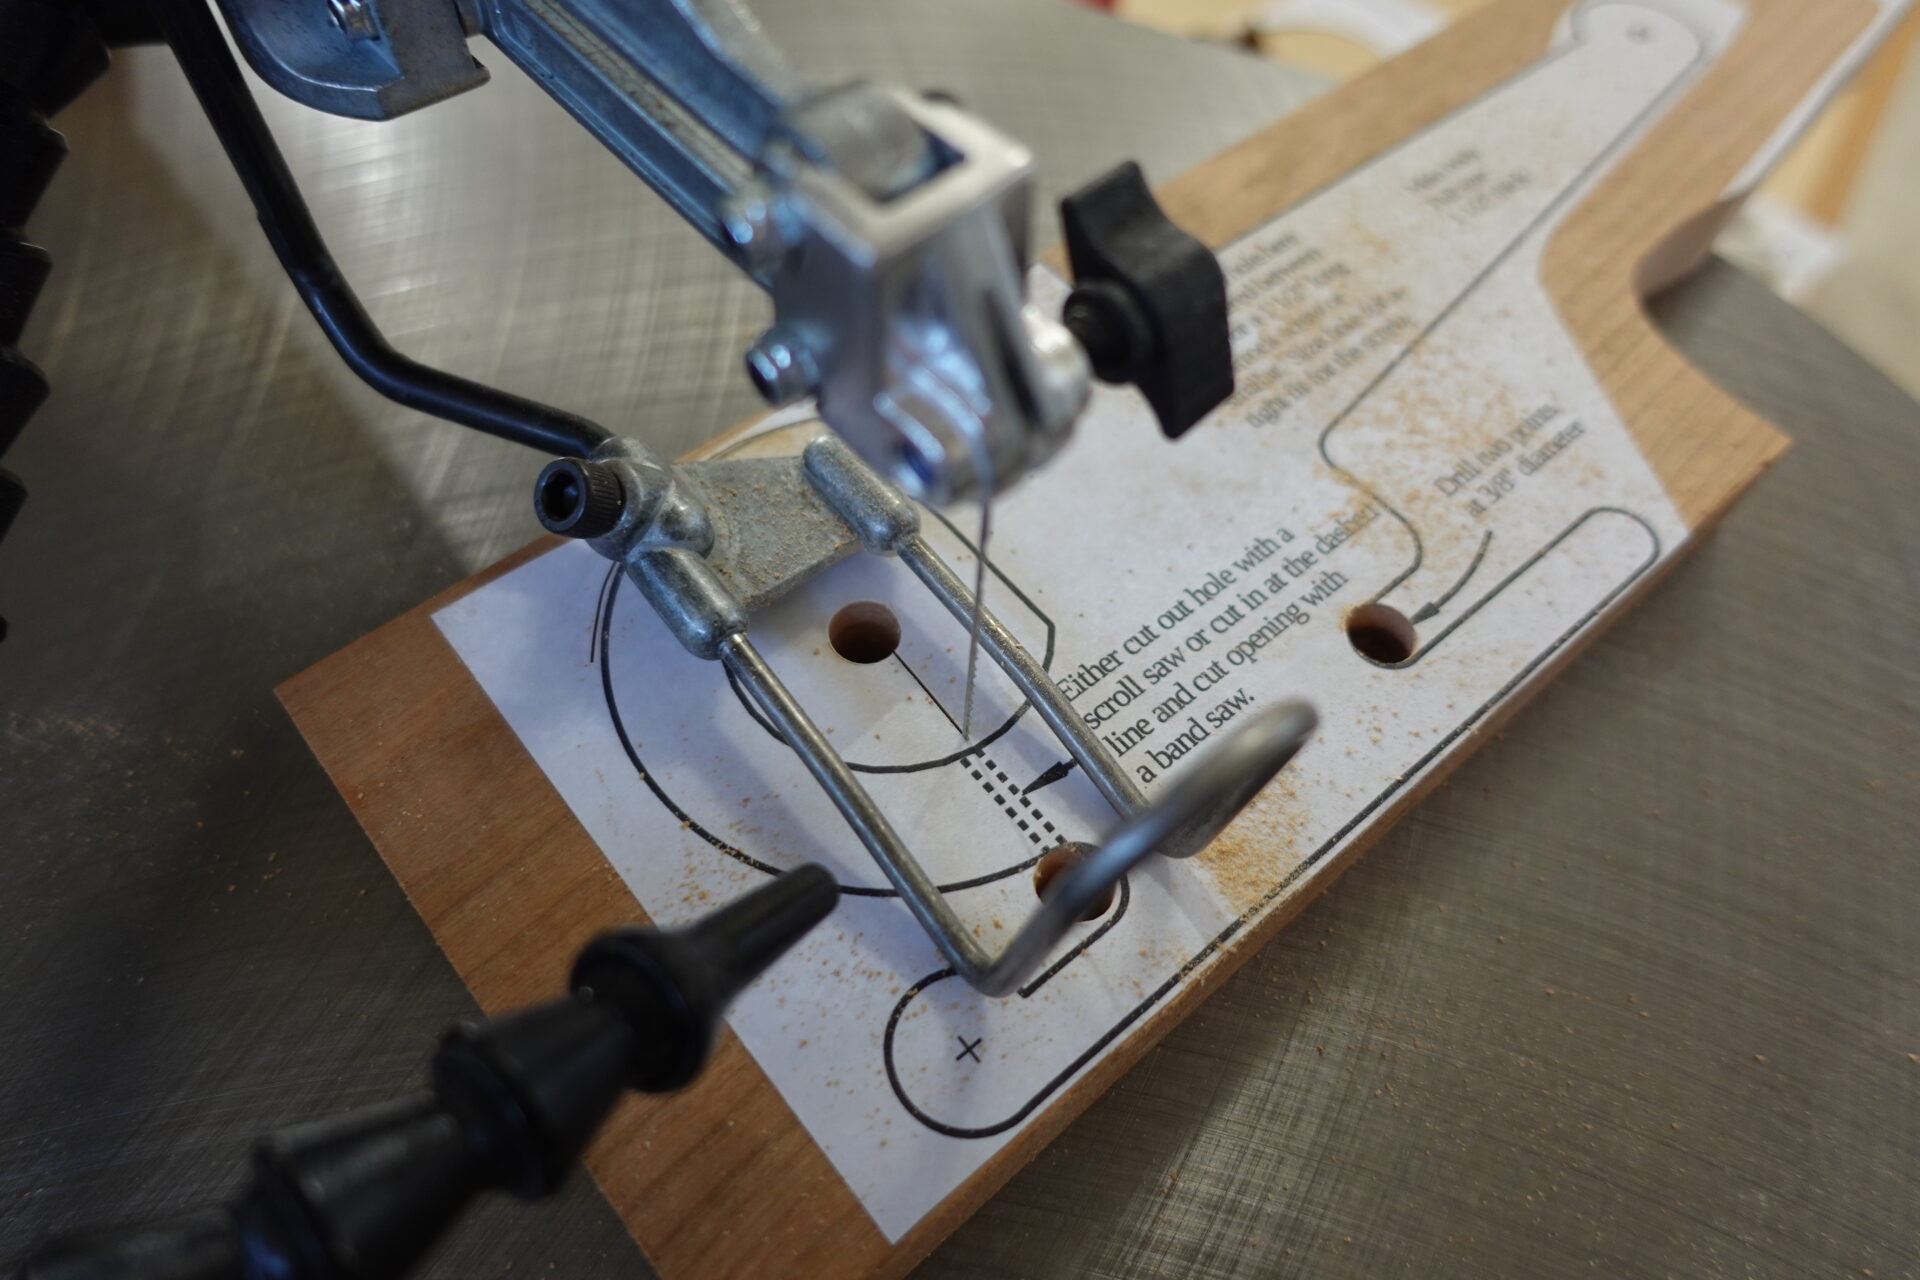
STEP 3: Use a scroll saw to remove the inside material of the cockpit. (Note: a band saw can also be used for this part cutting on the dotted edges).
Wooden-Toy-Helicopter two completed scrolls
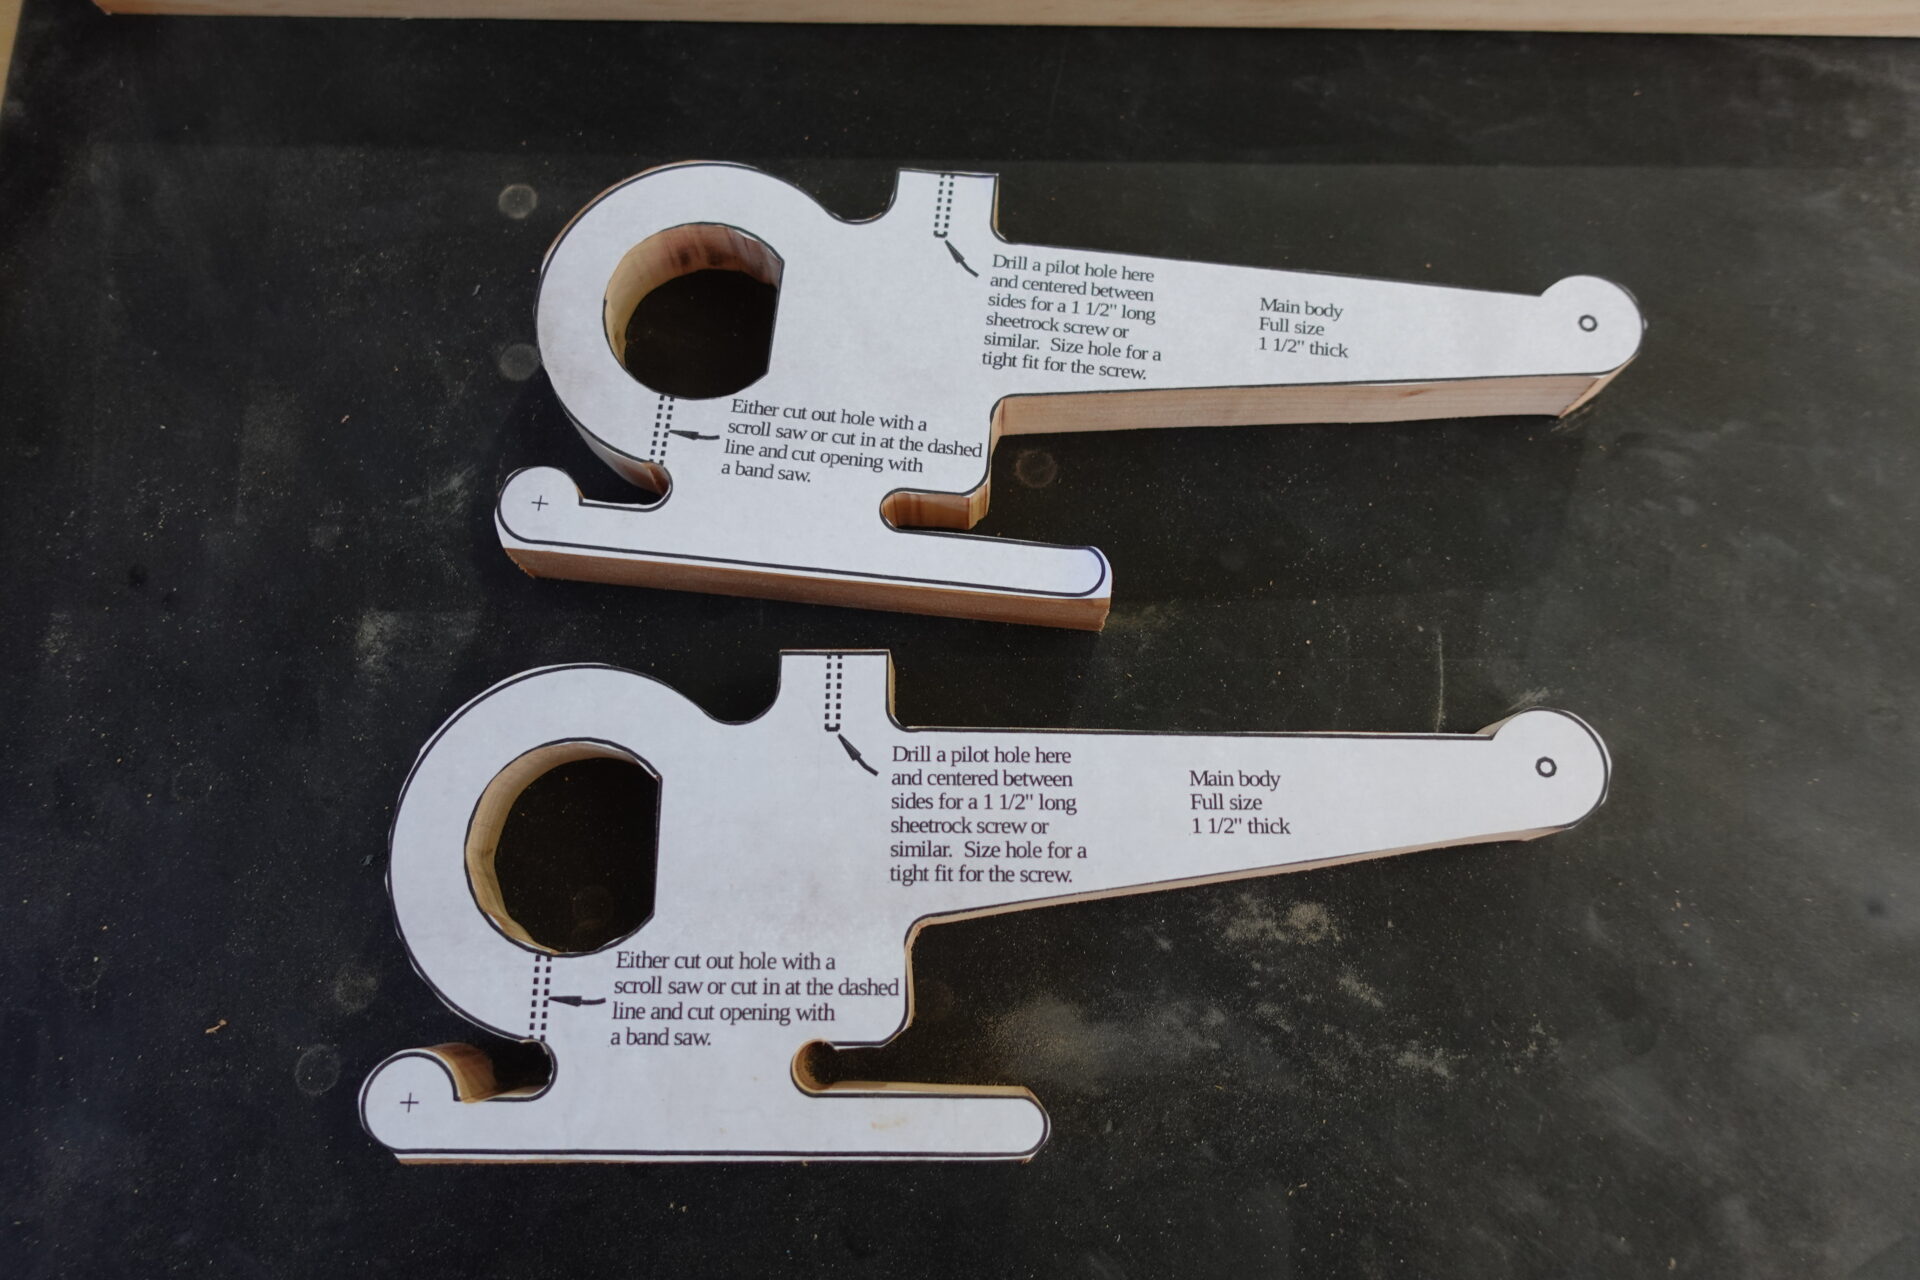
STEP 4: Remove the outer material around the perimeter of the cockpit with the scroll saw.
Wooden-Toy-Helicopter peeling off pattern with mineral spirits
STEP 5: Use Mineral Spirits to remove ONLY ONE of the paper patterns from the helicopter. (We will need it for the drilling of the holes for the rotors in a later step)
Wooden-Toy-Helicopter-glue two helicopters
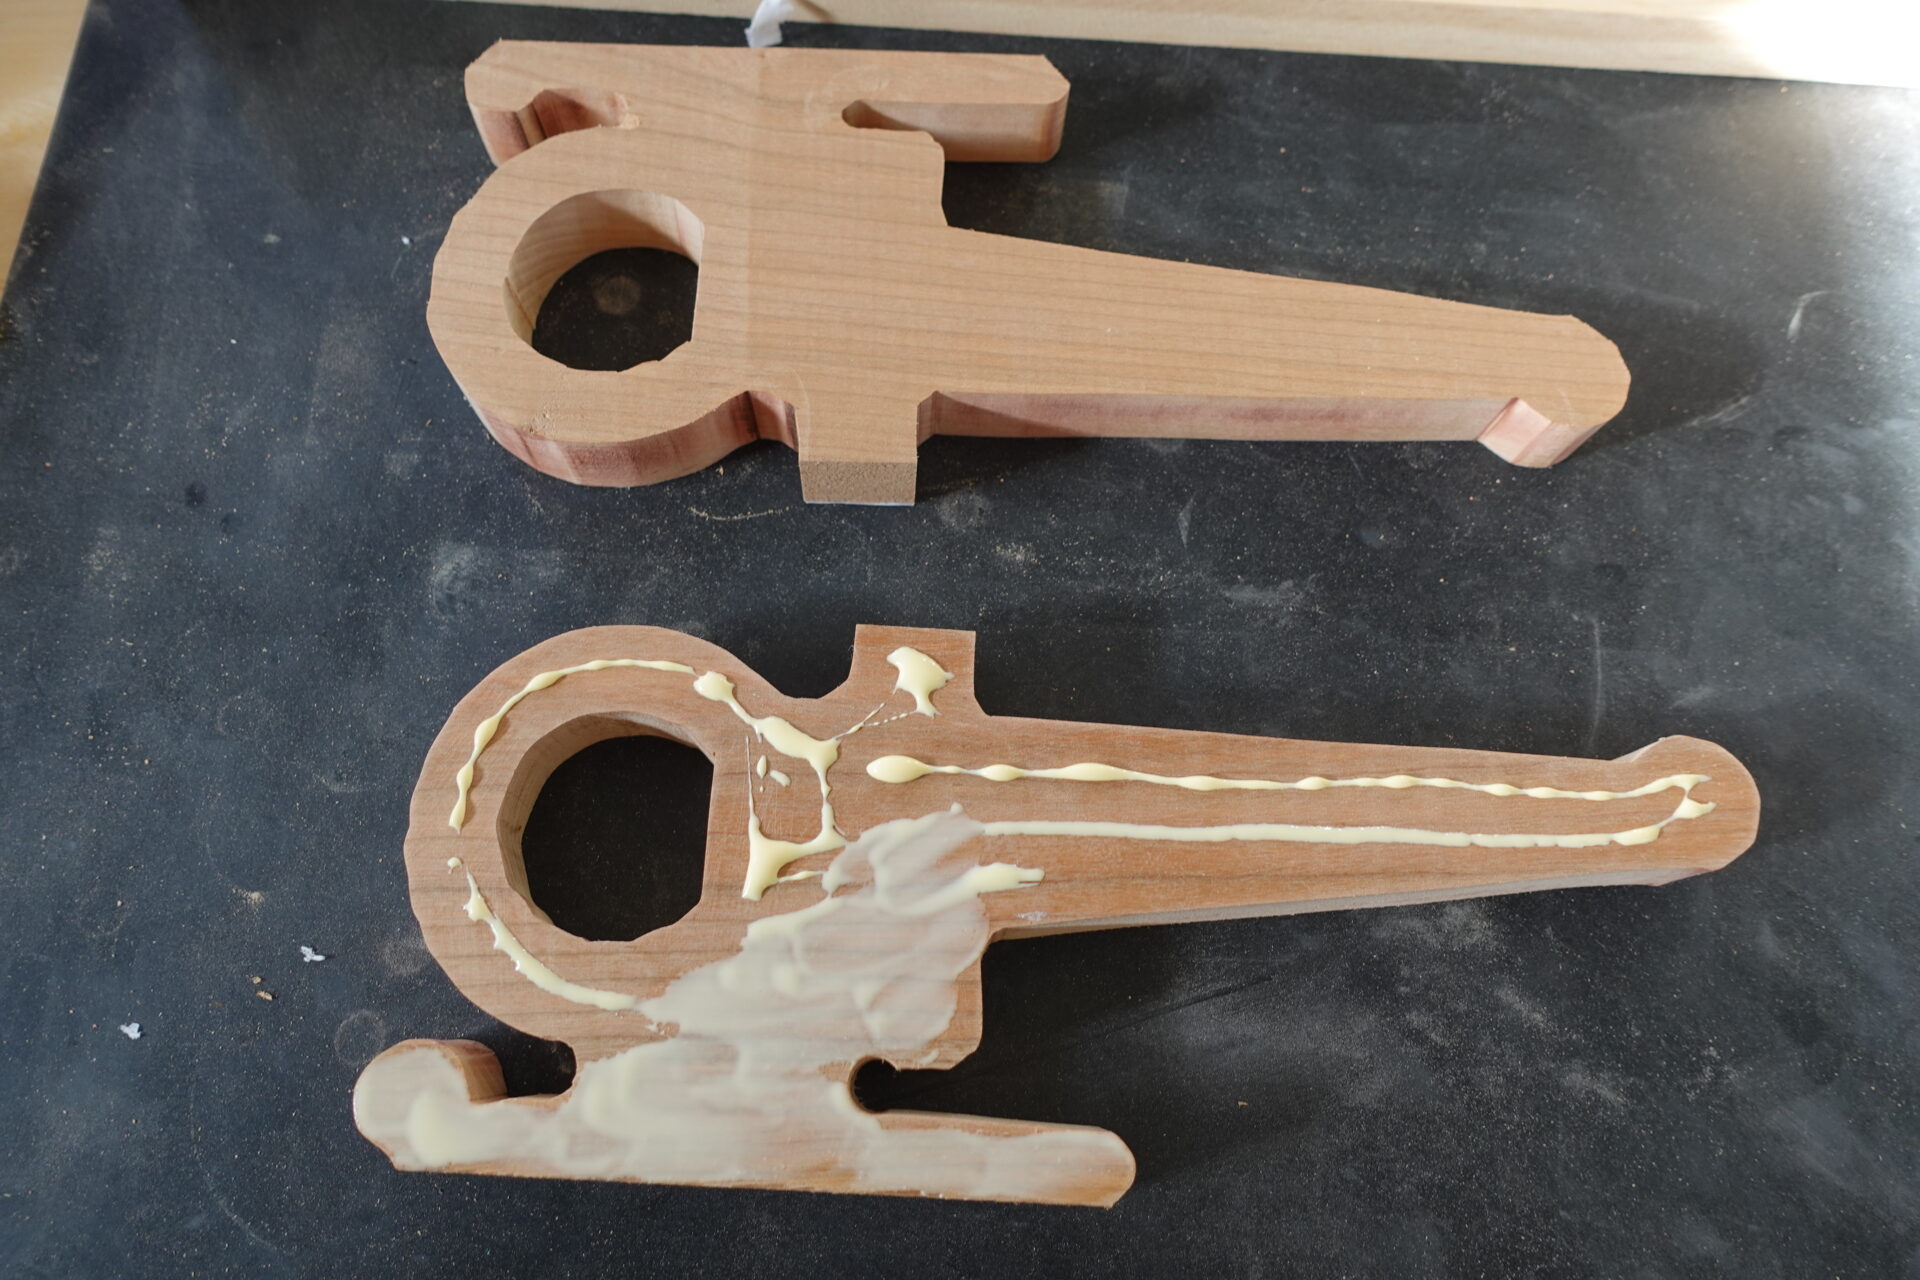
STEP 6: Use wood glue (Tite Bond II shown here) to bond the two helicopters together.
Wooden-Toy-Helicopter-clamping-together
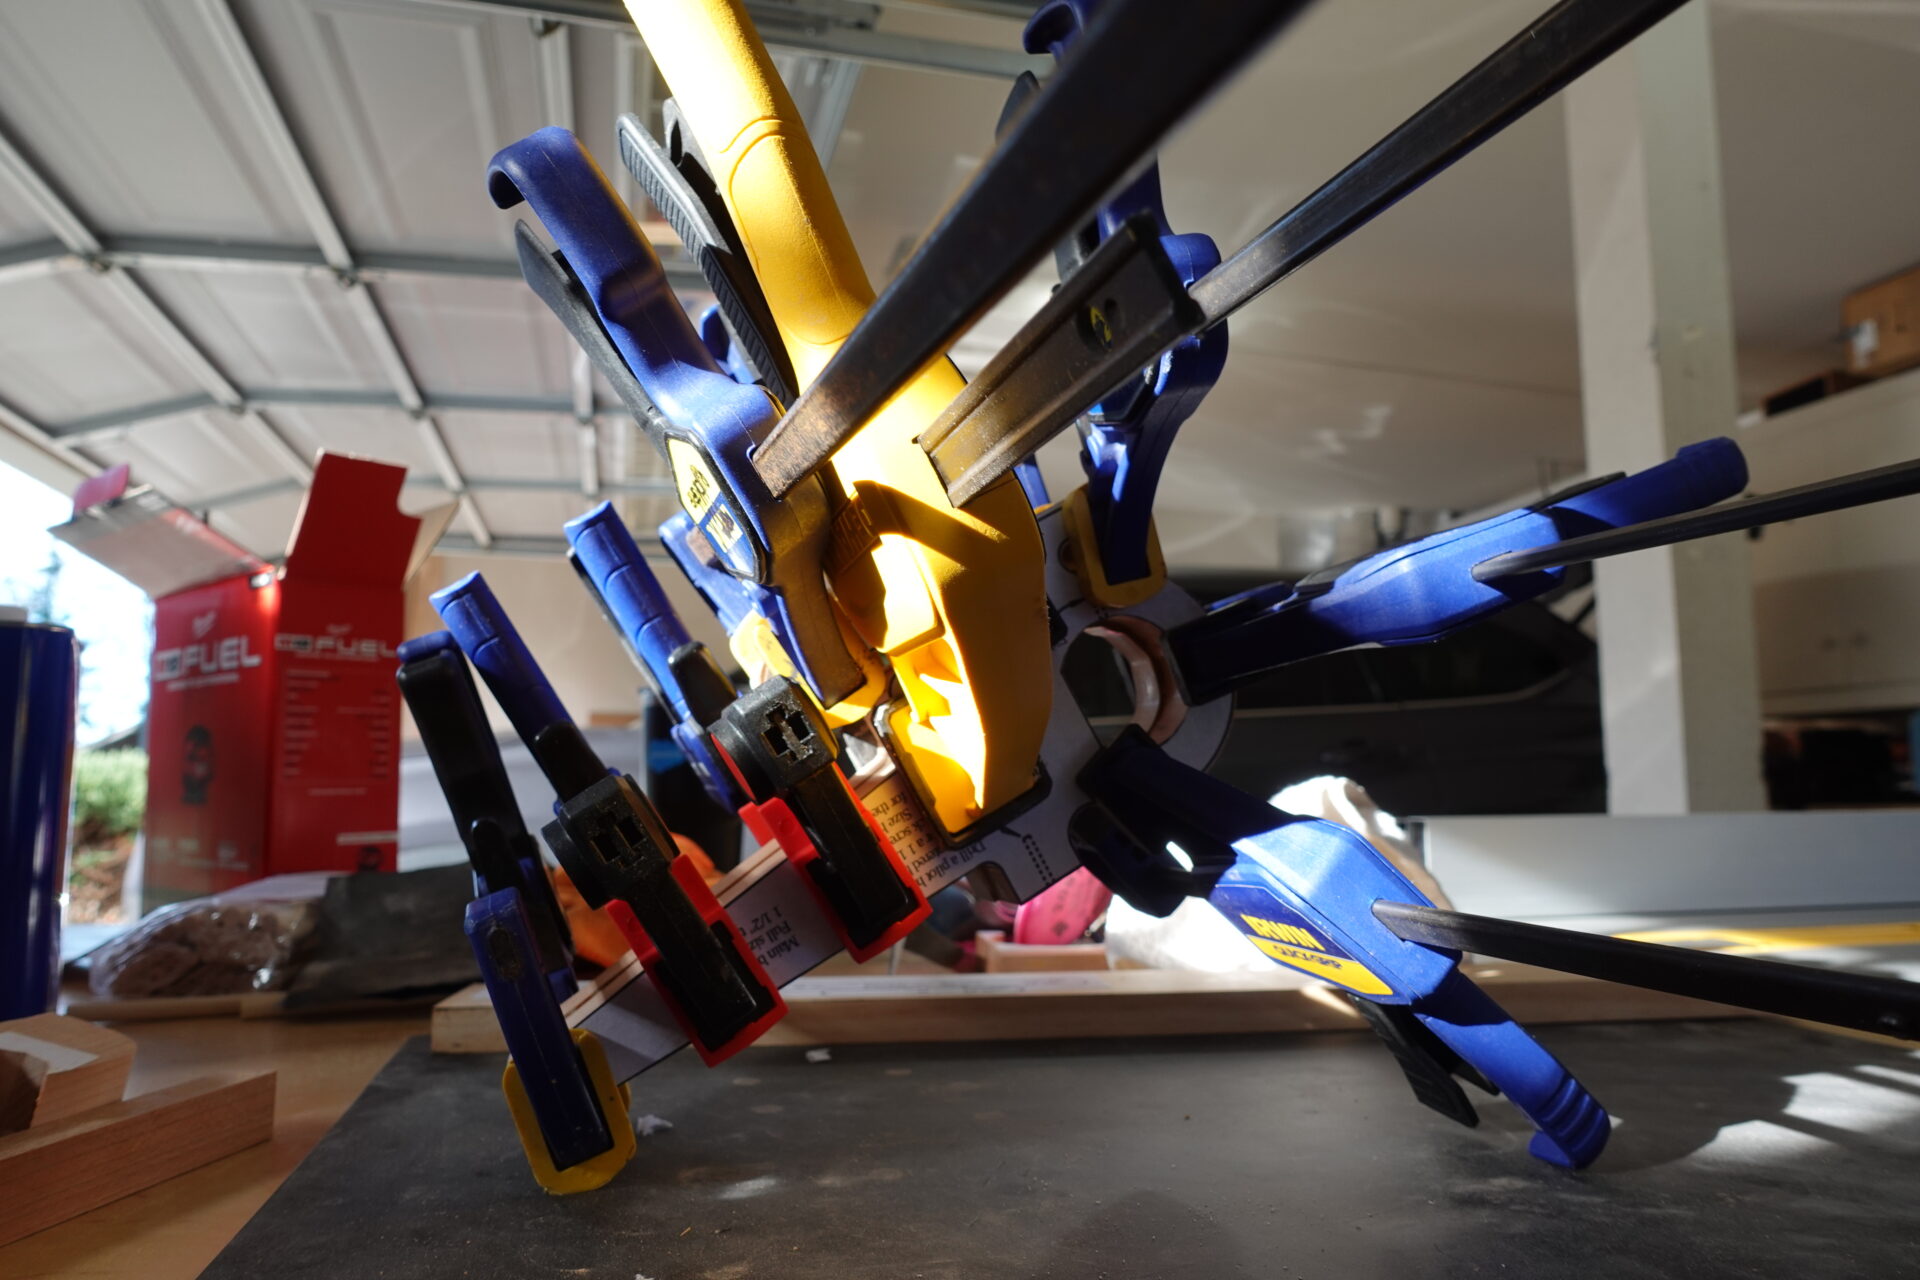
STEP 7: Use clamps and more clamps to let lock the two helicopters together with the wood glue.
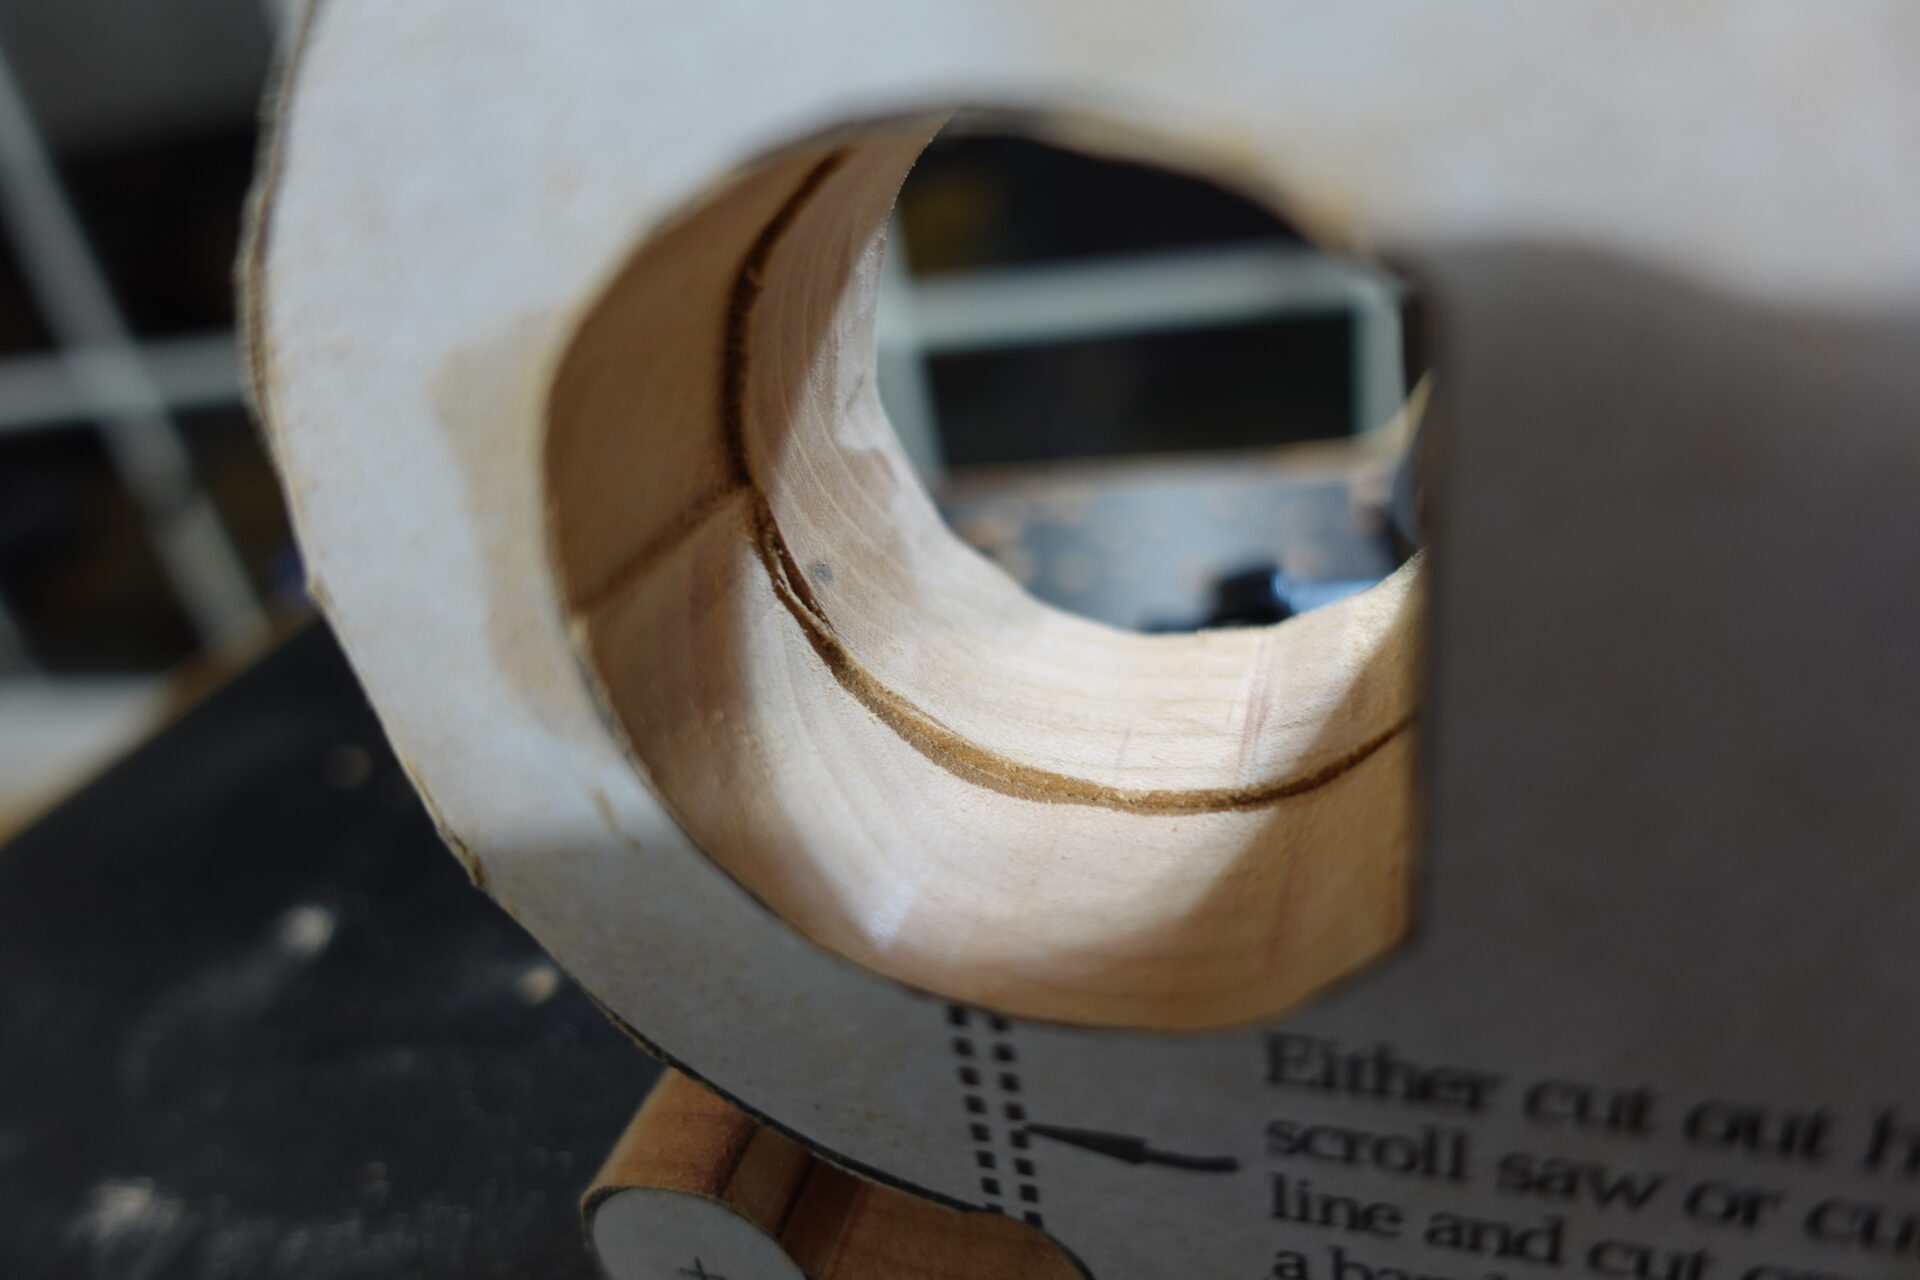
Wooden-Toy-Helicopter inside cockpit showing a mistake
After drying, I found my scrolling wasn’t very accurate so I needed to clean up the edges.
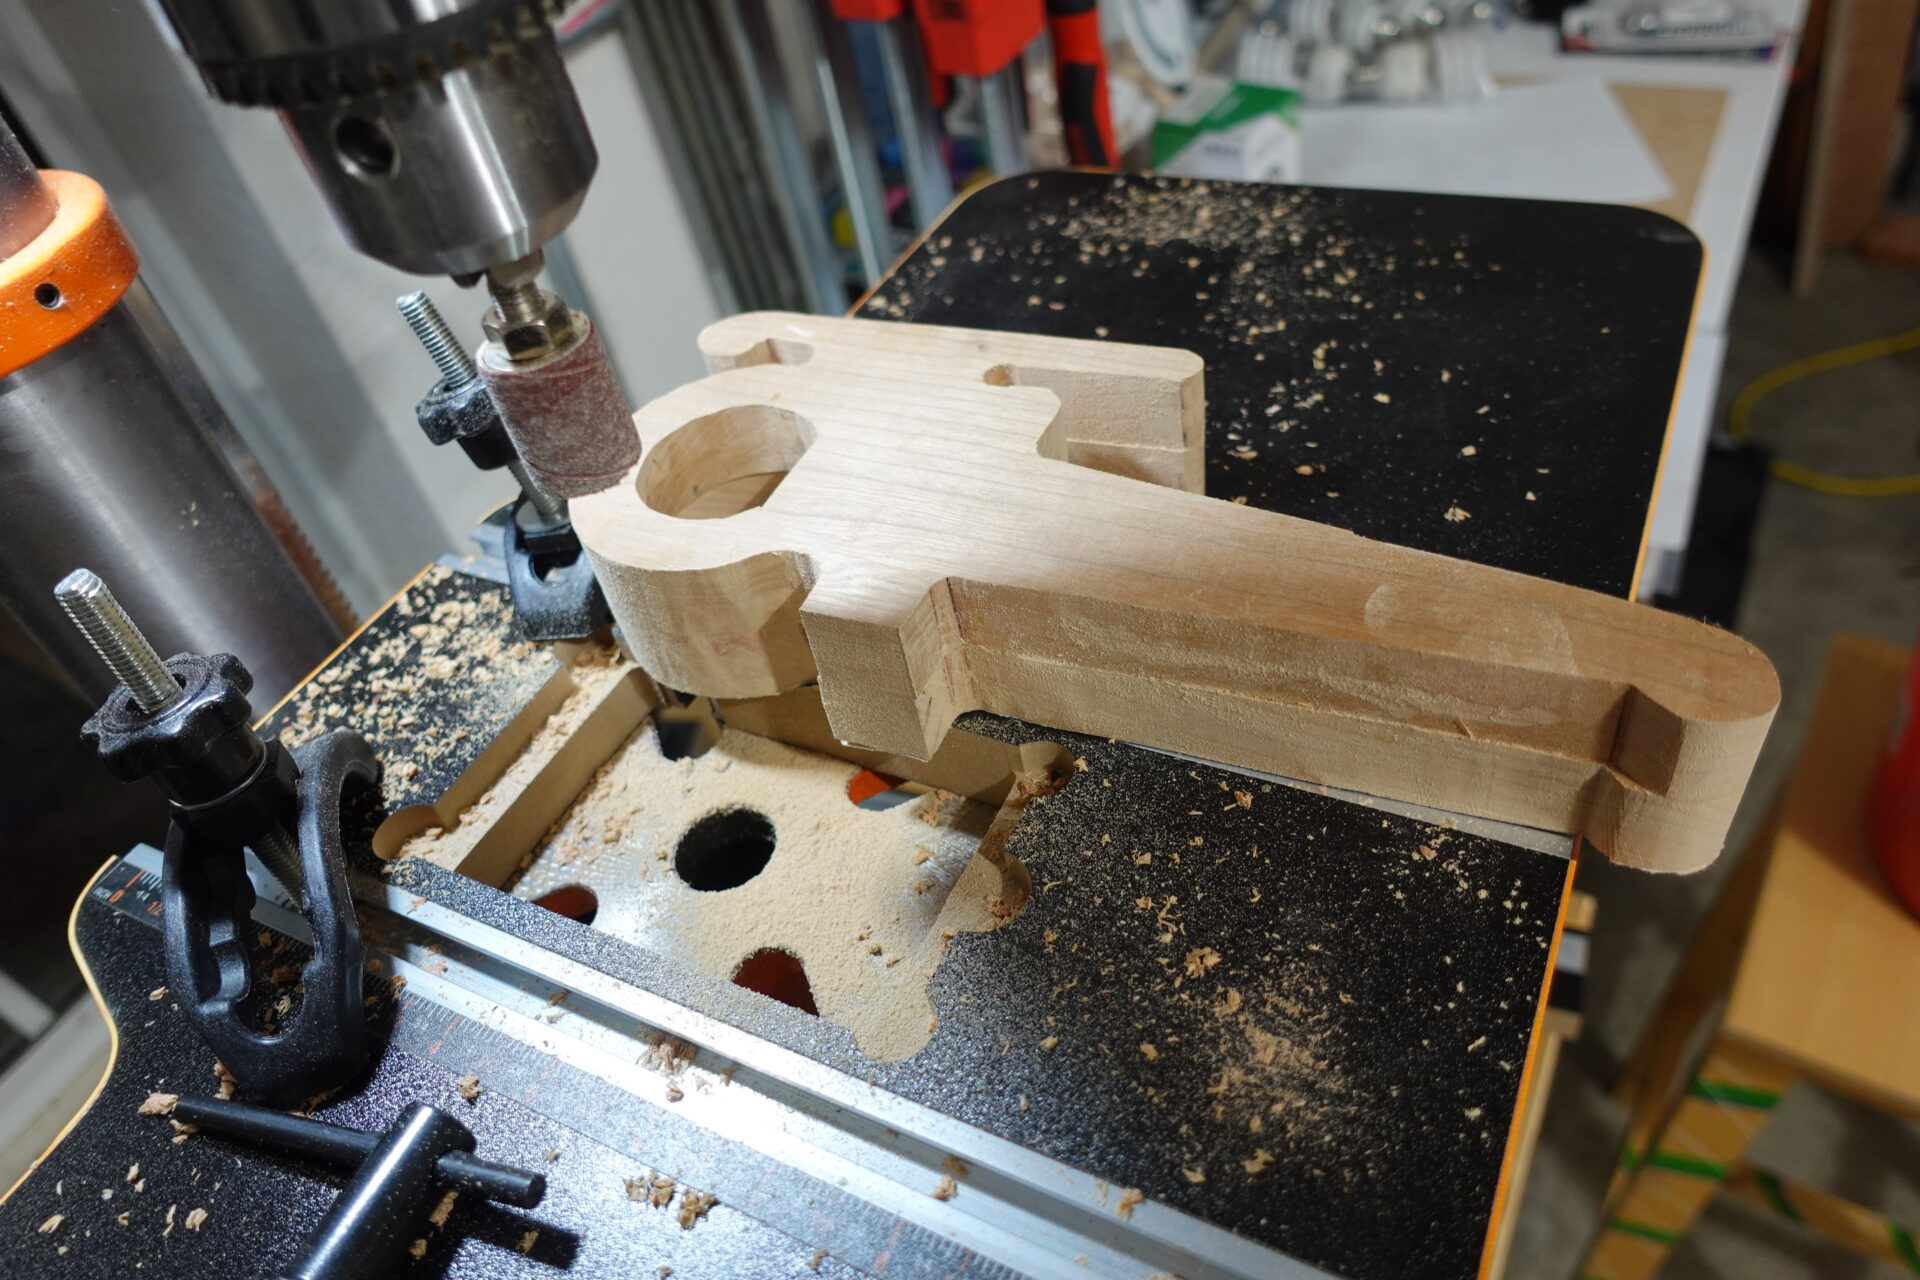
Wooden-Toy-Helicopter drill press with sander attachment
STEP 8: Sand the edges to make flat and seamless as possible. (Shown above is a spindle sander on a drill press)
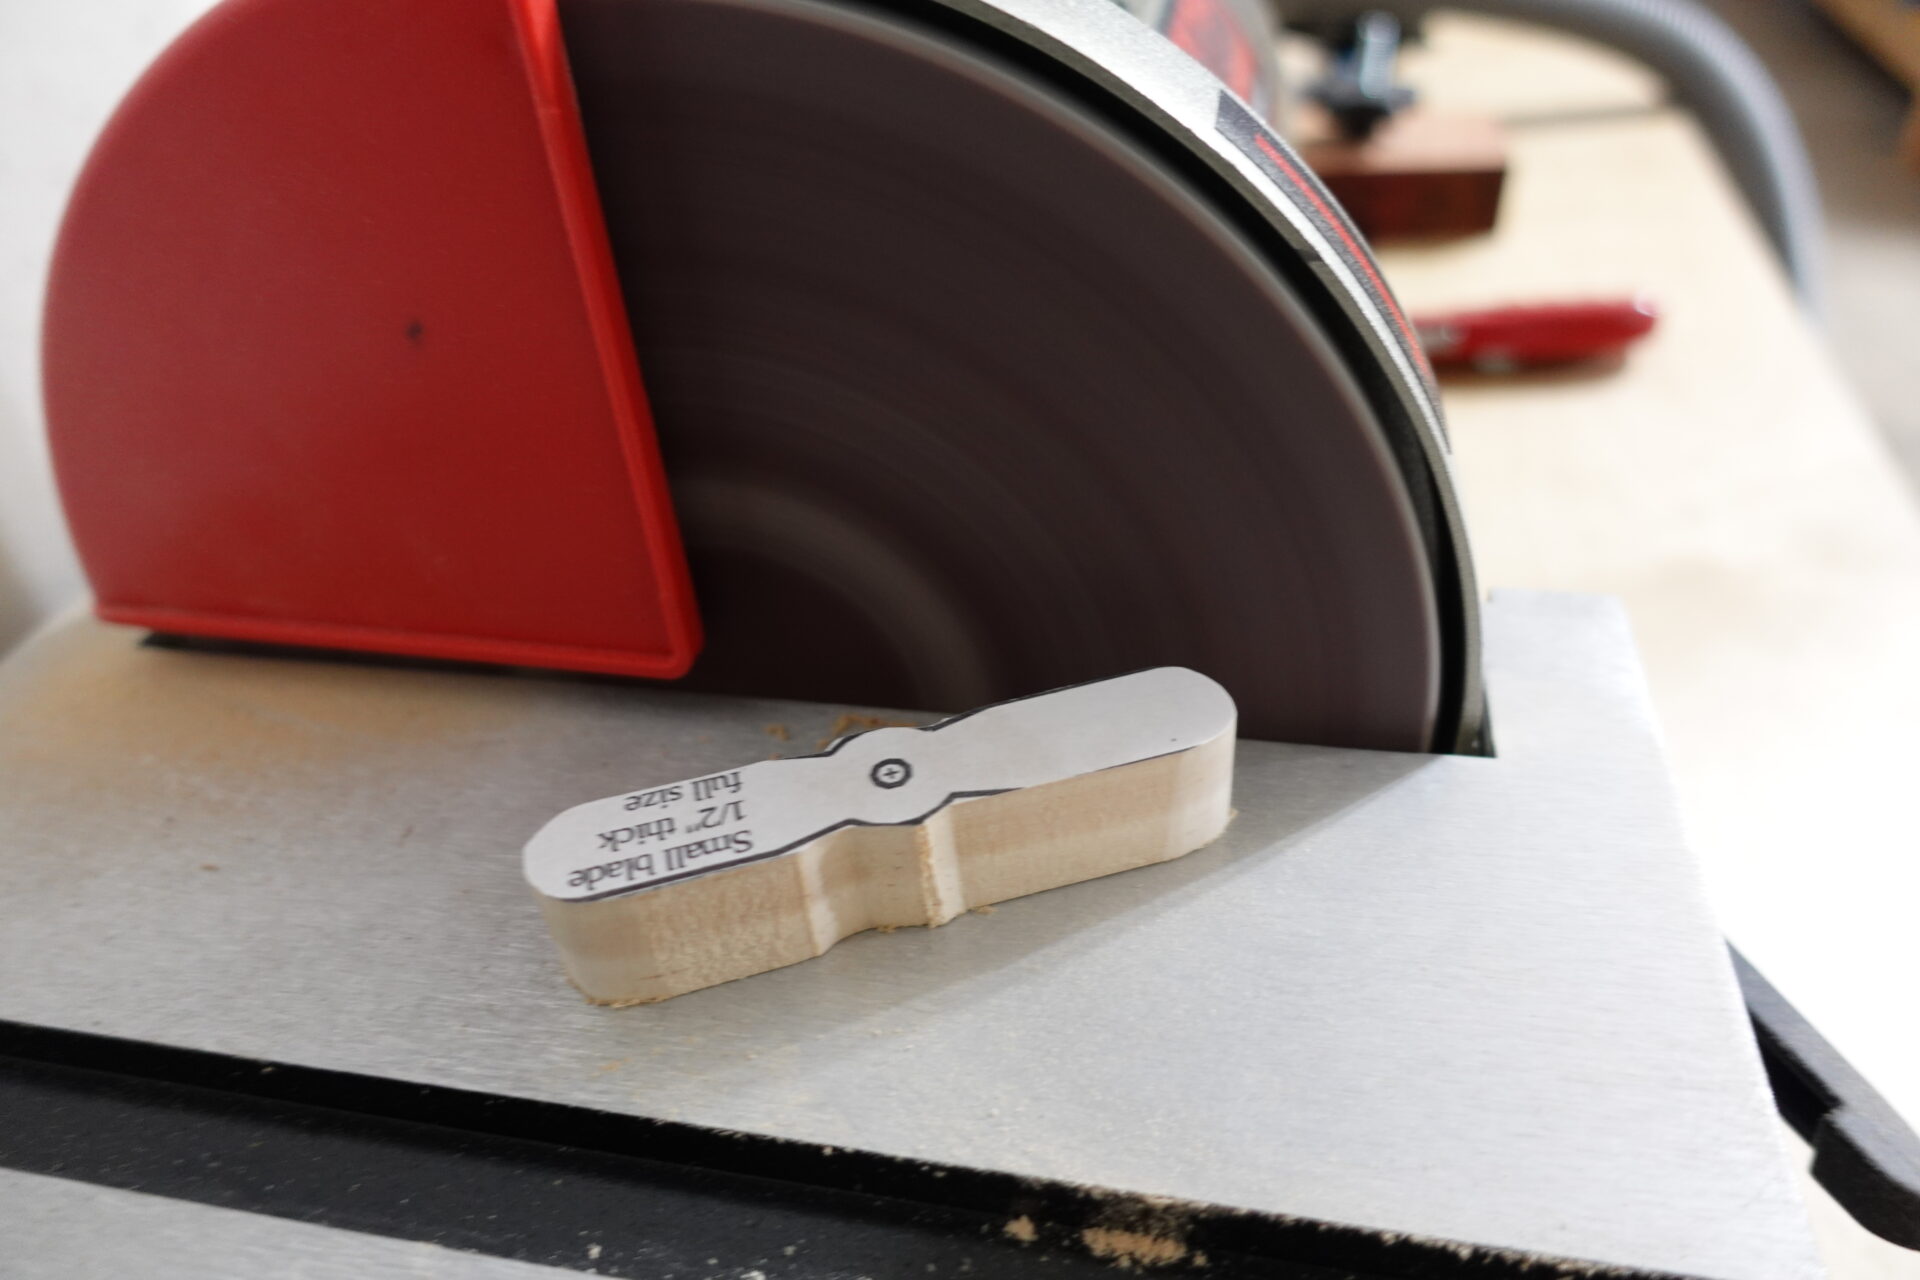
Wooden-Toy-Helicopter Sanding rotors
A disc sander can also help to make quick work of the edges.
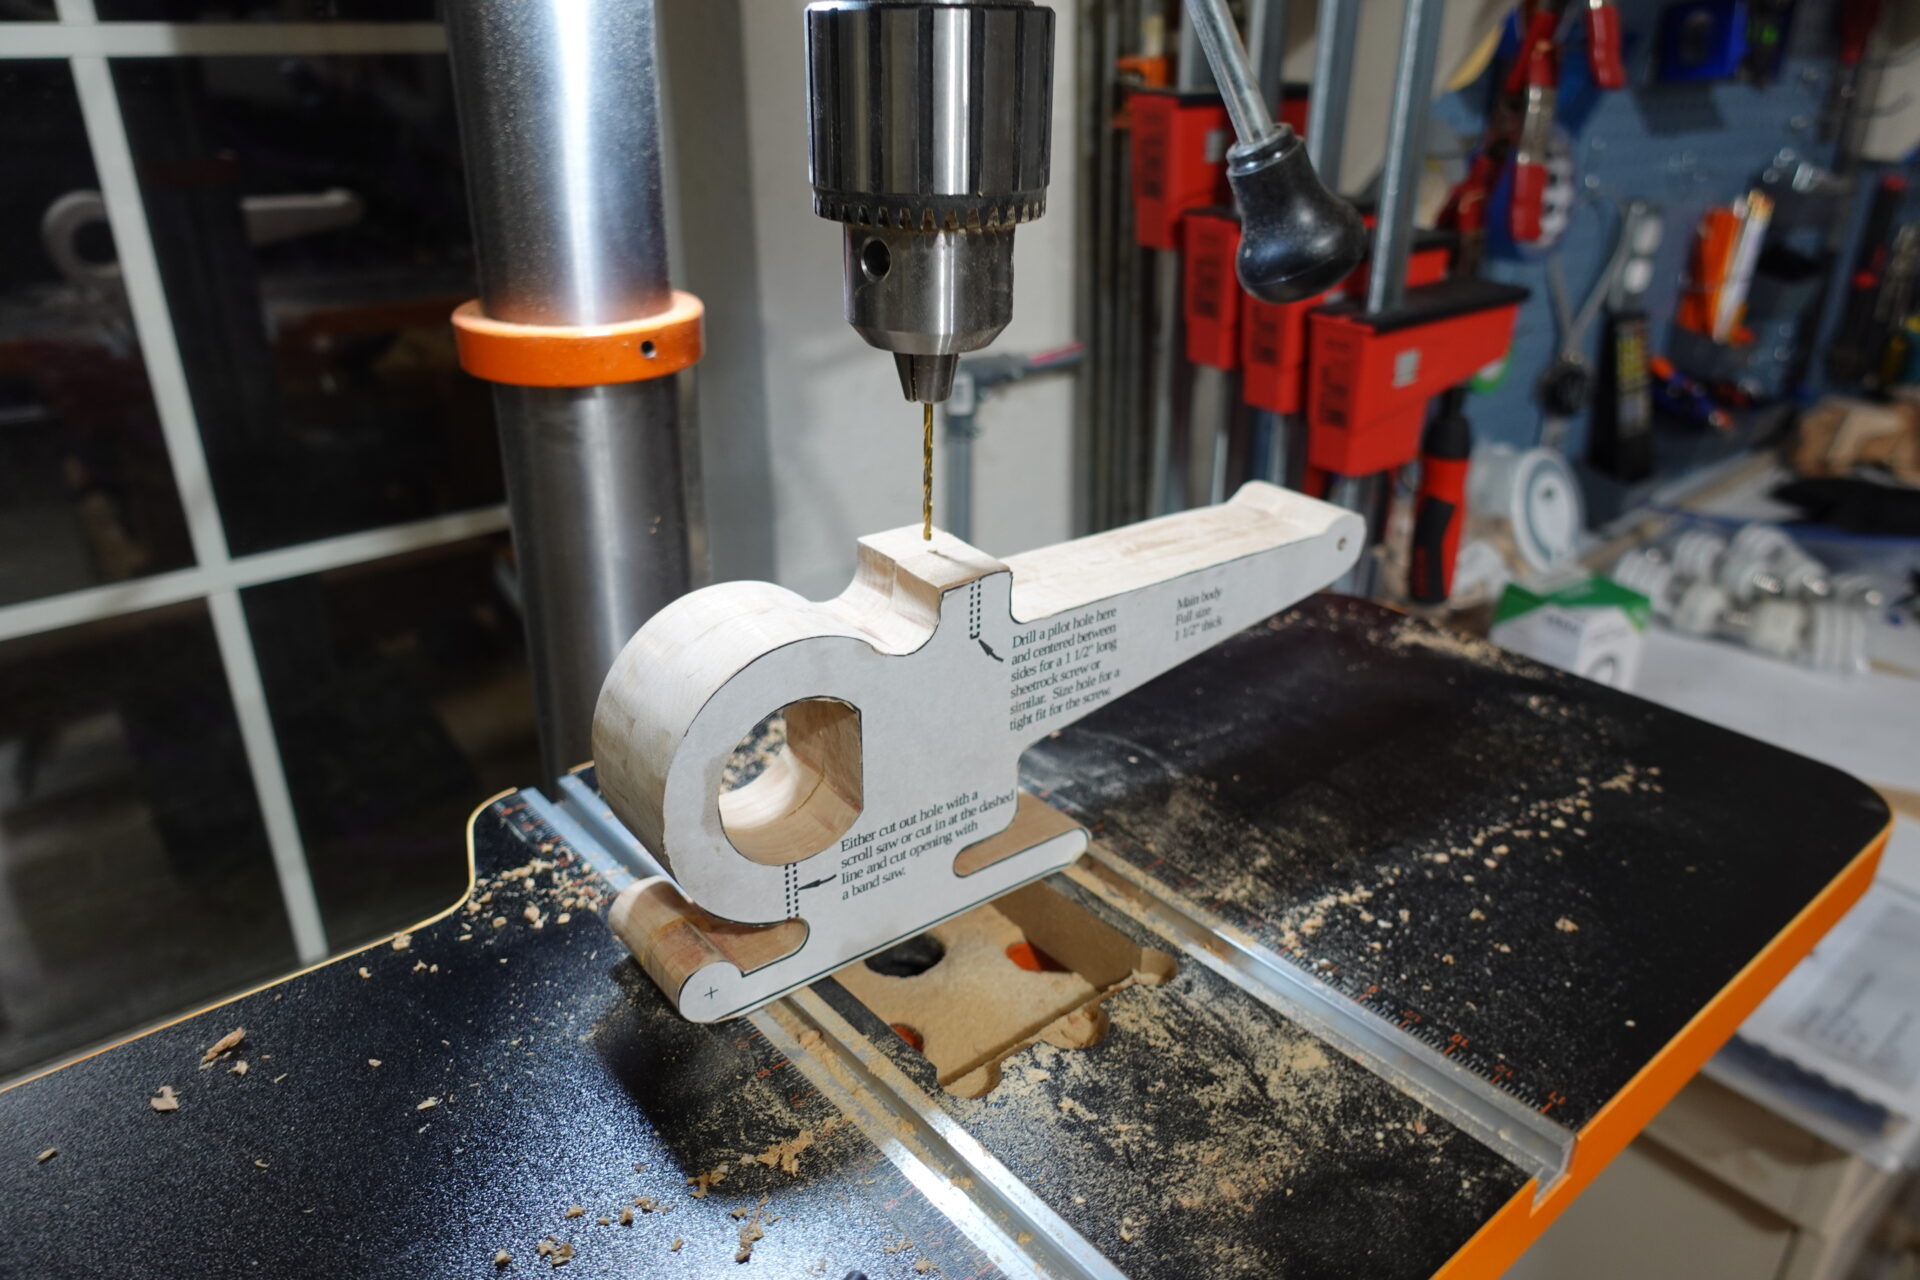
Wooden-Toy-Helicopter drilling top hole
STEP 9: Drill holes for the top and rear rotors.
Wooden-Toy-Helicopter close up of the screw with washer
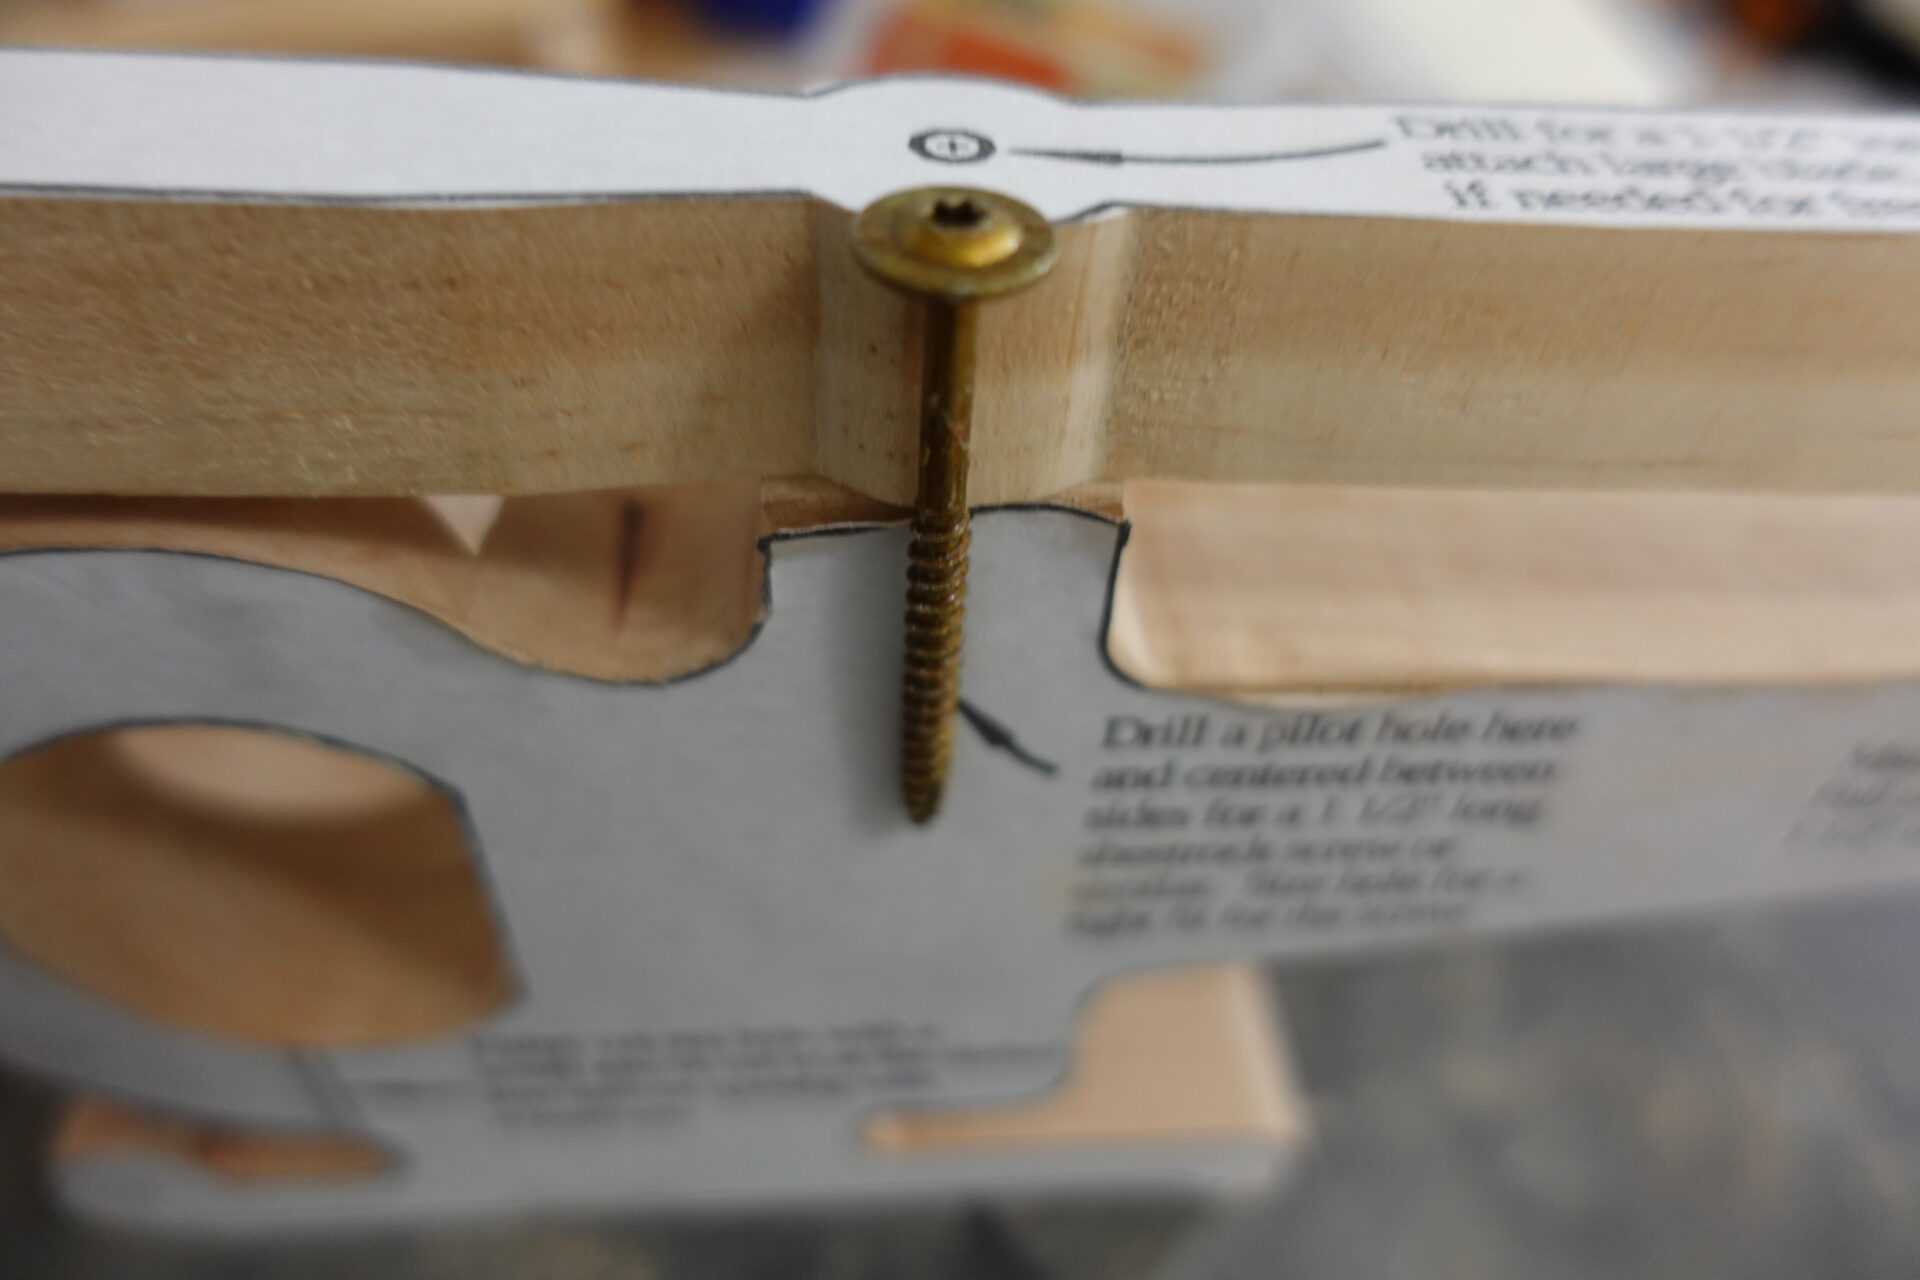
STEP 10: Test fit screw and washer that will hold the rotor in place.
Wooden-Toy-Helicopter screws and washer

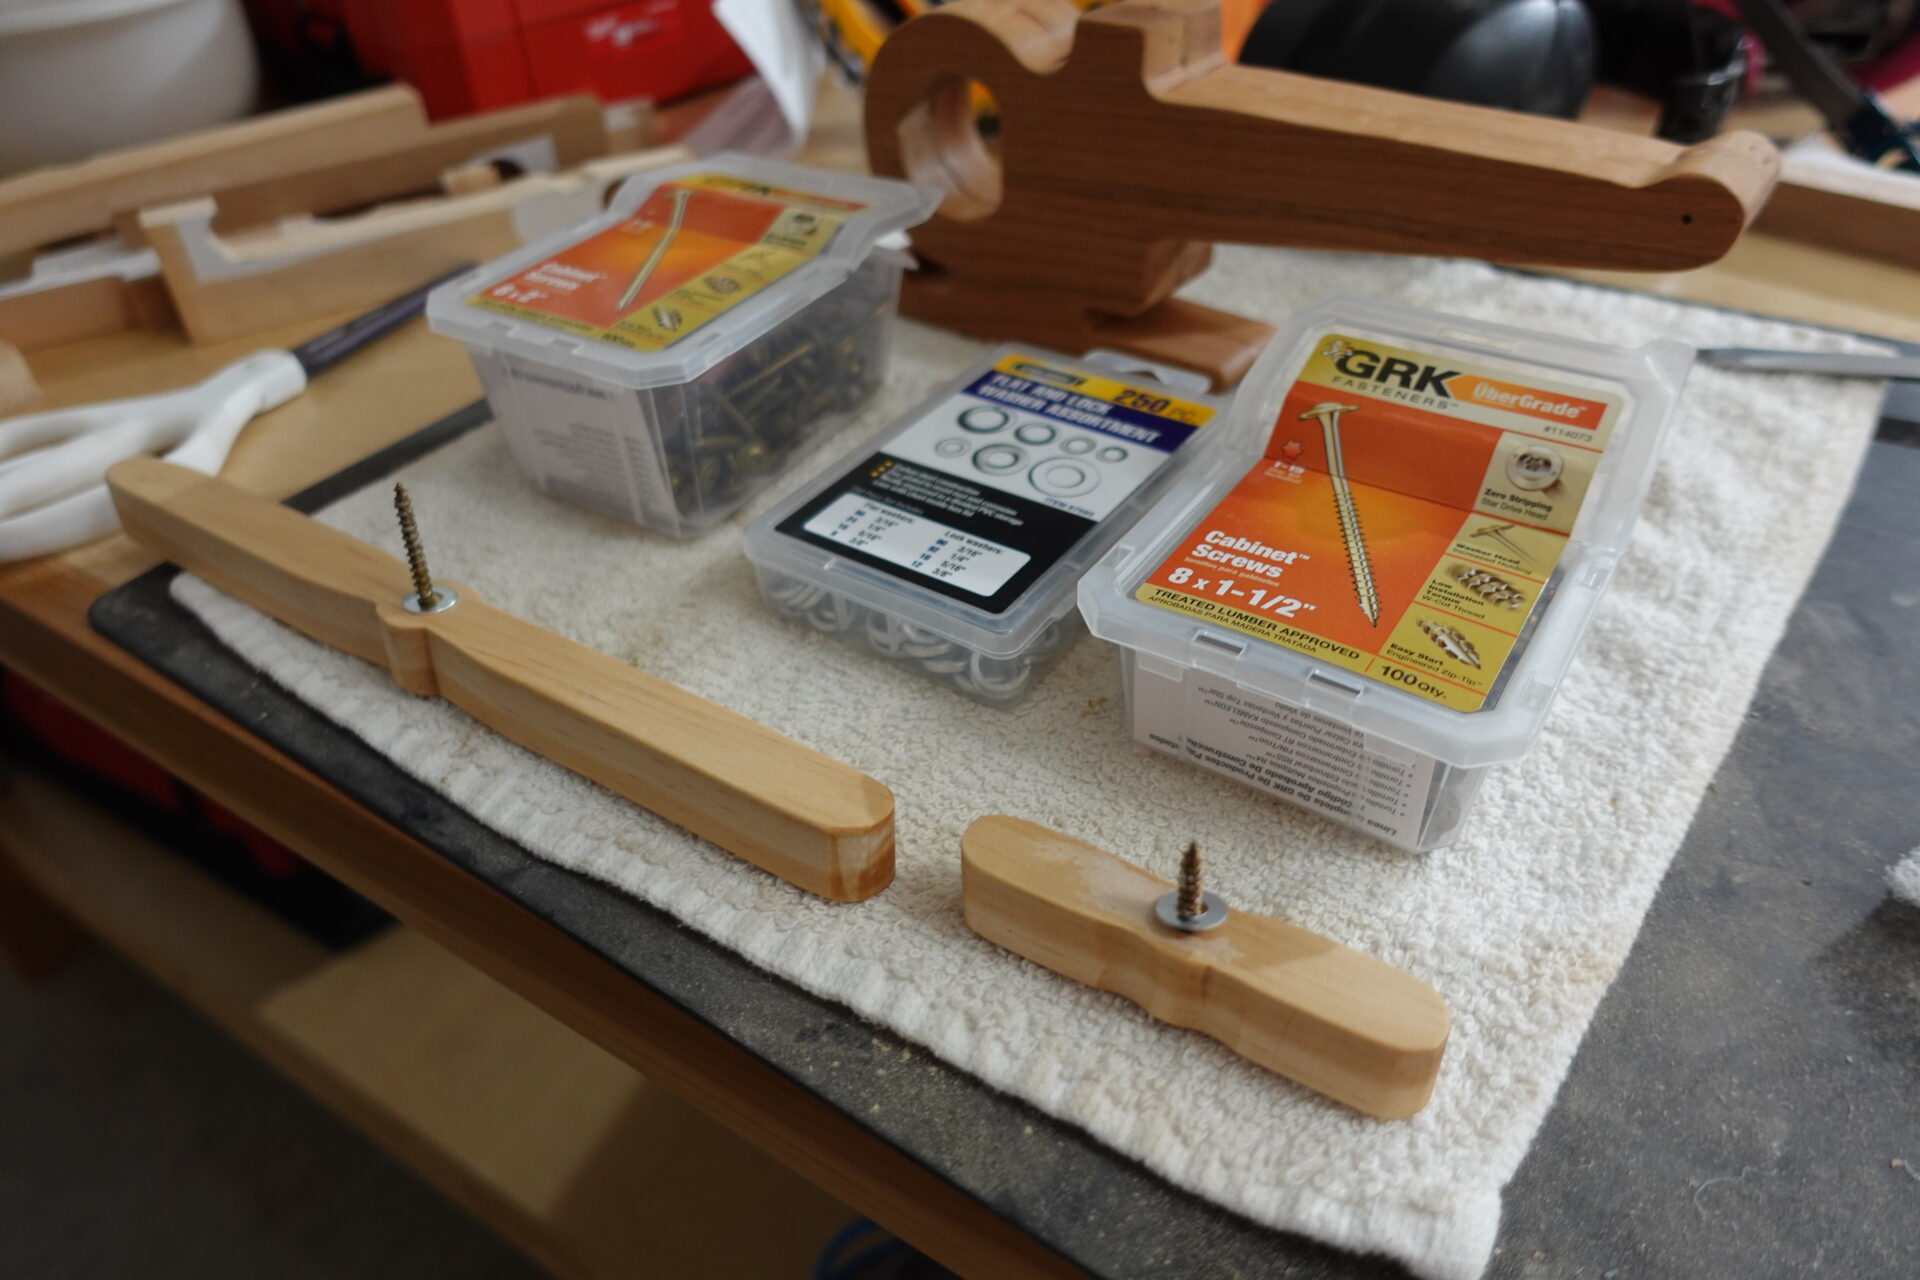
Shown above are the cabinet screws and washers used. (For the top rotor: one 8 x 2 inch cabinet screw and for the rear rotor: one 8 x 1-1/2 inch cabinet screw)
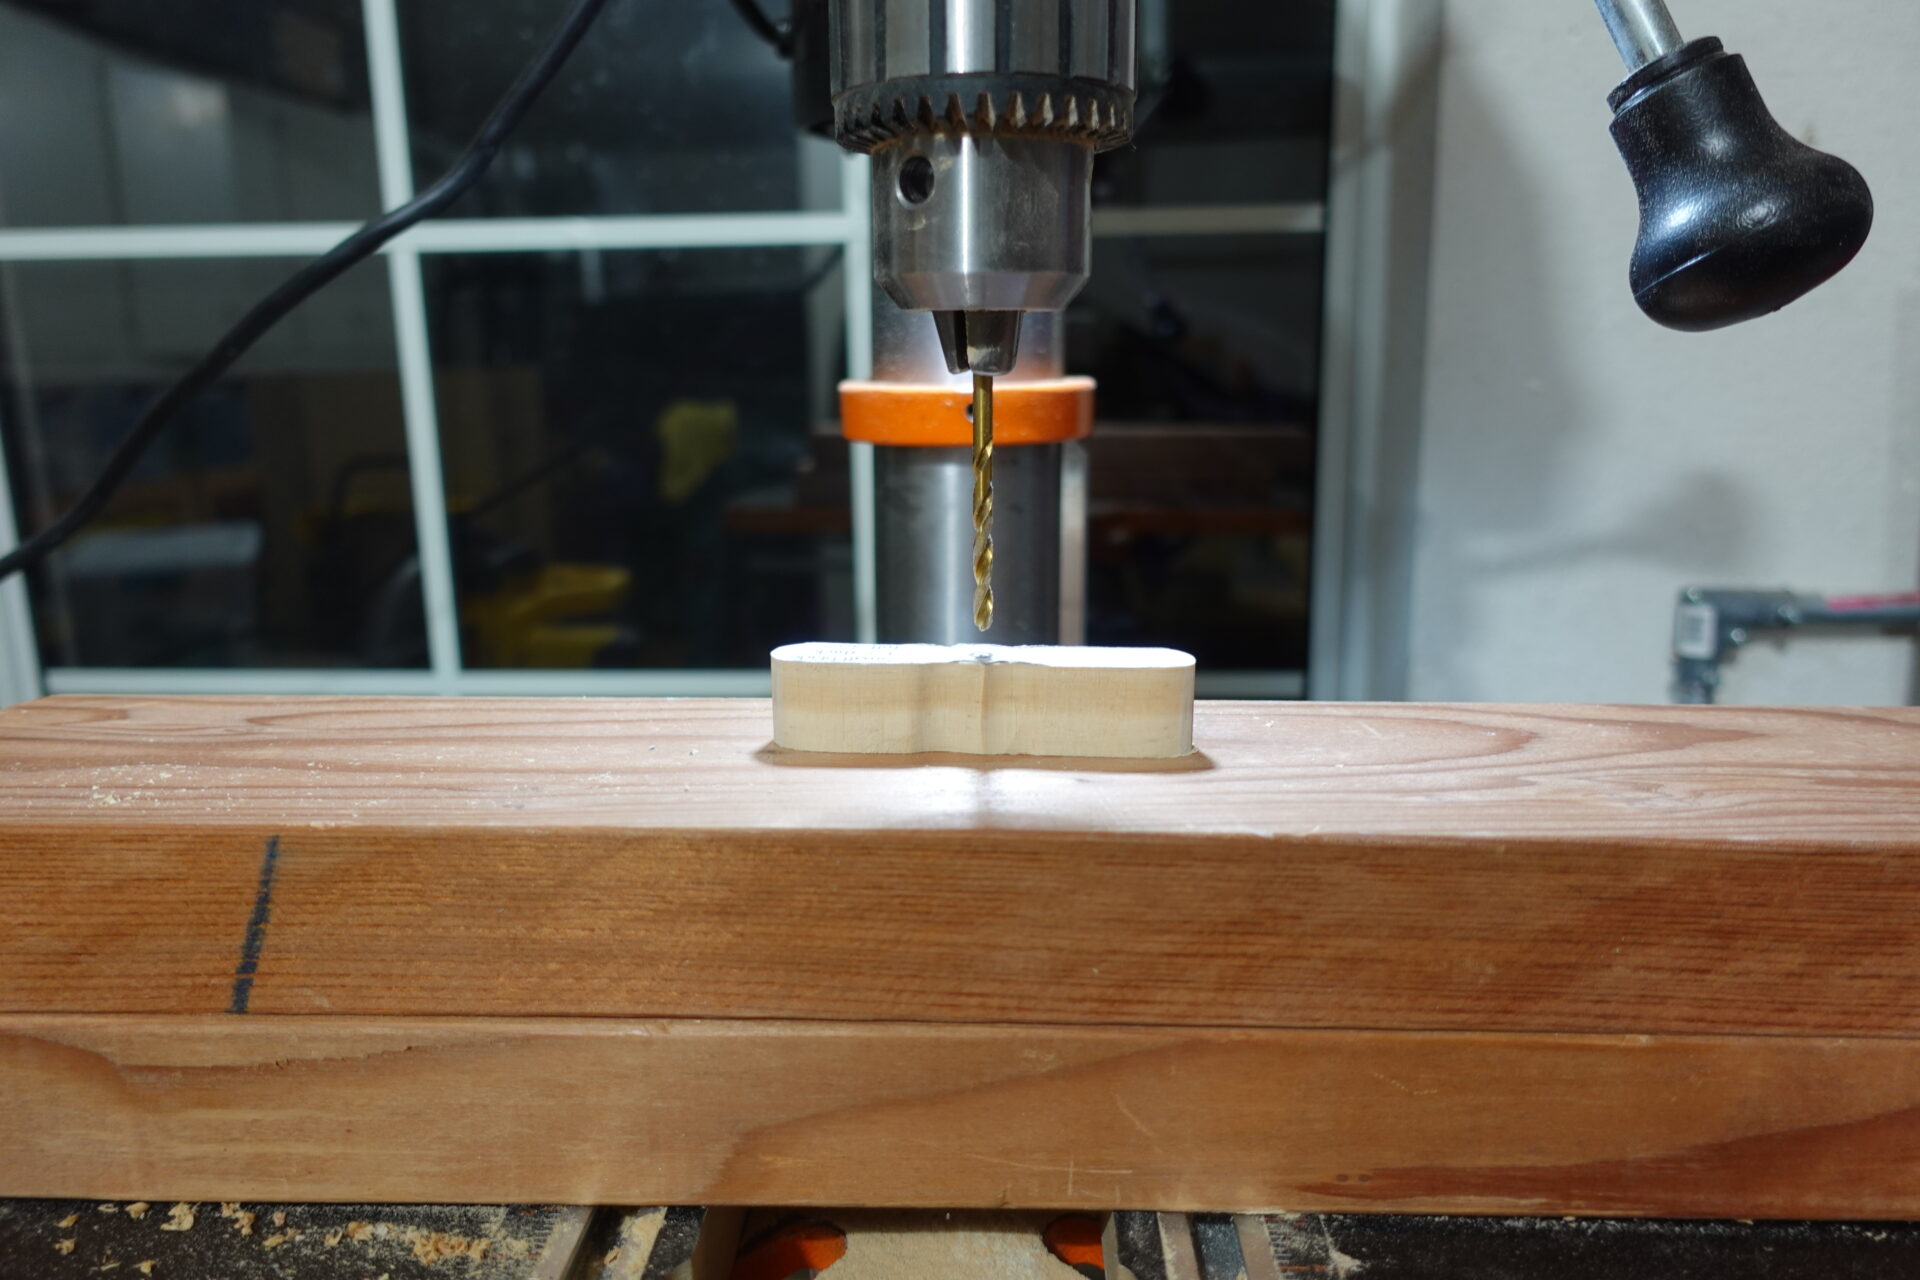
Wooden-Toy-Helicopter drill press on back rotor
Step 11: Drill pilot holes in the rotors that are slightly smaller than the screws you will use.
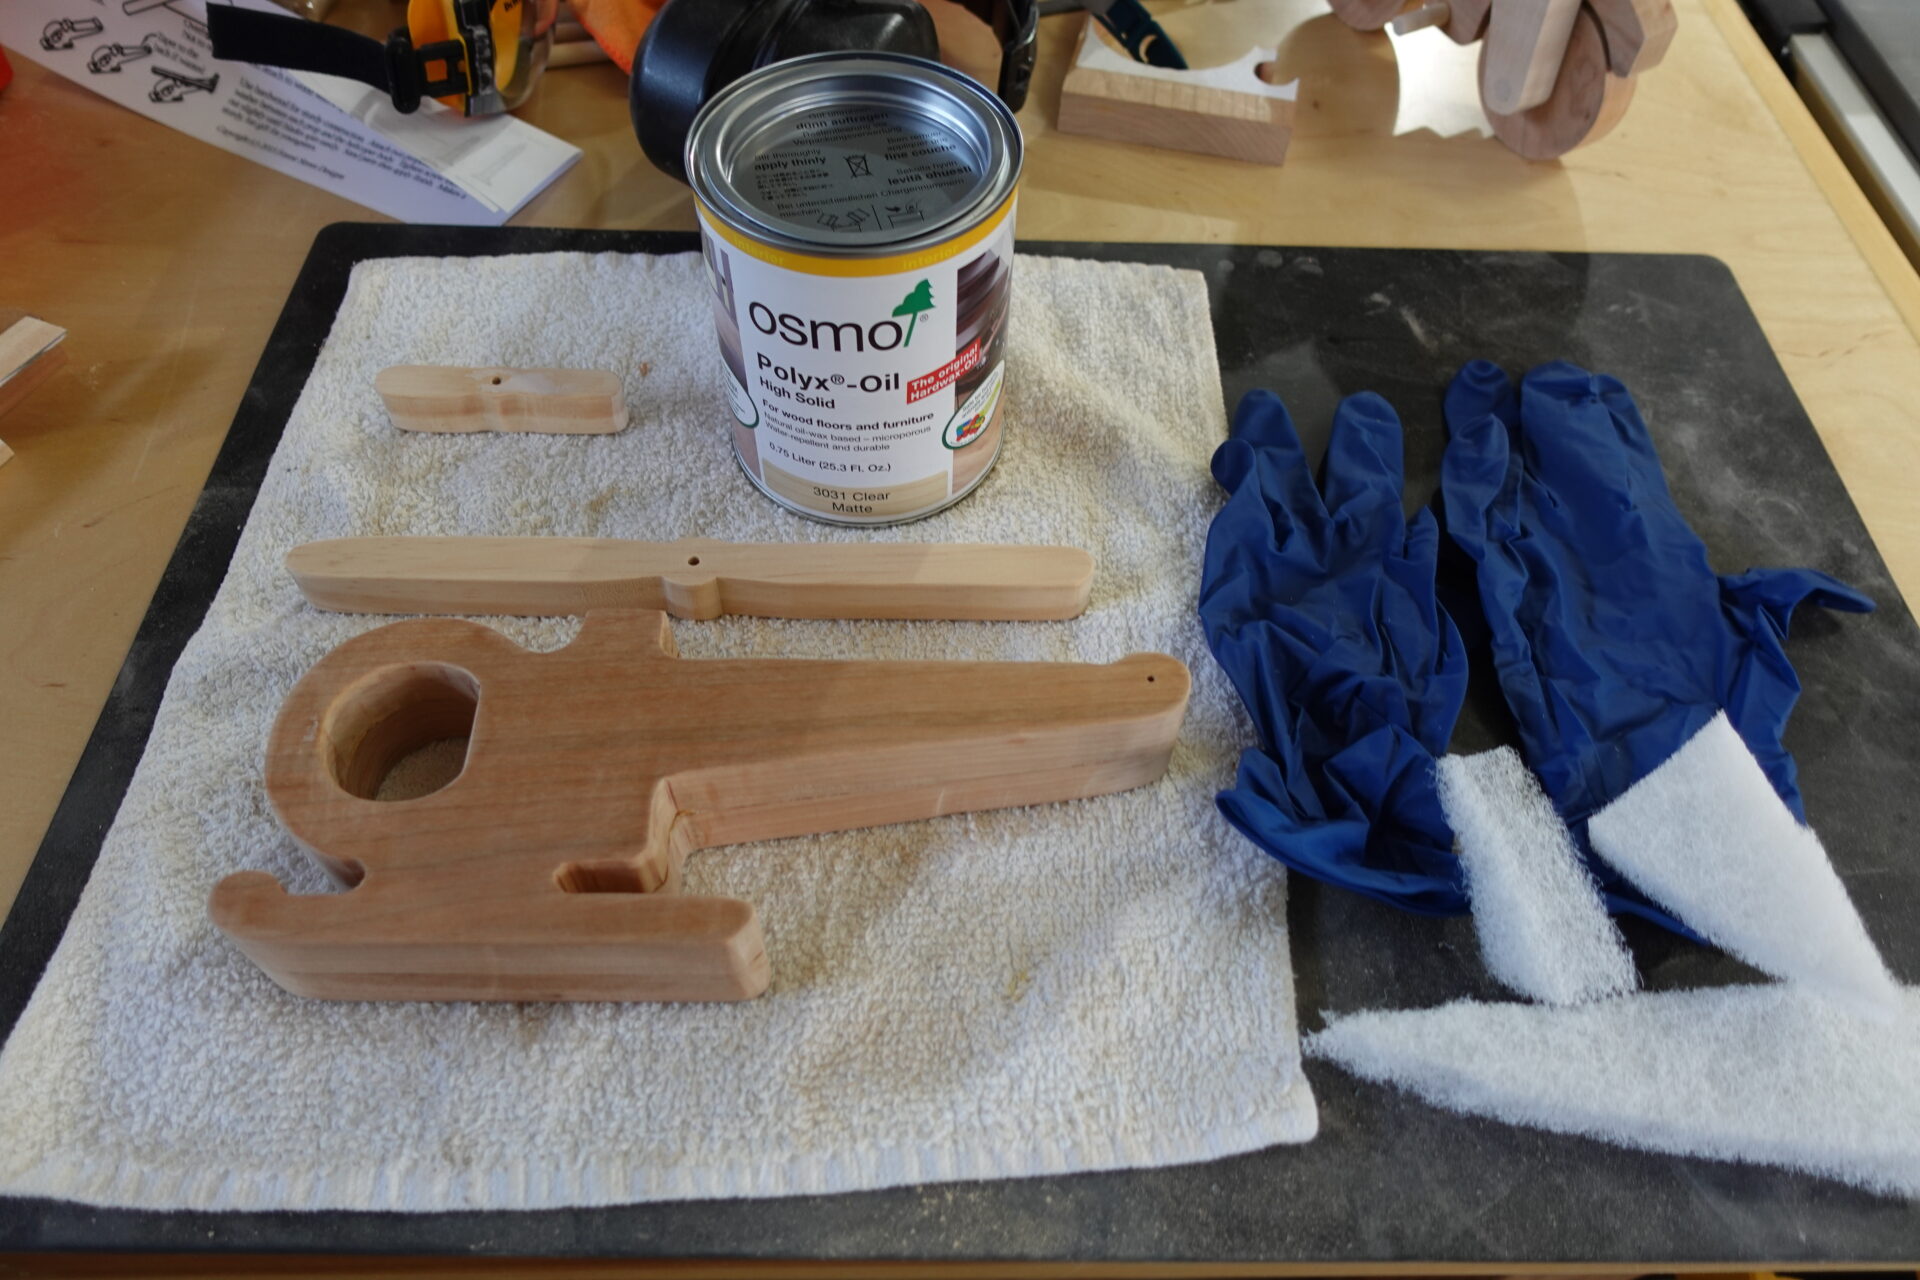
Wooden-Toy-Helicopter with Osmo Finish
STEP 12: Apply finish. I chose Osmo Polyx Oil since it is all natural and is designed to be child safe. Drying time is about 24 hours. (See article on how to apply the finish here)
Cropped picture of the completed helicopter
STEP 13: Screw in rotors and enjoy your new heirloom toy.

Conclusion

Congratulations on building your new wooden toy helicopter! You may notice one particularly fun (or not so fun) feature of this helicopter. The rotors spin freely but bang into each other. You can make a new game with this by spinning the rear rotor and then the top and seeing how many times it can spin without hitting each other.

Leave a Comment