Dust control systems are the unsung heroes of a well-functioning workshop. By adding a cyclone to a shop vac, you can collect the wood chips, dust, and debris at the source, and prevent your shop vac blowing out dust.
The importance of an effective dust control system cannot be overstated. Beyond the visible inconvenience, airborne particles pose serious health risks to workers and can wreak havoc on machinery. In this workshop guide, we’ll show one idea for a mobile dust collection cart that collects dust at the source to make clean up effortless and give your shop vac an extra life.

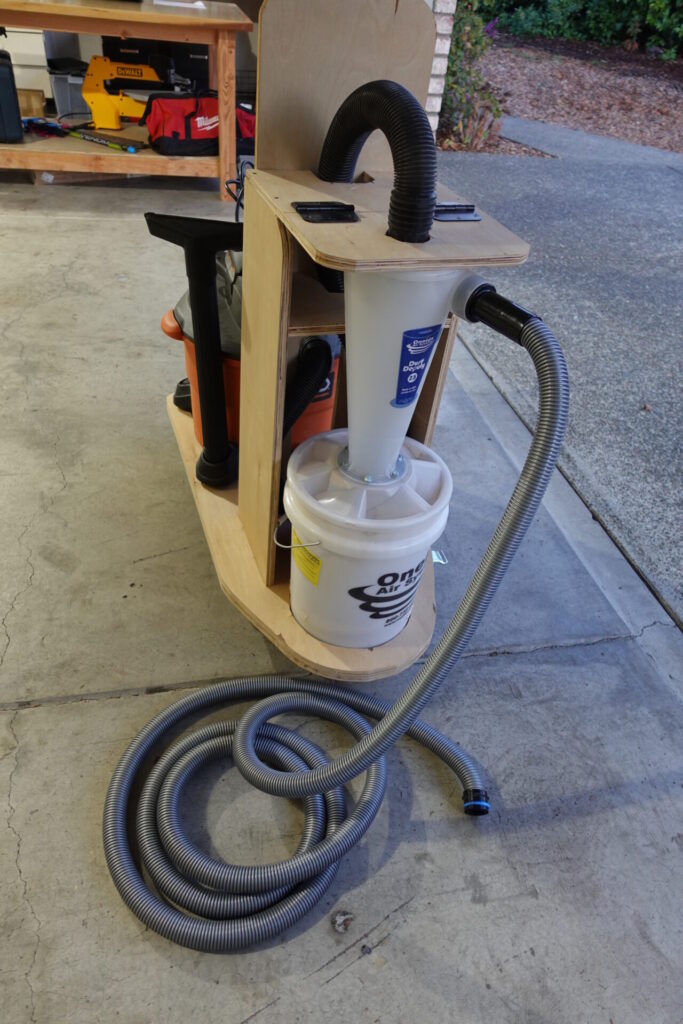
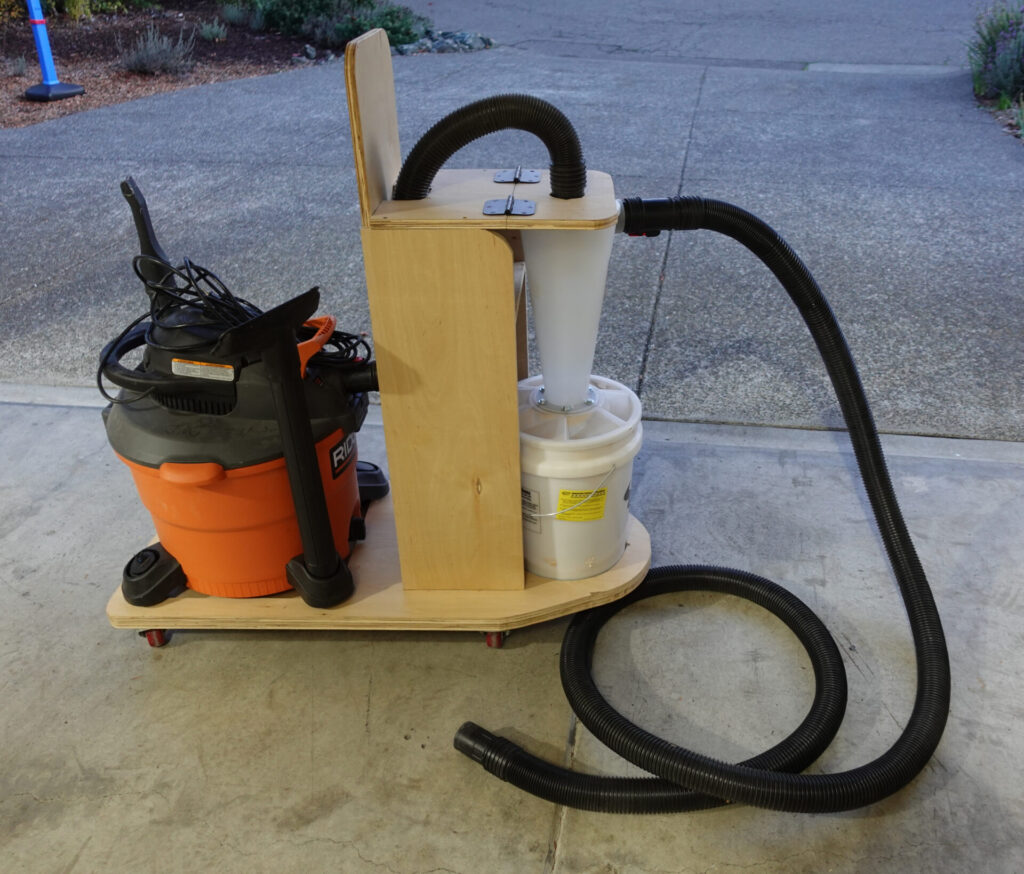
Components of the Dust Collection Cart
- Shop Vacuum (Ridgid WD12800 Wet/Dry 5.0 HP)
- HEPA Filter (Ridgid VF6000)
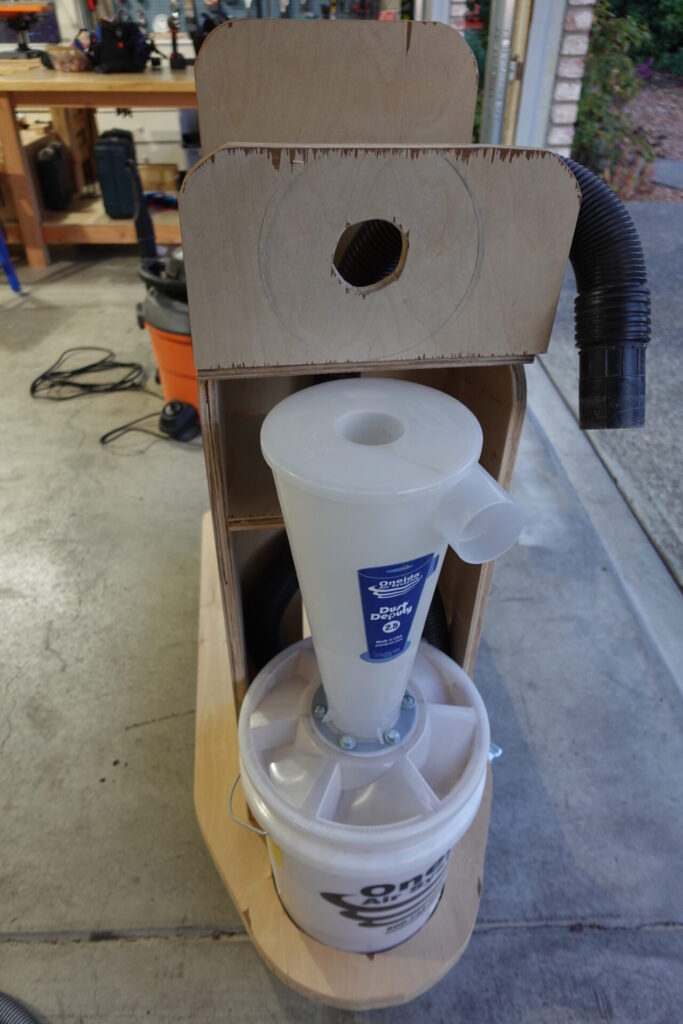
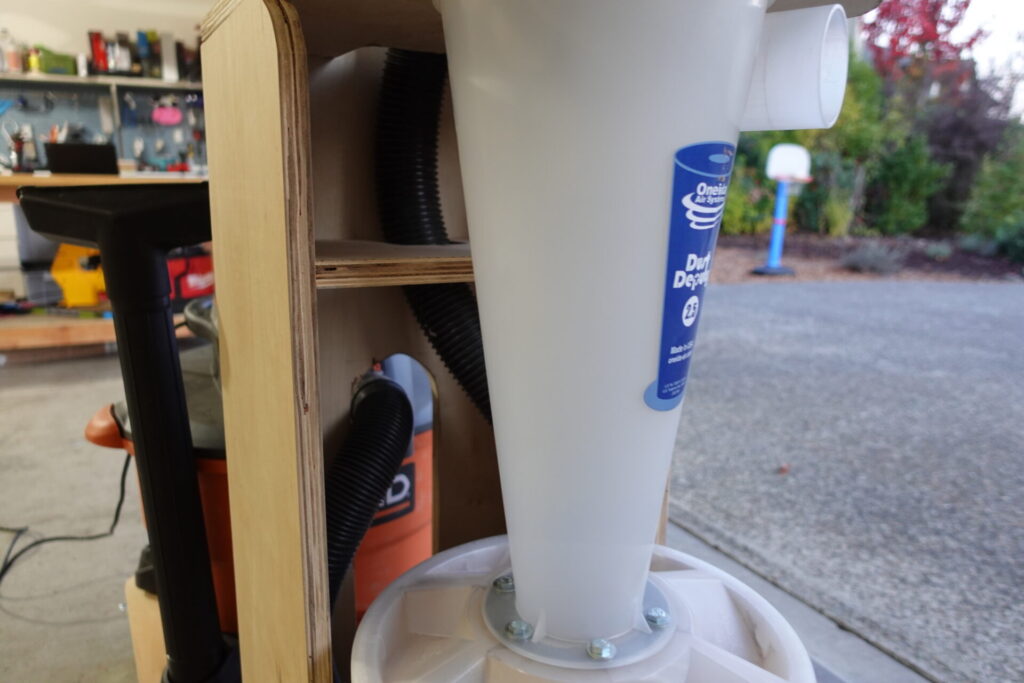
- Cyclone Separator (Oneida Dust Deputy 2.5)
- 3 foot 2-1/2 inch hose (to connect Shop Vac to the Cyclone)
- Hoses for Power Hand Tools (Cen-Tec Systems 94709 Quick Click)
- Hoses for Large Power Tools (WORKSHOP WS25021A 13-Foot Hose, 2-1/2 Inch)
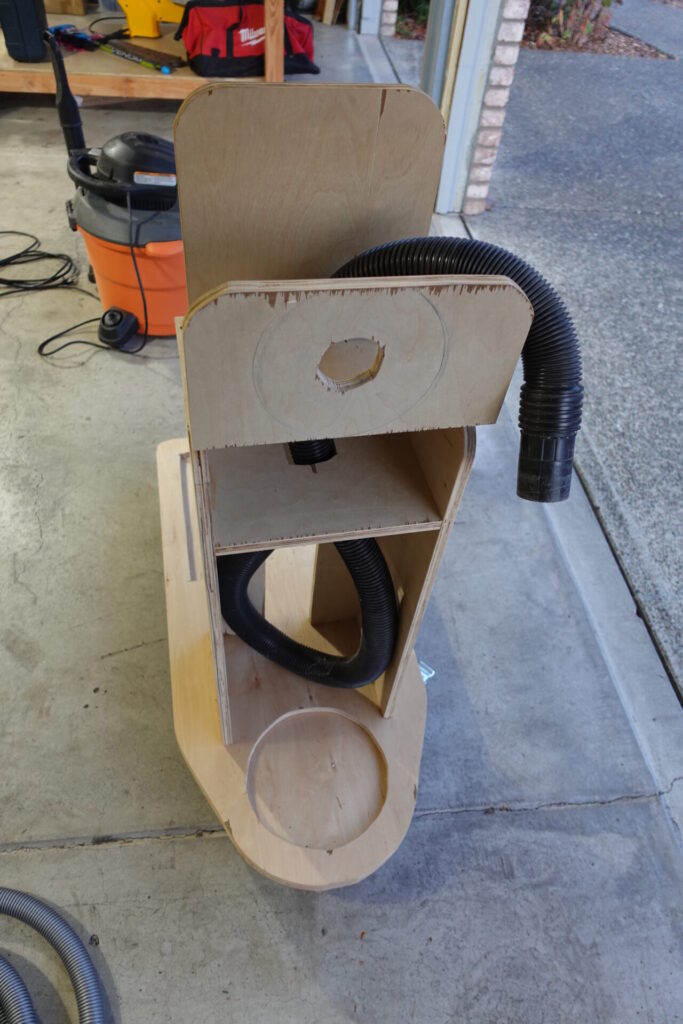
- 1 sheet of 3/4 inch plywood
- 4 x 3 inch Swivel Castors
- Wood Glue and Screws
- Hinges

Why Not Just a Shop Vac?
A solitary shop vac is adequate for collecting dust at the source, but it has one main drawback– you need to constantly clean the filter inside. This becomes a real pain, especially when working with finish sanding because all those fine dust particles fill up the sides of the filter quickly. To avoid the constant cleaning, we can add a cyclone dust separator between the shop vacuum and the tool.
By adding the cyclone dust separator, the dust will travel into the cyclone and down into the white bucket, and avoid clogging up the shop vacuum. This will not only extend the life of the shop vacuum, but also make it easier to empty the collected wood shavings and dust. For example, when I use my table saw (see my Dewalt 7491 Review) in combination with the cyclone, about 98% of the dust and sawdust get funneled down to the white bucket, which is much easier to empty.

Secret Sauce of This Solution: Cyclone + Mobility
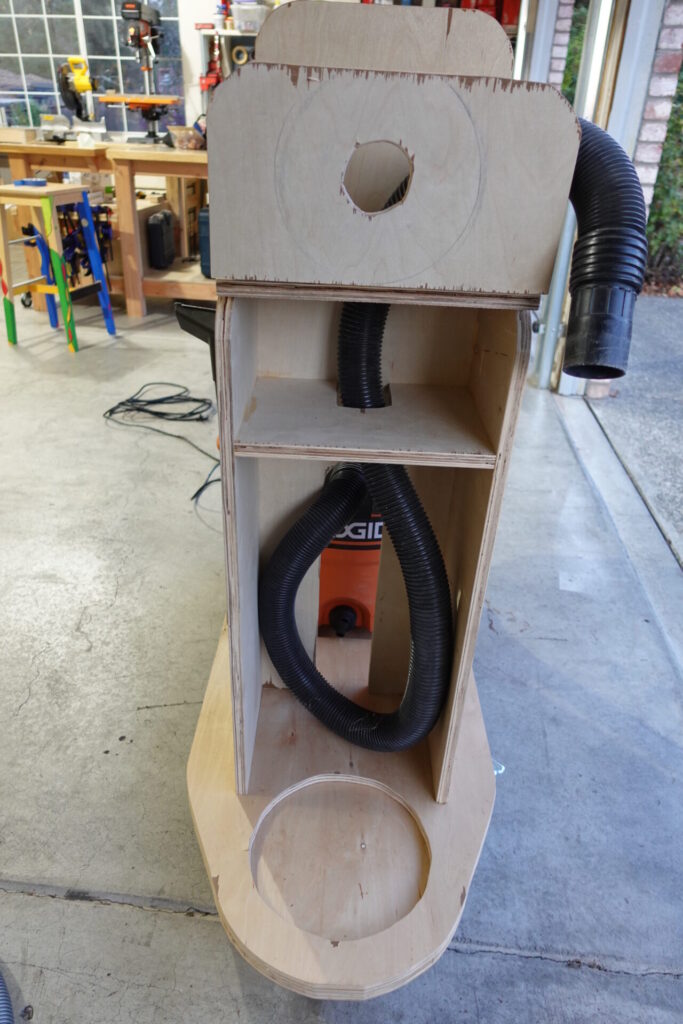
The cyclone funnel provides an extraordinary step function increase in collecting wood chips and dust before it reaches the drum of the shop vac. When dust enters the system, it’s pulled into cyclone by the vacuum and magically travels downward into the translucent bucket for collection. This ultimately saves the life of the shop vac motor and makes emptying the debris super easy. No more opening the shop vac and cleaning out the dust filter – instead just empty the cyclone bucket!

The other magic here is putting the cart on castors. This allows you to move the vacuum and the cyclone together around the shop to different tools. While the Oneida Dust Deputy comes with included wheels, it’s really not practical to move around both the cyclone and the vacuum- the cyclone. Whereas, having the cart that carries both together, solves the mobility challenge. Or if you have a big job and you want to sand outside, just move the project and roll the dust cart outside to keep the dust outdoors. That’s the beauty of the castors– you now have a mobile dust collection system which also makes cleaning out your car a breeze!
The Challenge of Hose Sizes
I really wish the industry would standardize on the size of hoses. I found myself going down a rabbit hole of trying to figure out which hoses would fit from the Cyclone to the shop vac, and more confusingly, to each tool of various adapter sizes. I wound up ordering and returning a few products after realizing they wouldn’t work properly. Hose sizes are not fun to deal with, so I found a solution that standardizes on the 2.5 inch fitting to the cyclone.
Hand Power Tool Hoses
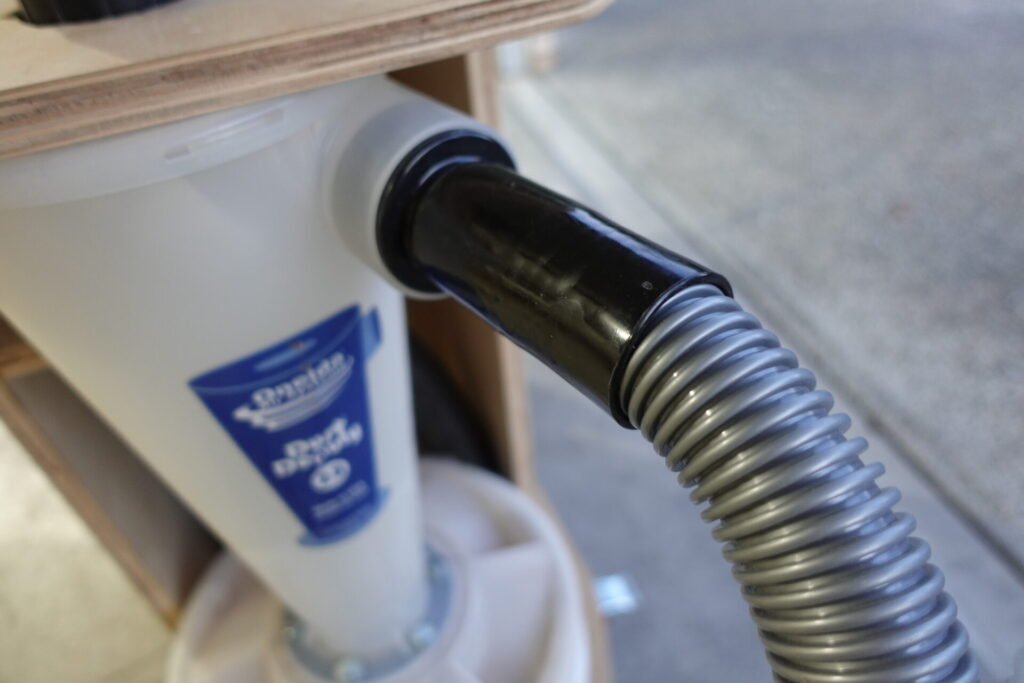
Hand power tools use a hose adapter that fits inside the top of the cyclone. Shown here is the Cen-Tec Systems 94709 Quick Click. It fits snugly into the tapered end of the cyclone, and on the other end is a click system that allows various adapters to fit onto the hand power tools such as my random orbital sander and my DWS715 Miter Saw.
Bench Power Tool Hoses
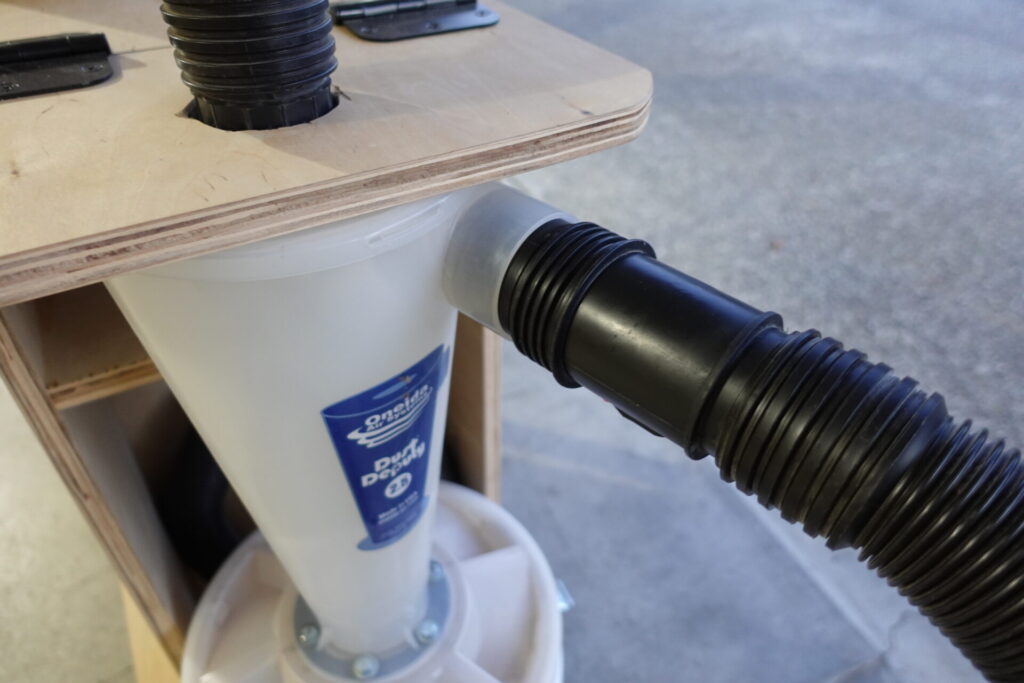
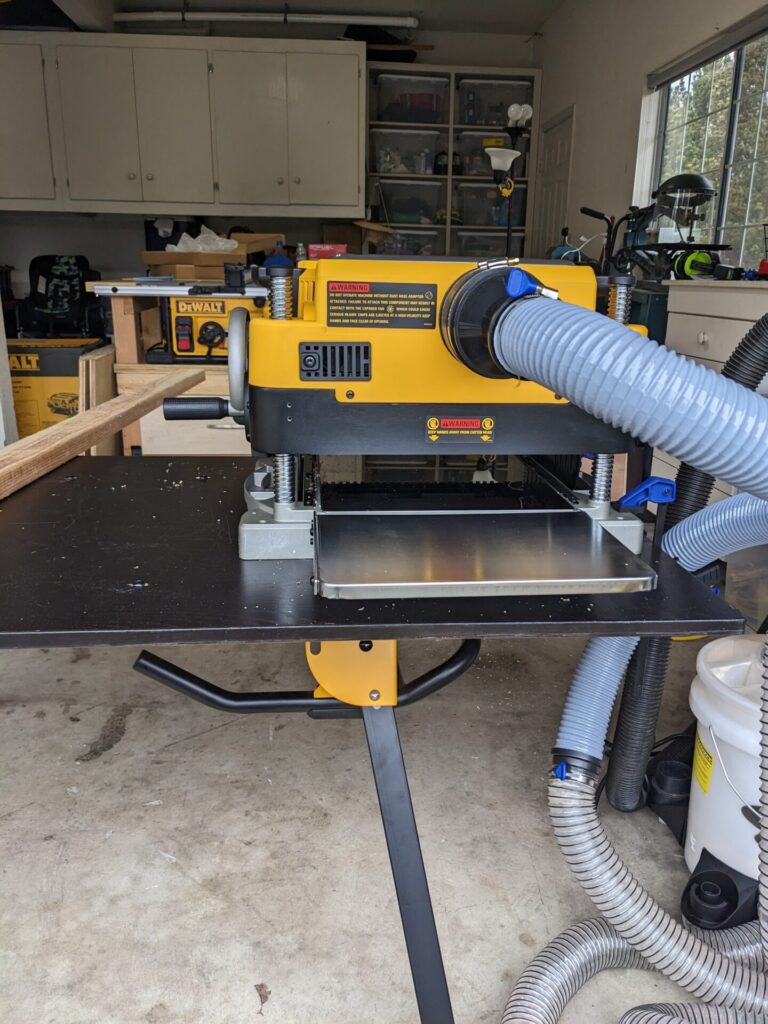
Bench power tools (such as my DWE7491 table saw) use a larger diameter hose to attach to the cyclone. The inside and outside diameter of the hose and power tool can be cumbersome to fit depending on the hose and tool. Perhaps a helpful warning — it took me a couple of tries to figure it out.
Large Tool Hoses
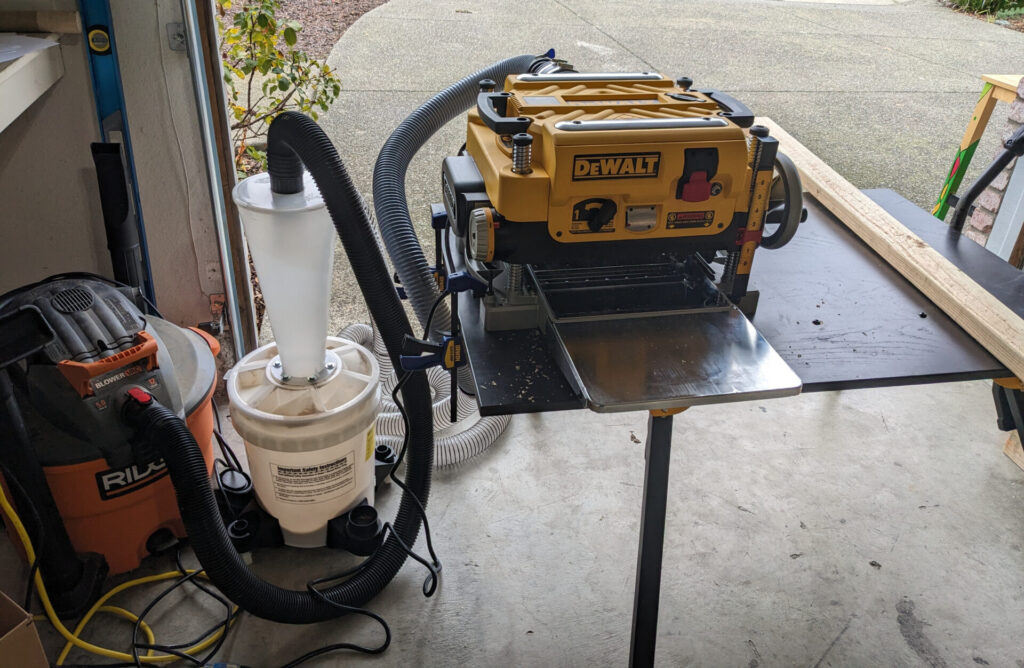
Large power tools (such as a thickness planer pictured above) require an adapter to step down into the correct hoses. In this case, I fiddled around with the 4″ hoses, and finally settled on the 4 inch to 2-1/2 inch reducer but it’s less than ideal for proper collection of the wood chips.
Pros & Cons
Pros
- Inexpensive (compared to central vacuums systems with rigid tubing to each tool)
- Mobile
- Can be used for small tools and larger tools
Cons
- Bulky and cumbersome at times
- For large tools with a 4 inch dust port, the adapter is awkward and the collection is mediocre
How to Build
If you’re interested in this design, head over to Woodsmith Plans to purchase the plans: https://www.woodsmithplans.com/plan/shop-vacuum/
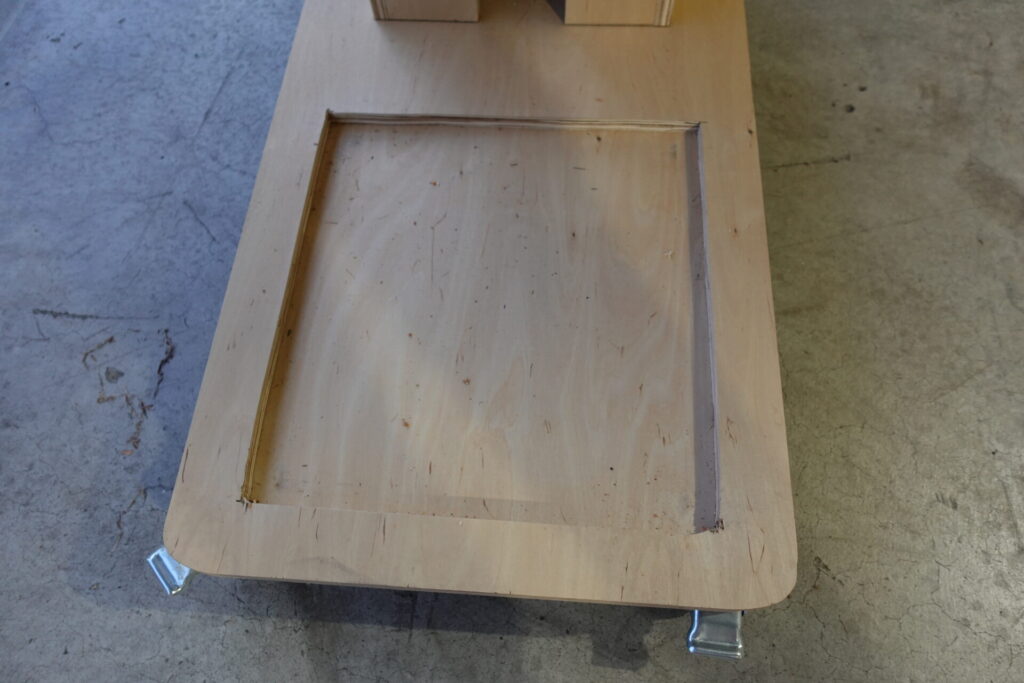
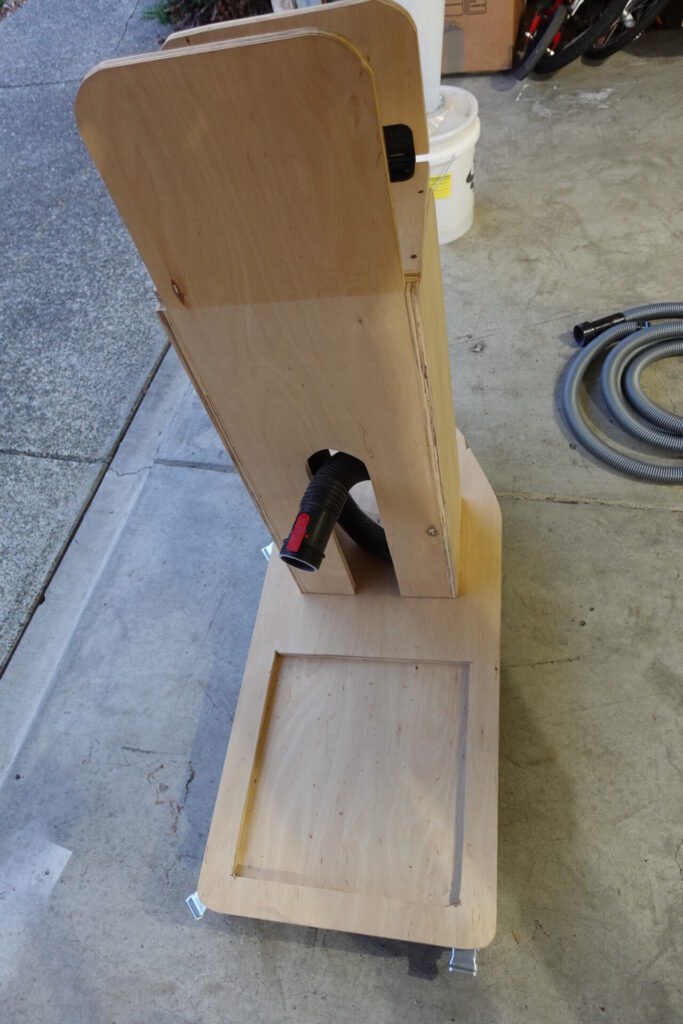
Here is a photo gallery to give a sense of the build and the quick and dirty build methods I used:
Other Design Ideas
The original impetus for the project came from Steve Ramsey over at Wood Working for Mere Mortals:
More on Dust Collection
This dust collection cart is great at capturing the larger dust particulates and chips at the source. But what about the tiny, invisible particulates in the air?
For a cheap and easy DIY project, see Timber Topia’s suggested DIY AIR FILTER GENTLE ON THE LUNGS AND WALLET.