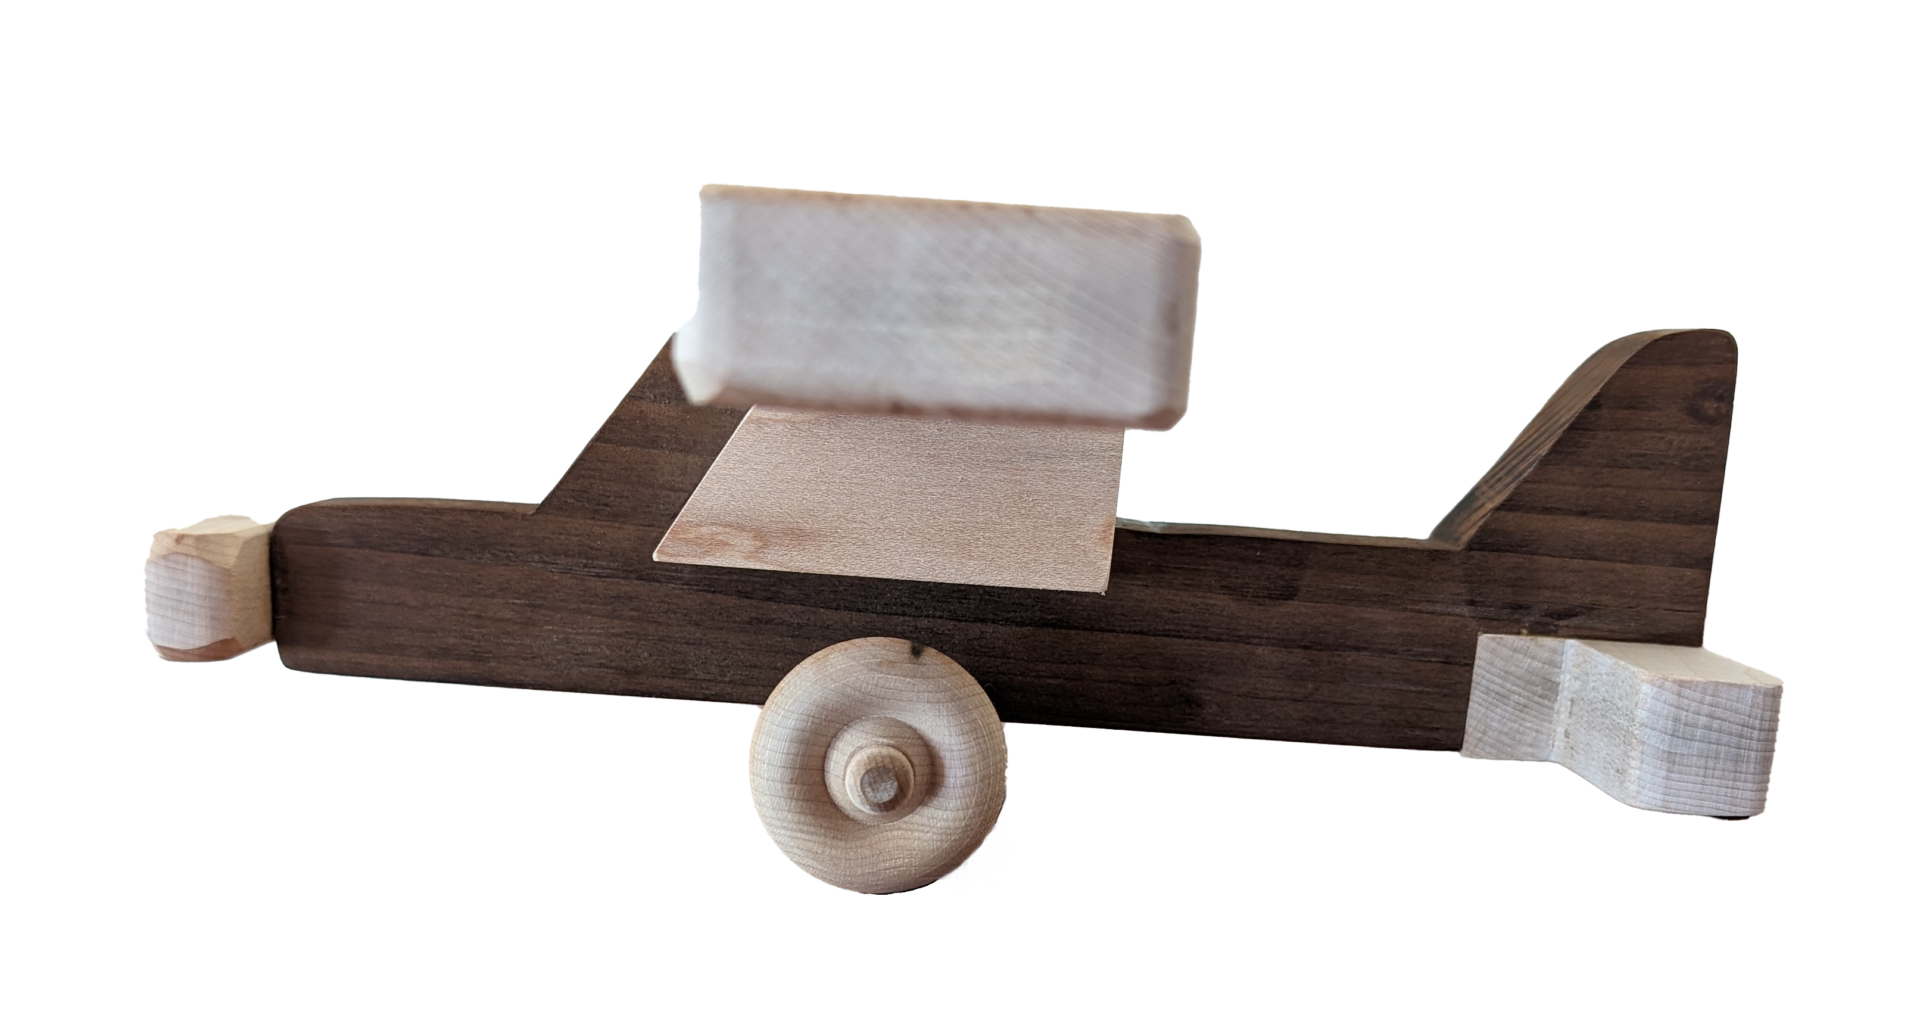
This little wood toy monoplane is a sturdy machine with multiple moving parts. Follow along below with free plans to build your own sky rider.

Key Project Details
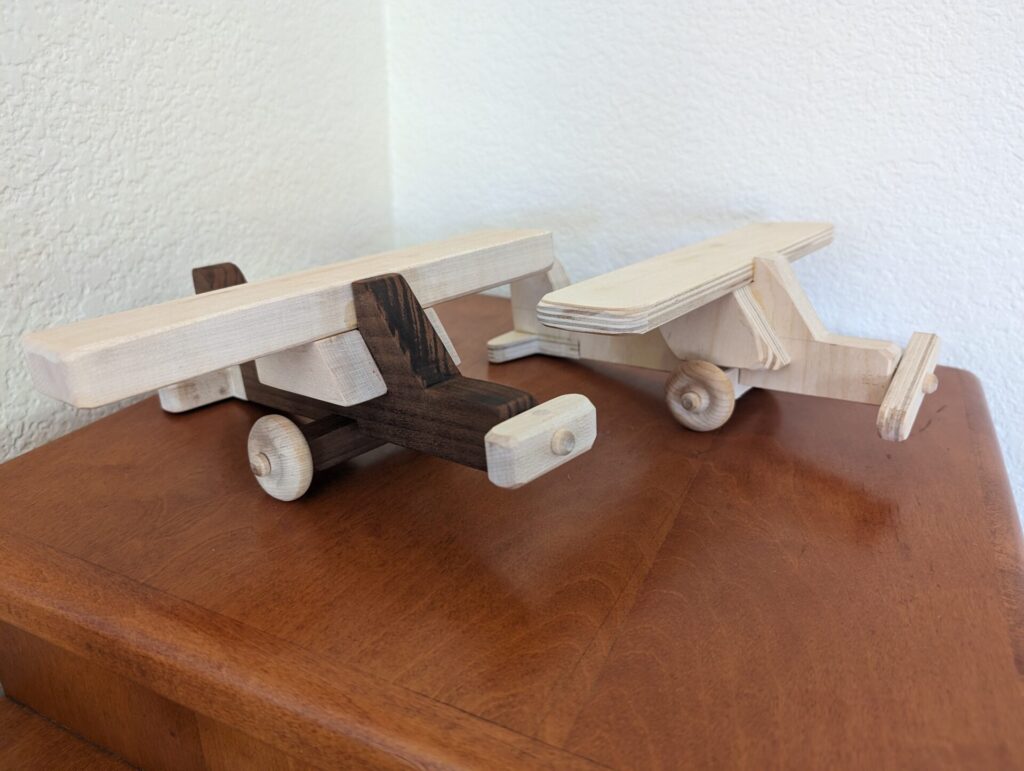
There were a few iterations of this design.
| Time to Build | 2 x 1/2 Day + 24 hours for glue drying tIme |
| Difficulty | 1 of 5 |
| Dimensions | 10 x 9.5 x 4 inches (LxWxH) |
| Materials Needed | 3/4 inch Walnut (body) 3/4 inch Maple (wings, wheels, and propeller) Wooden Wheels and Dowels Wood Glue (Tite Bond II) 3M Super 77 (spray adhesive) Masking tape 180 + 150 + 220 Grit Sandpaper Osmo Hard Wax Oil + Our Product Review |
| Tools Needed: | Scroll Saw + Our Product Review Drill Press (or Cordless Drill) 1/4 inch Forstner bit Clamps Disc or Belt Sander (or equivalent) |
| Lessons Learned: | Think through the propeller glue up. (I accidentally glued the propeller together to the body.) |
Download Free Plans:

Step-by-Step Build Instructions
( * ) NOTE BEFORE STARTING:
In the plans above, you’ll see the asterisk marked ( * ). These are to adjust the thickness of your material. Not all wood measures exactly 3/4 inches. So you lay out your wood stock over the pattern and adjust the thickness on the plans.
STEP 1:
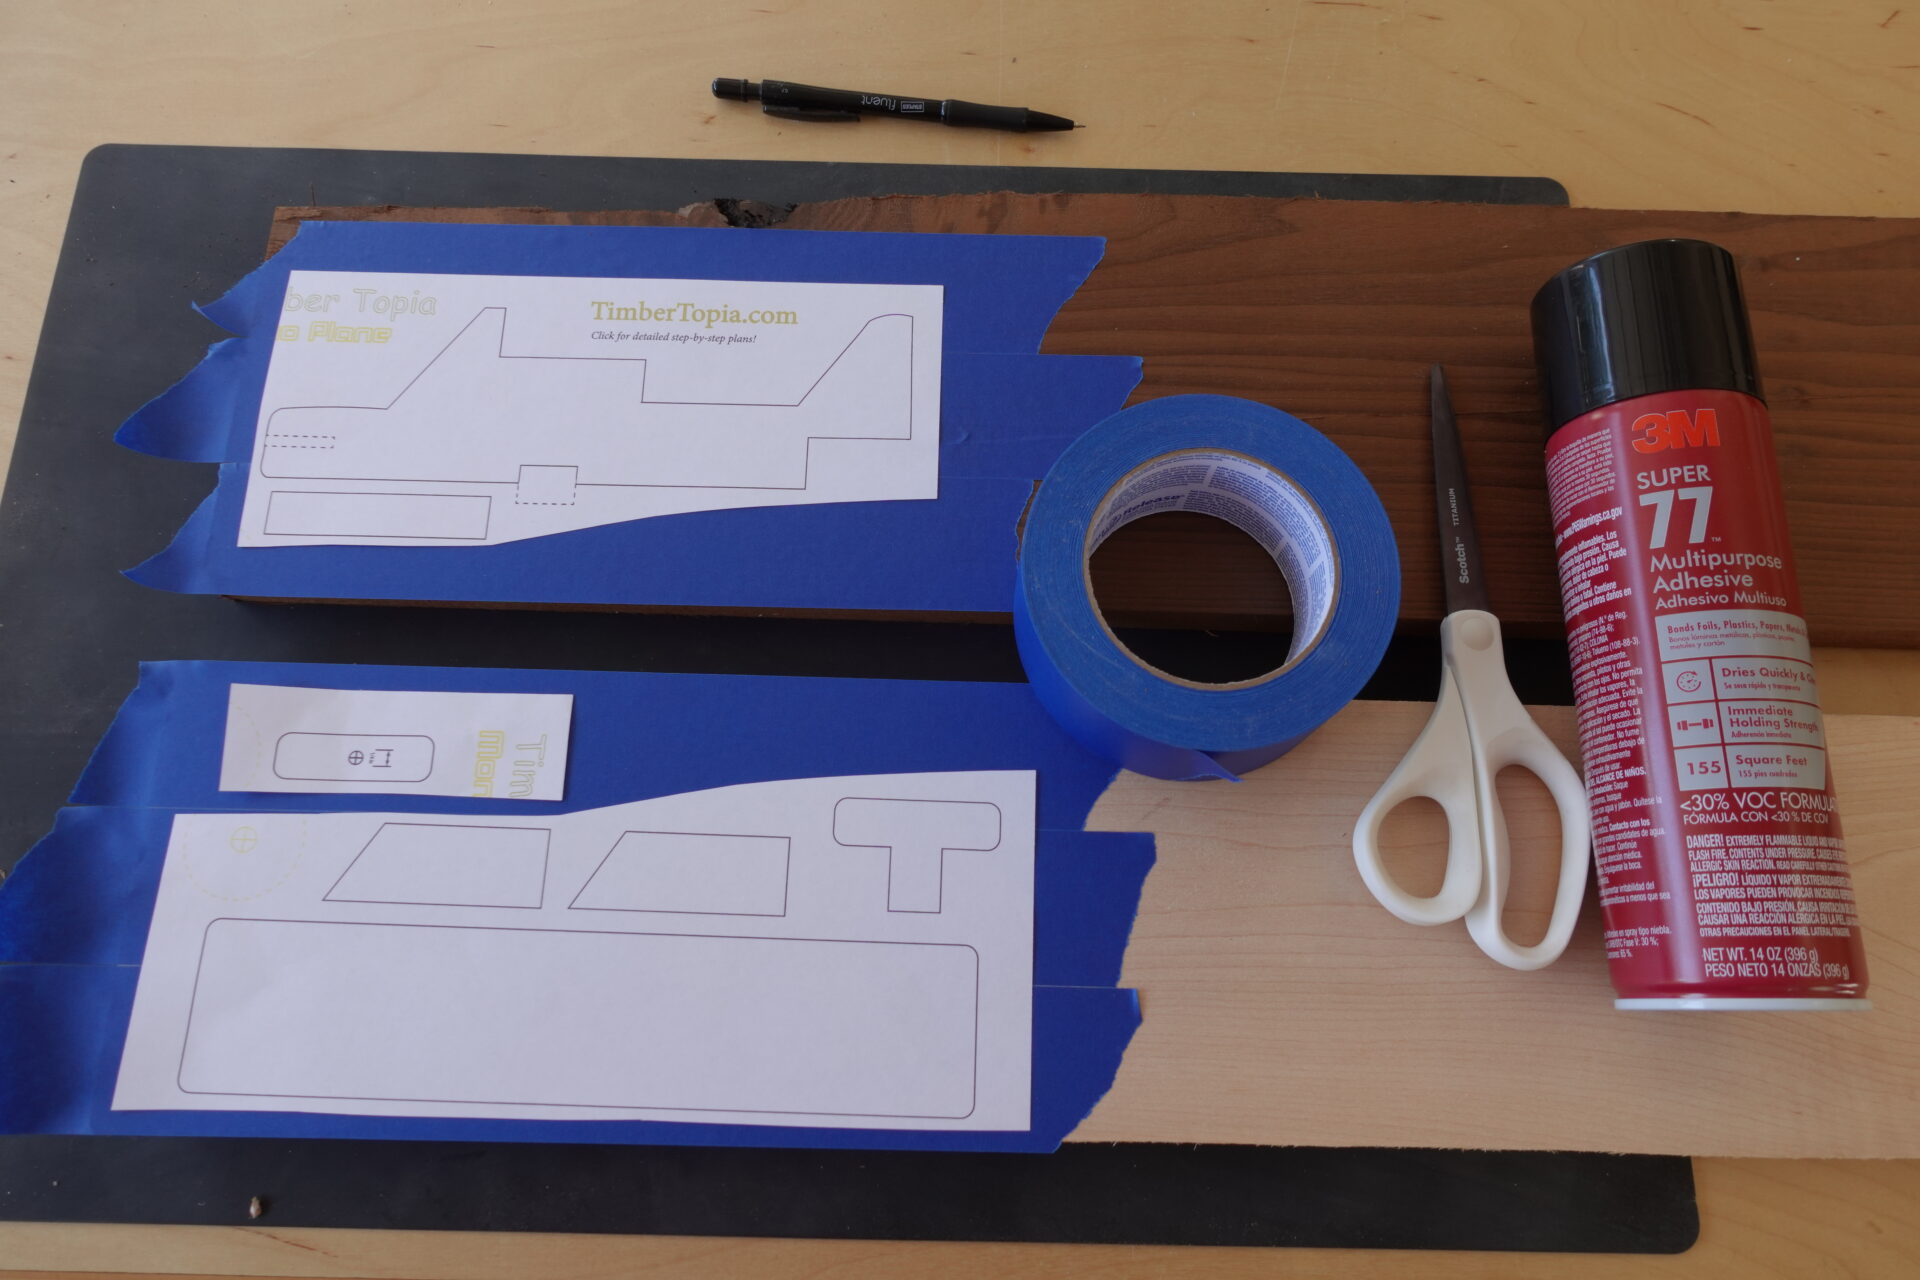
Print the plans and cut out the parts with scissors as shown above. Then lay down masking tape over the wood and use spray adhesive (3M Super 77) to attach the paper plans to the masking tape. I chose maple for the wings and a walnut-like dark wood for the contrasting other parts.
STEP 2:
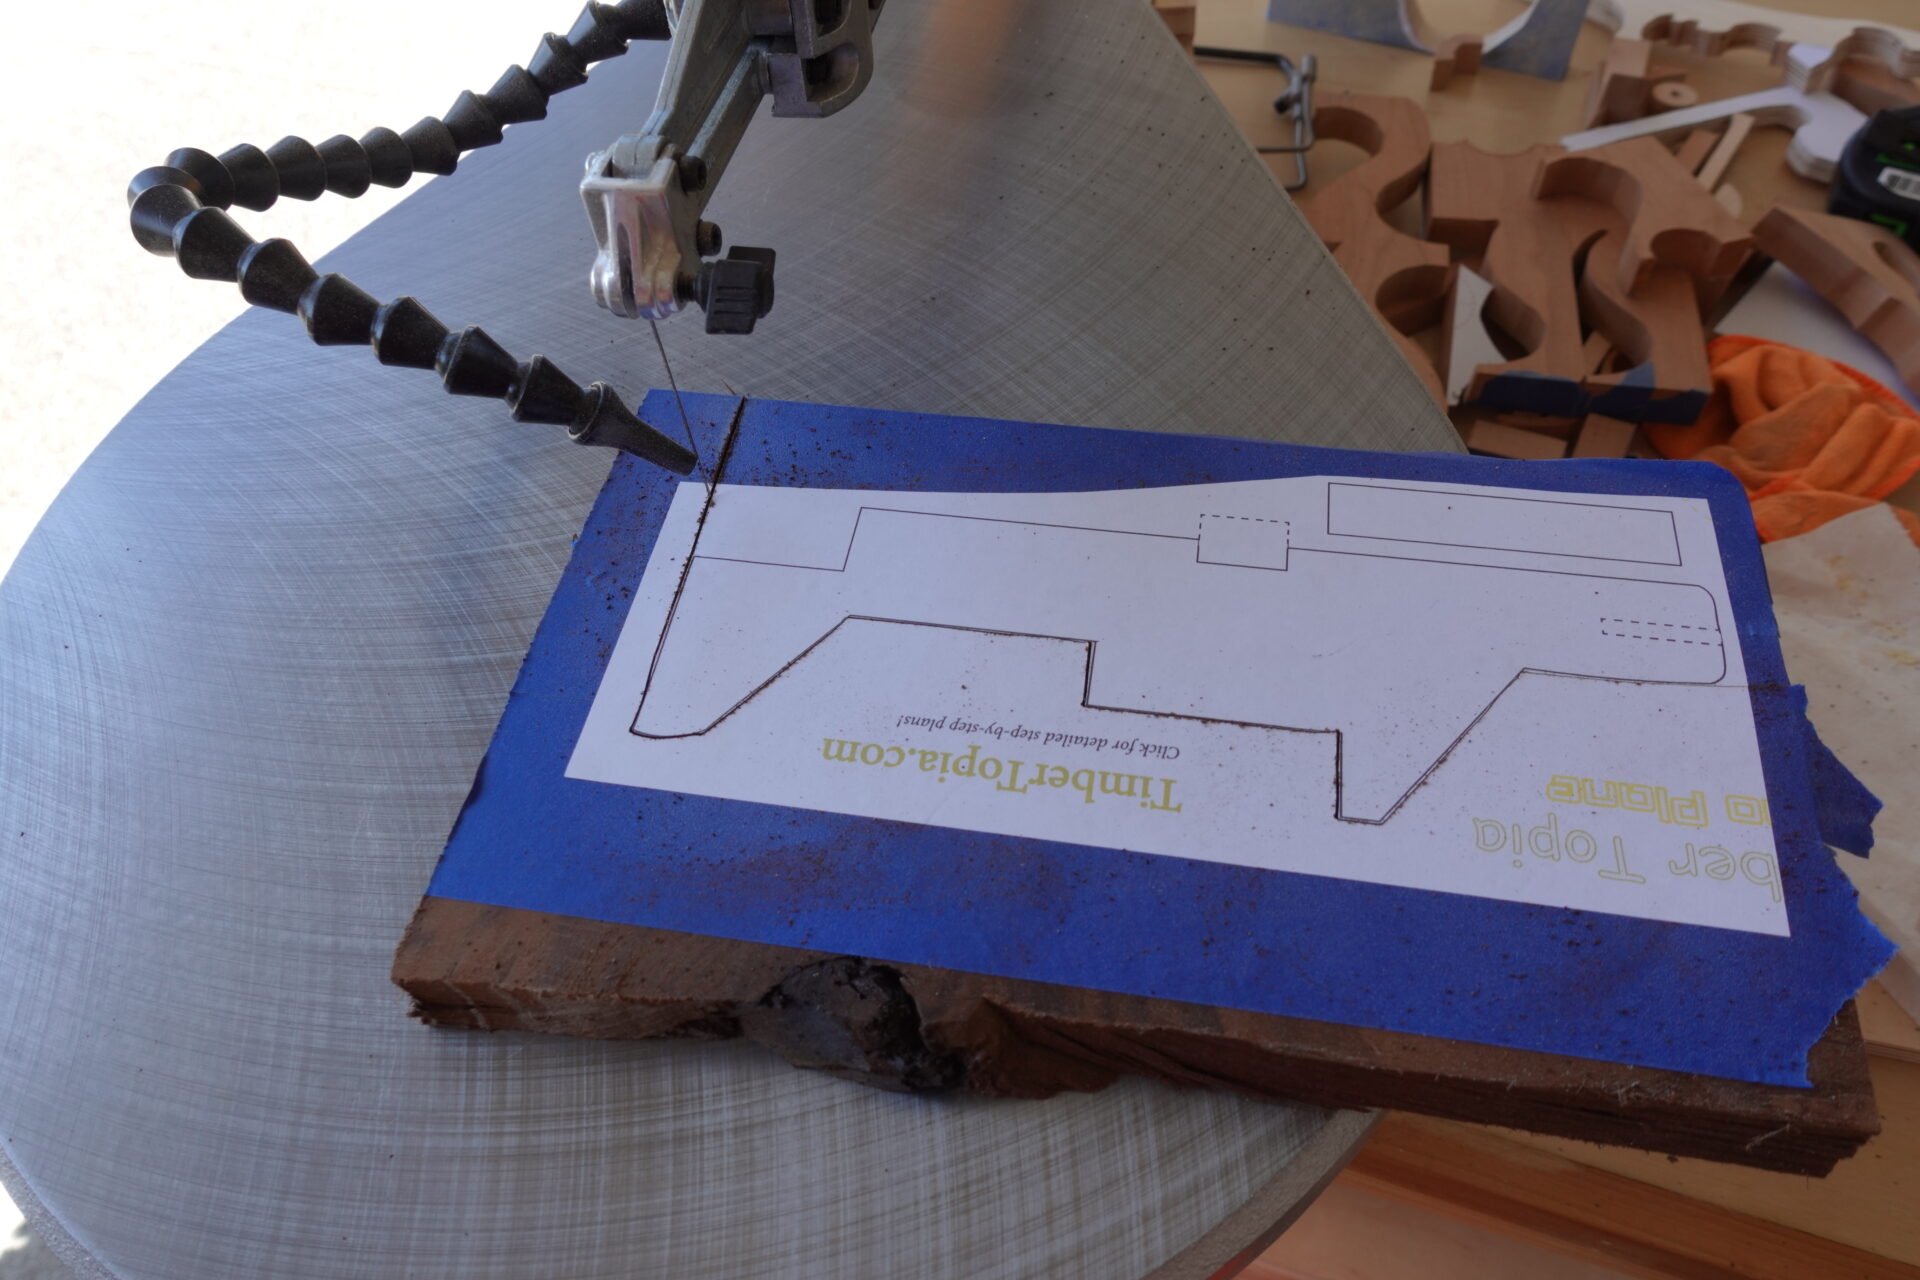
Cut the pattern out using a scroll saw.
STEP 3:
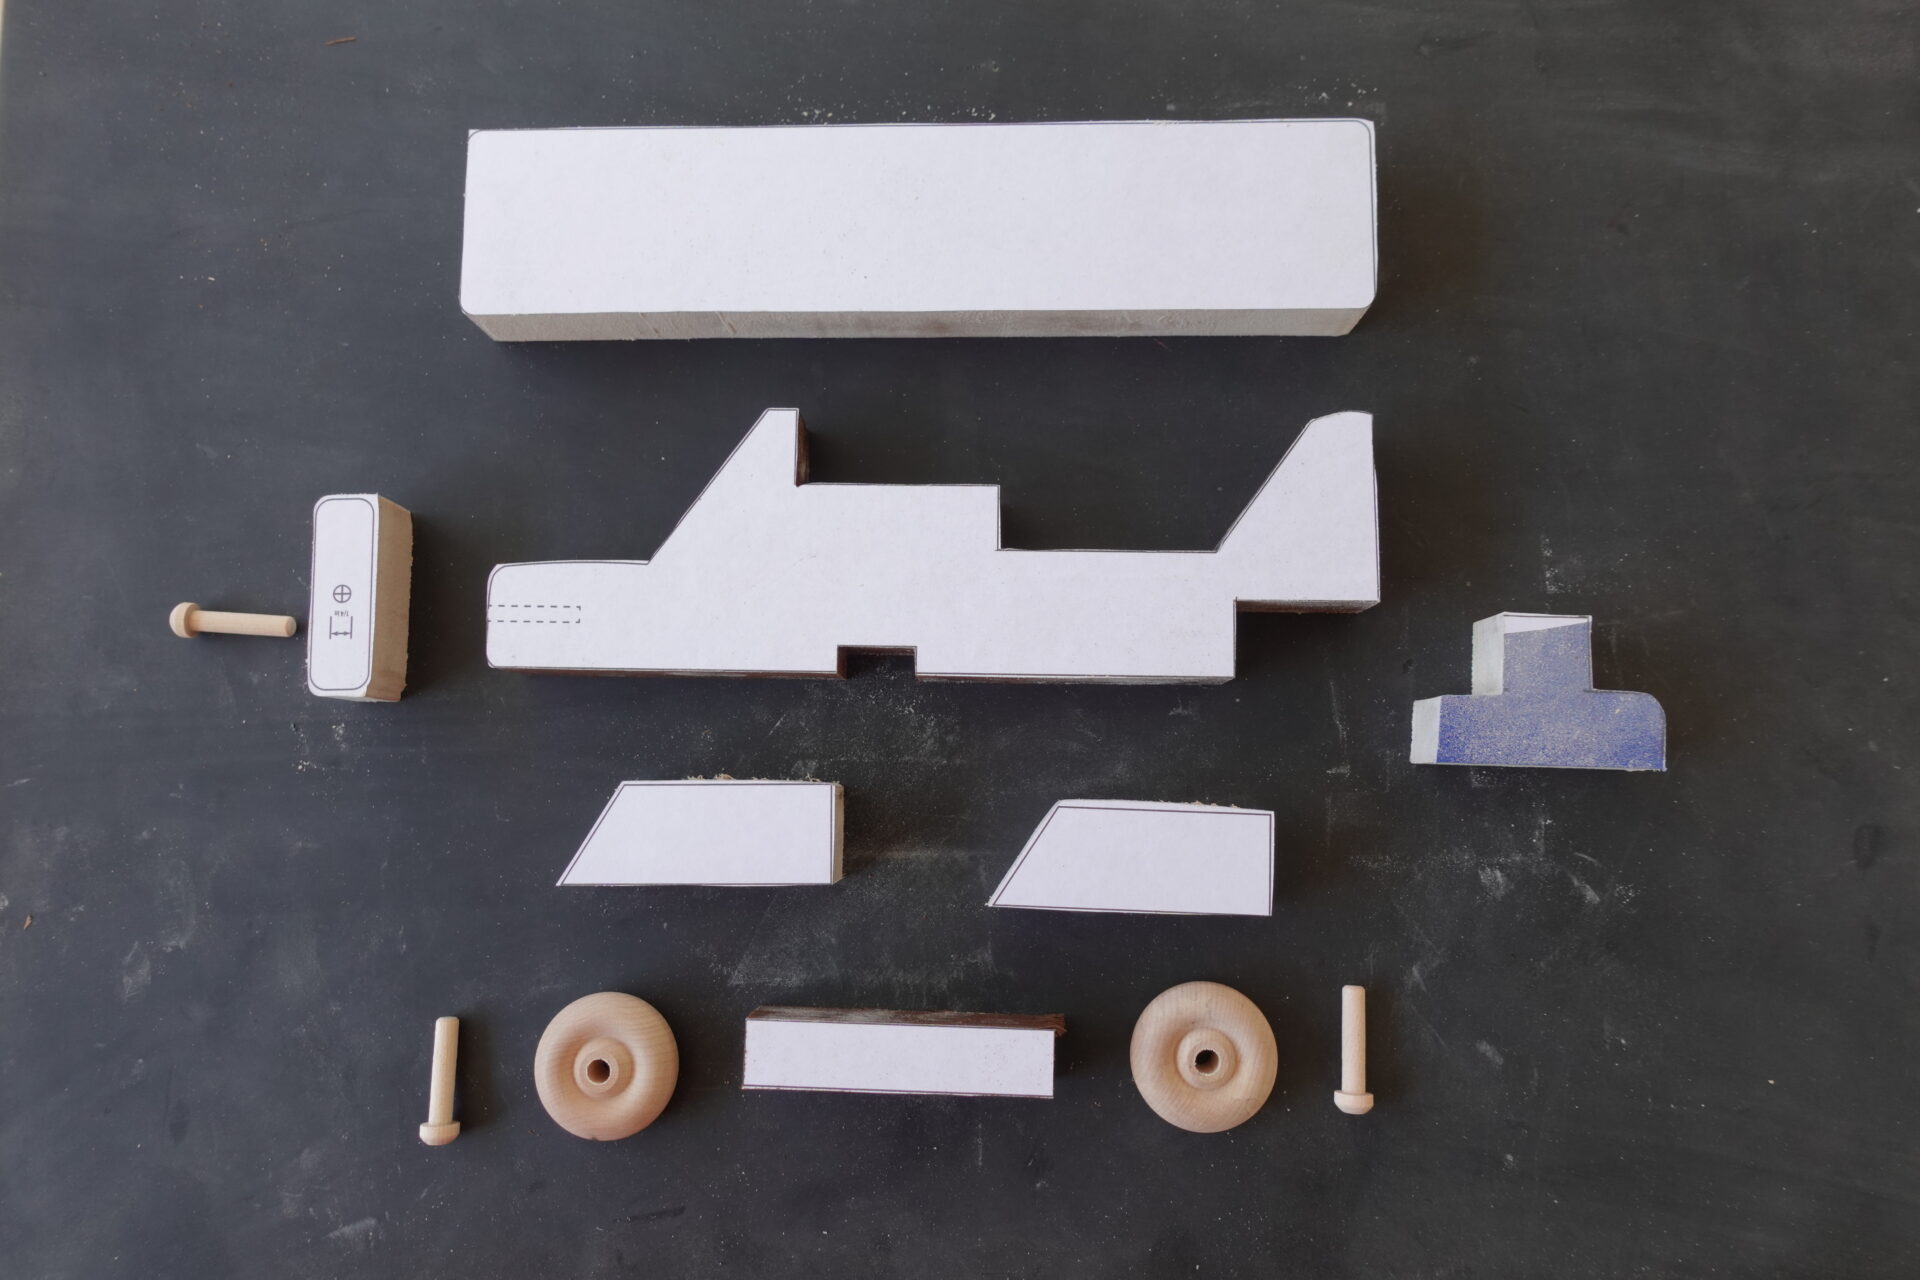
After cutting out the pieces on the scroll saw you can lay them out like the picture above. This will help to visualize how the pieces fit together.
STEP 4:
STEP 5:
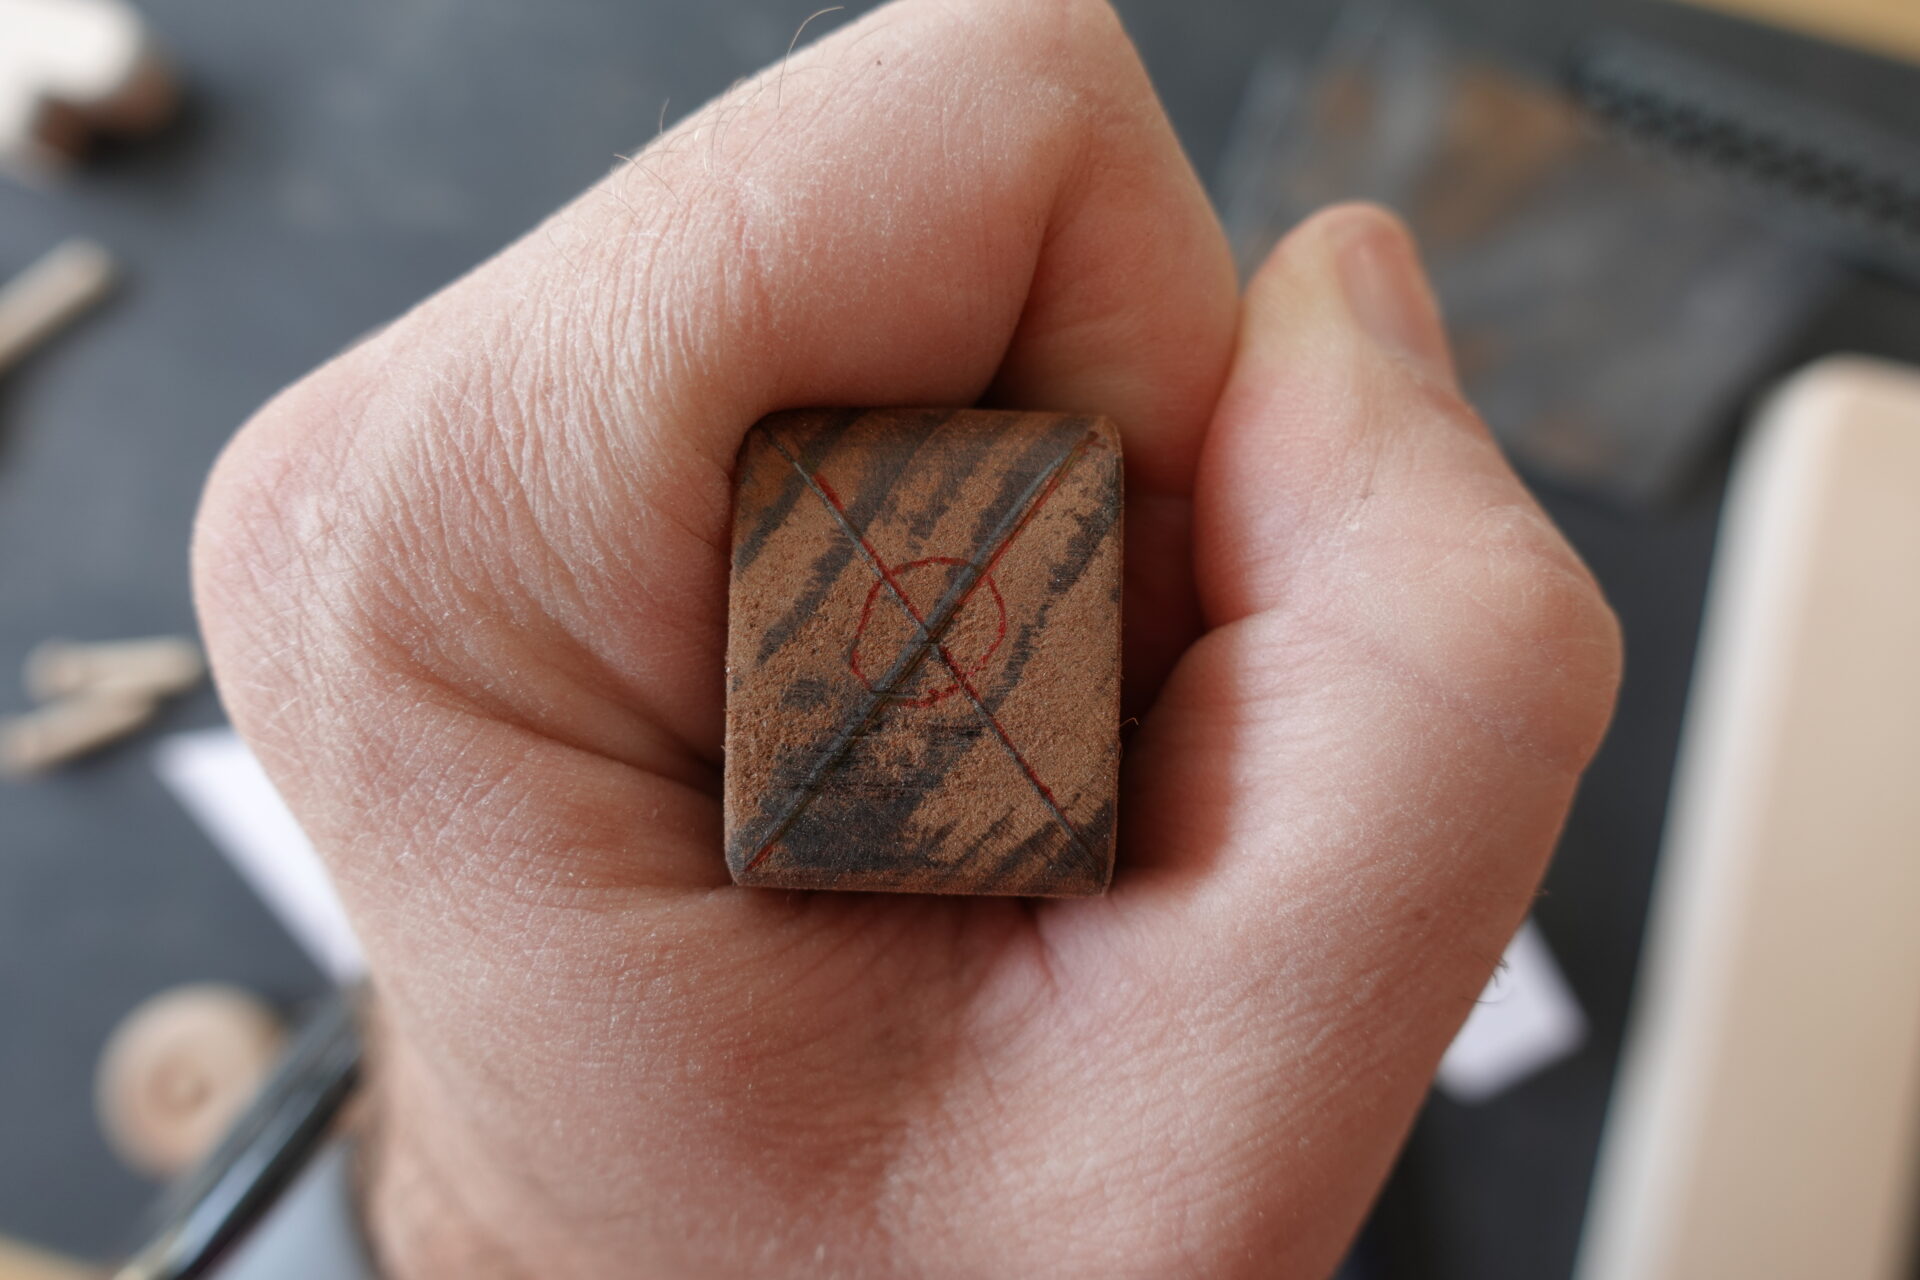
This is an easy way to find the center of the wood. Mark diagonal lines from the corners to find the center.
STEP 6:
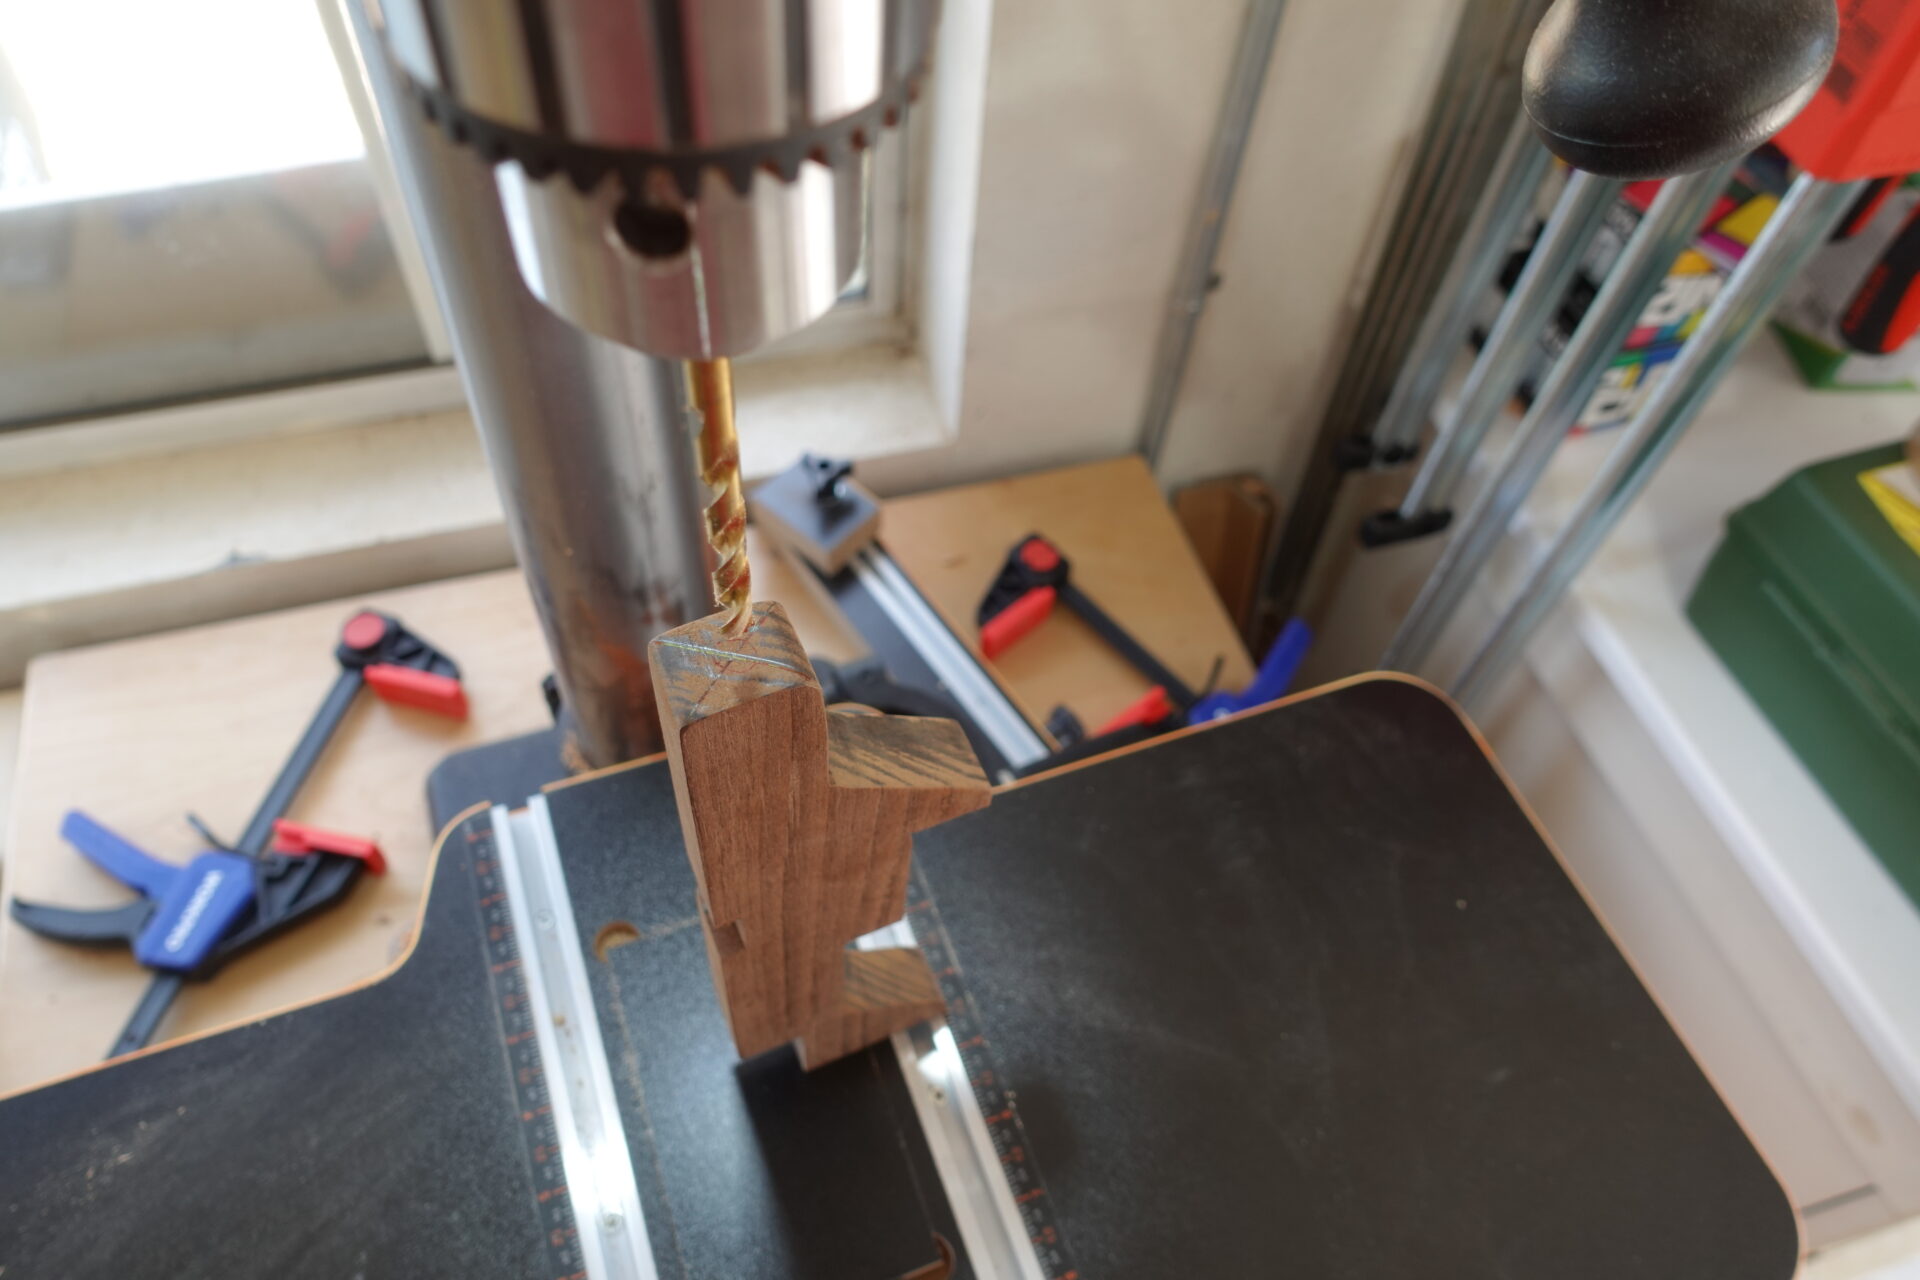
STEP 7:
Drill the hole for the propeller using that trusty 1/4 inch Forstner bit or drill bit. NOTE: you can either drill with the indicated center mark or flip the propeller 90 degrees and use the the other side to make it more visually pleasing.
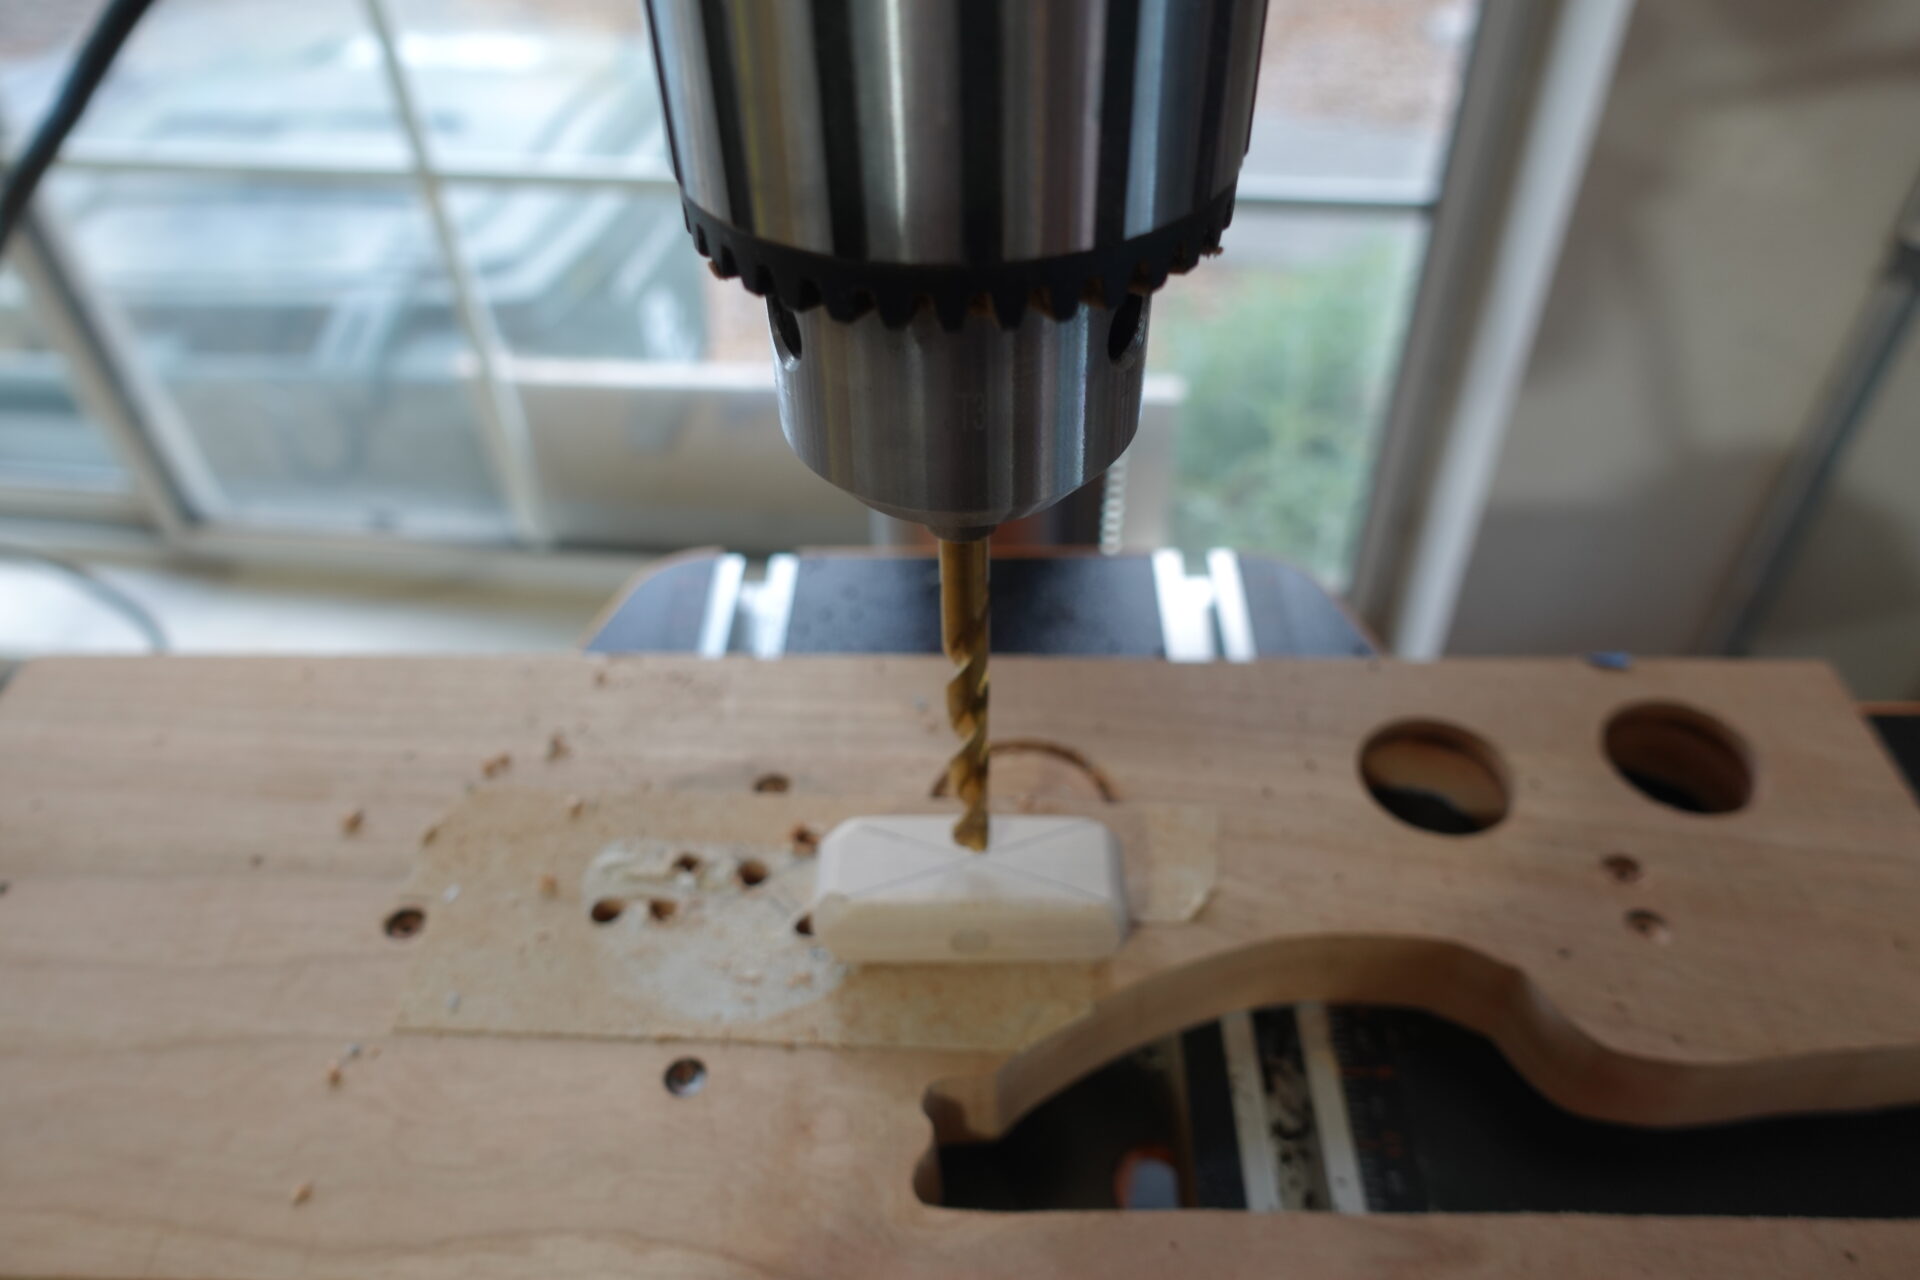
STEP 8:
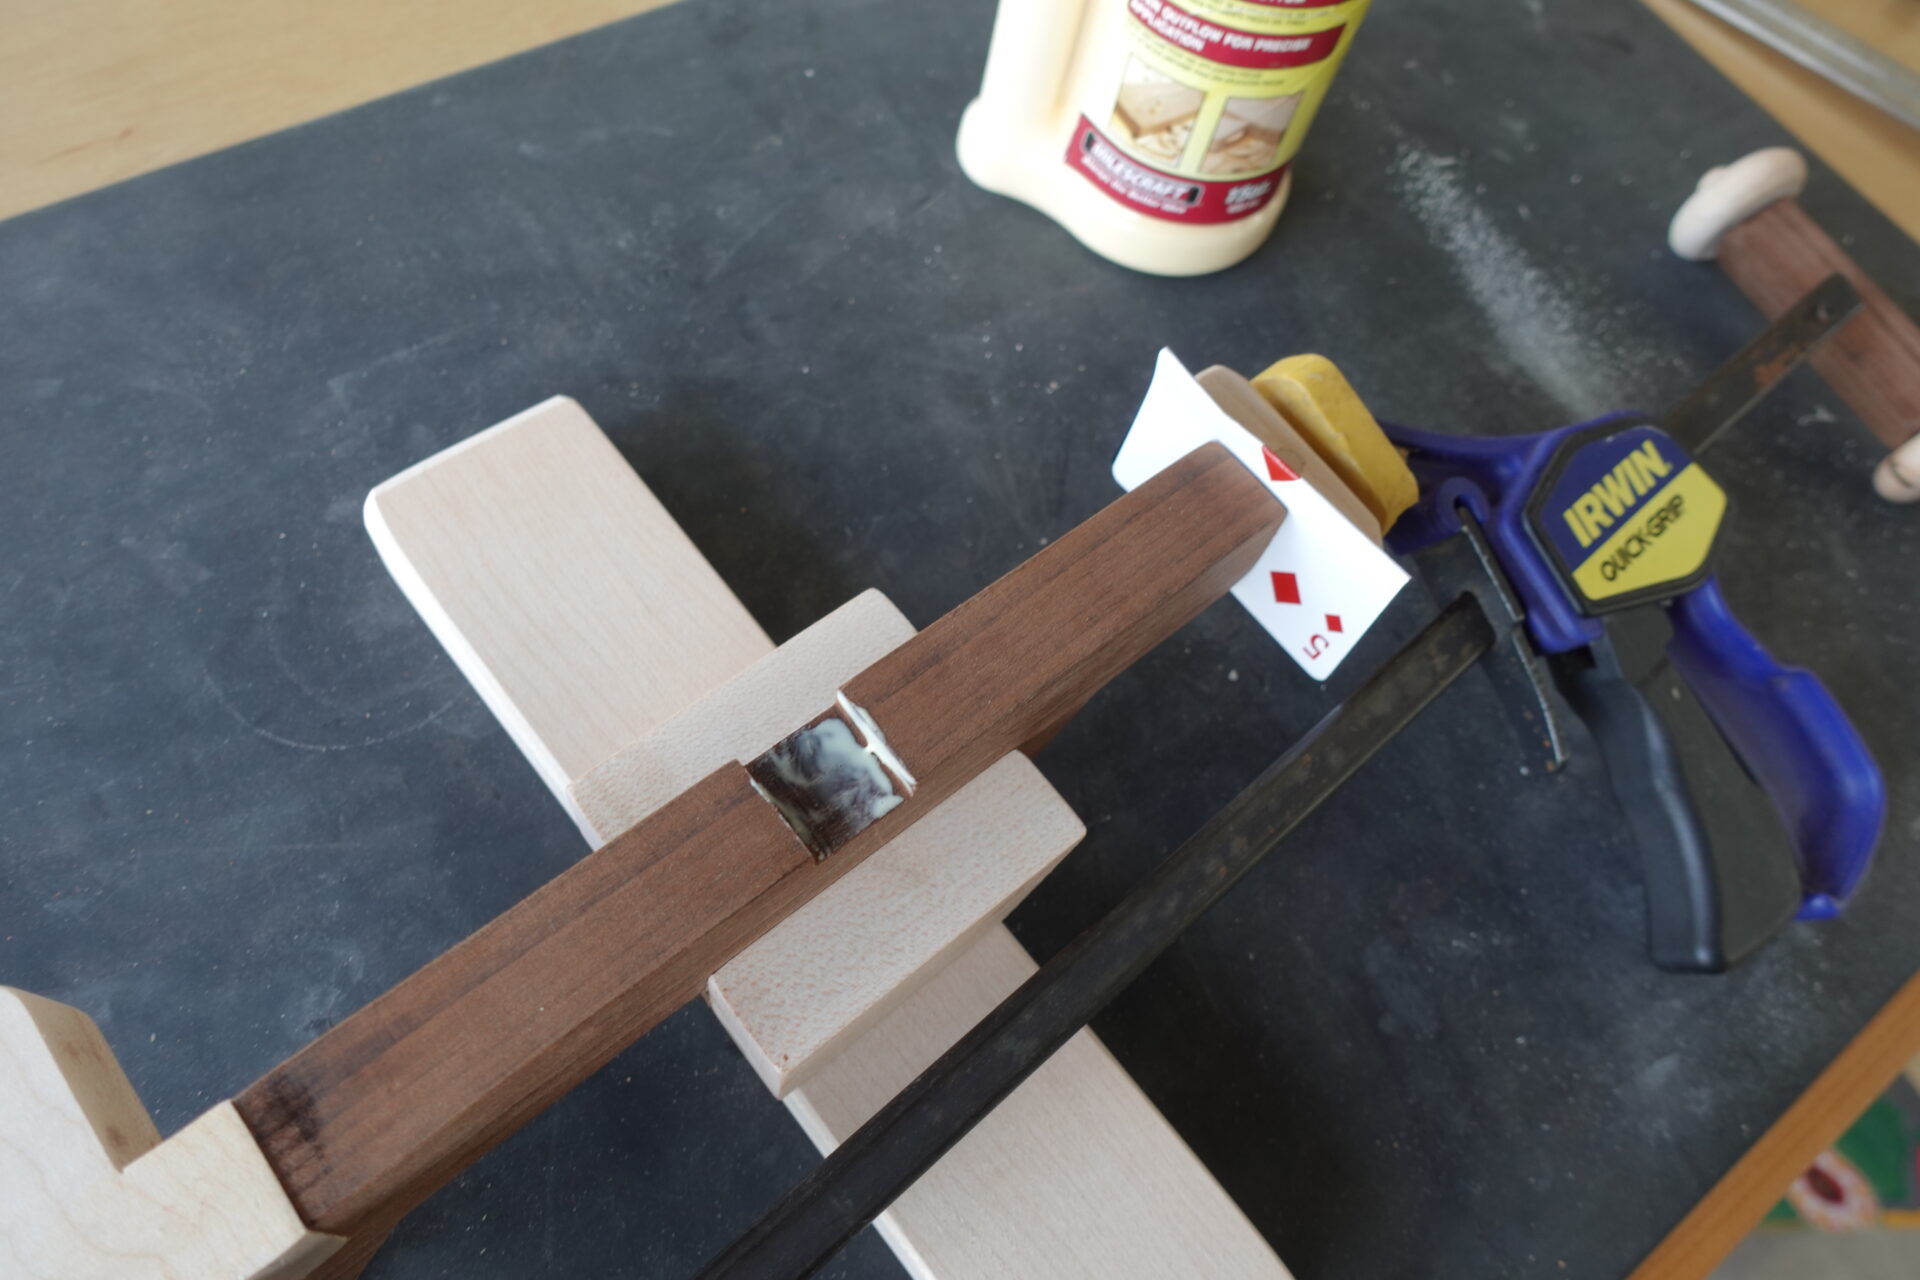
Layout the propeller assembly. You can add a playing card folder over with a 1/4 inch hole that will protect the propeller from being glued directly to the body.
STEP 9:
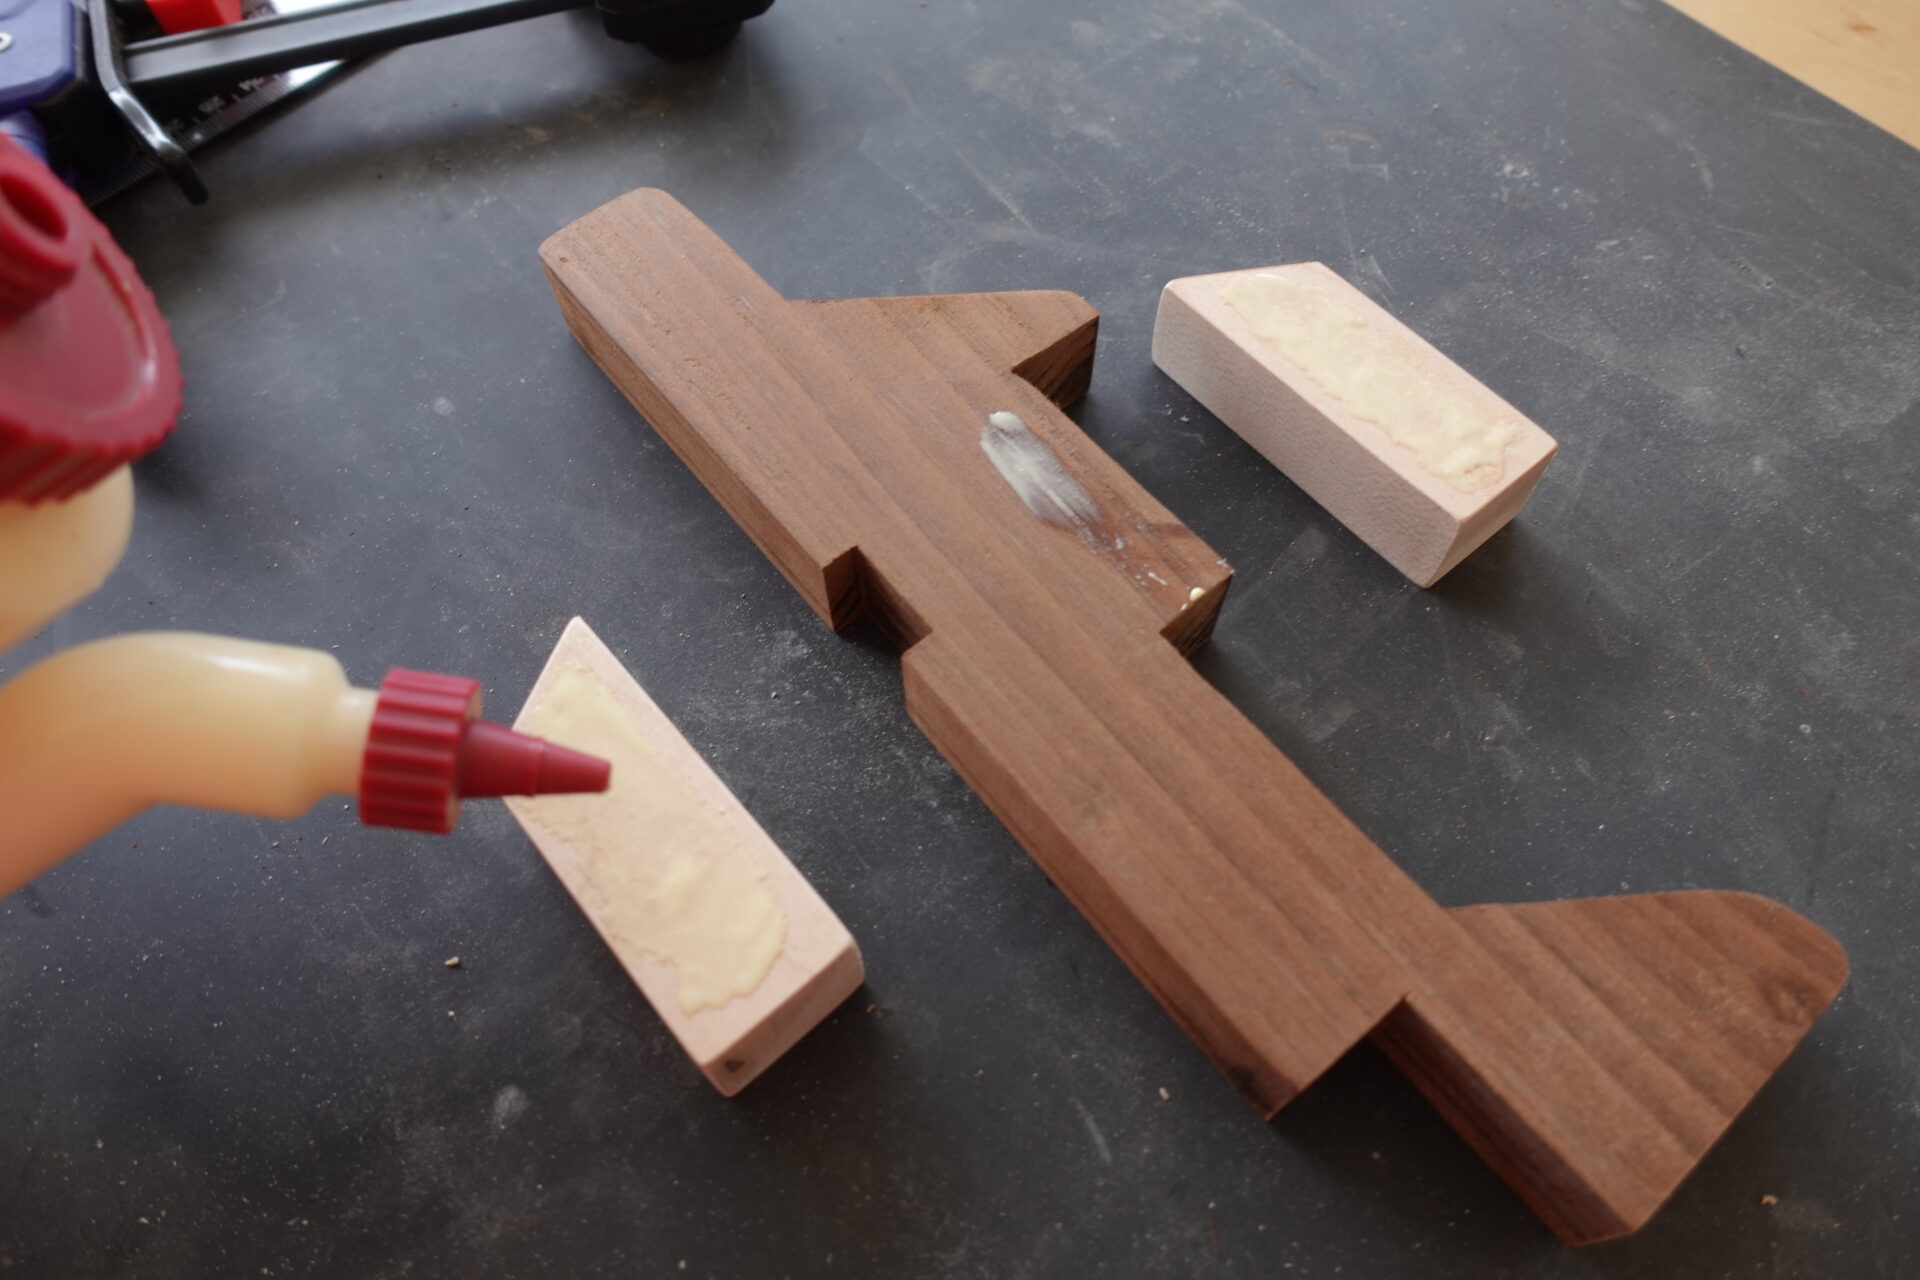
Add glue to each side of the cockpit windows.
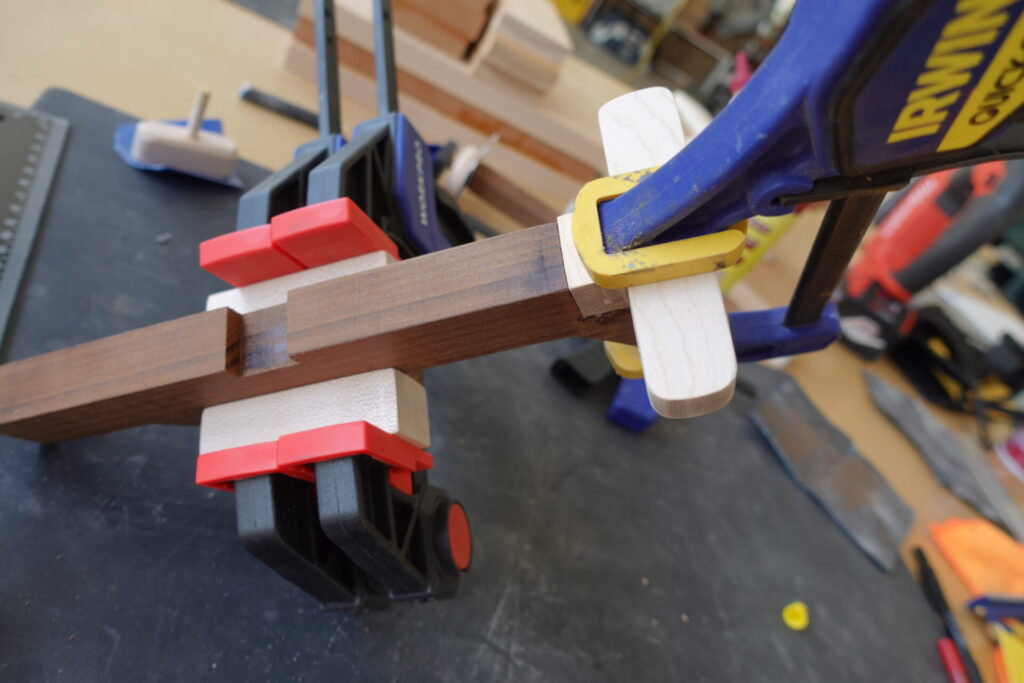
STEP 10:
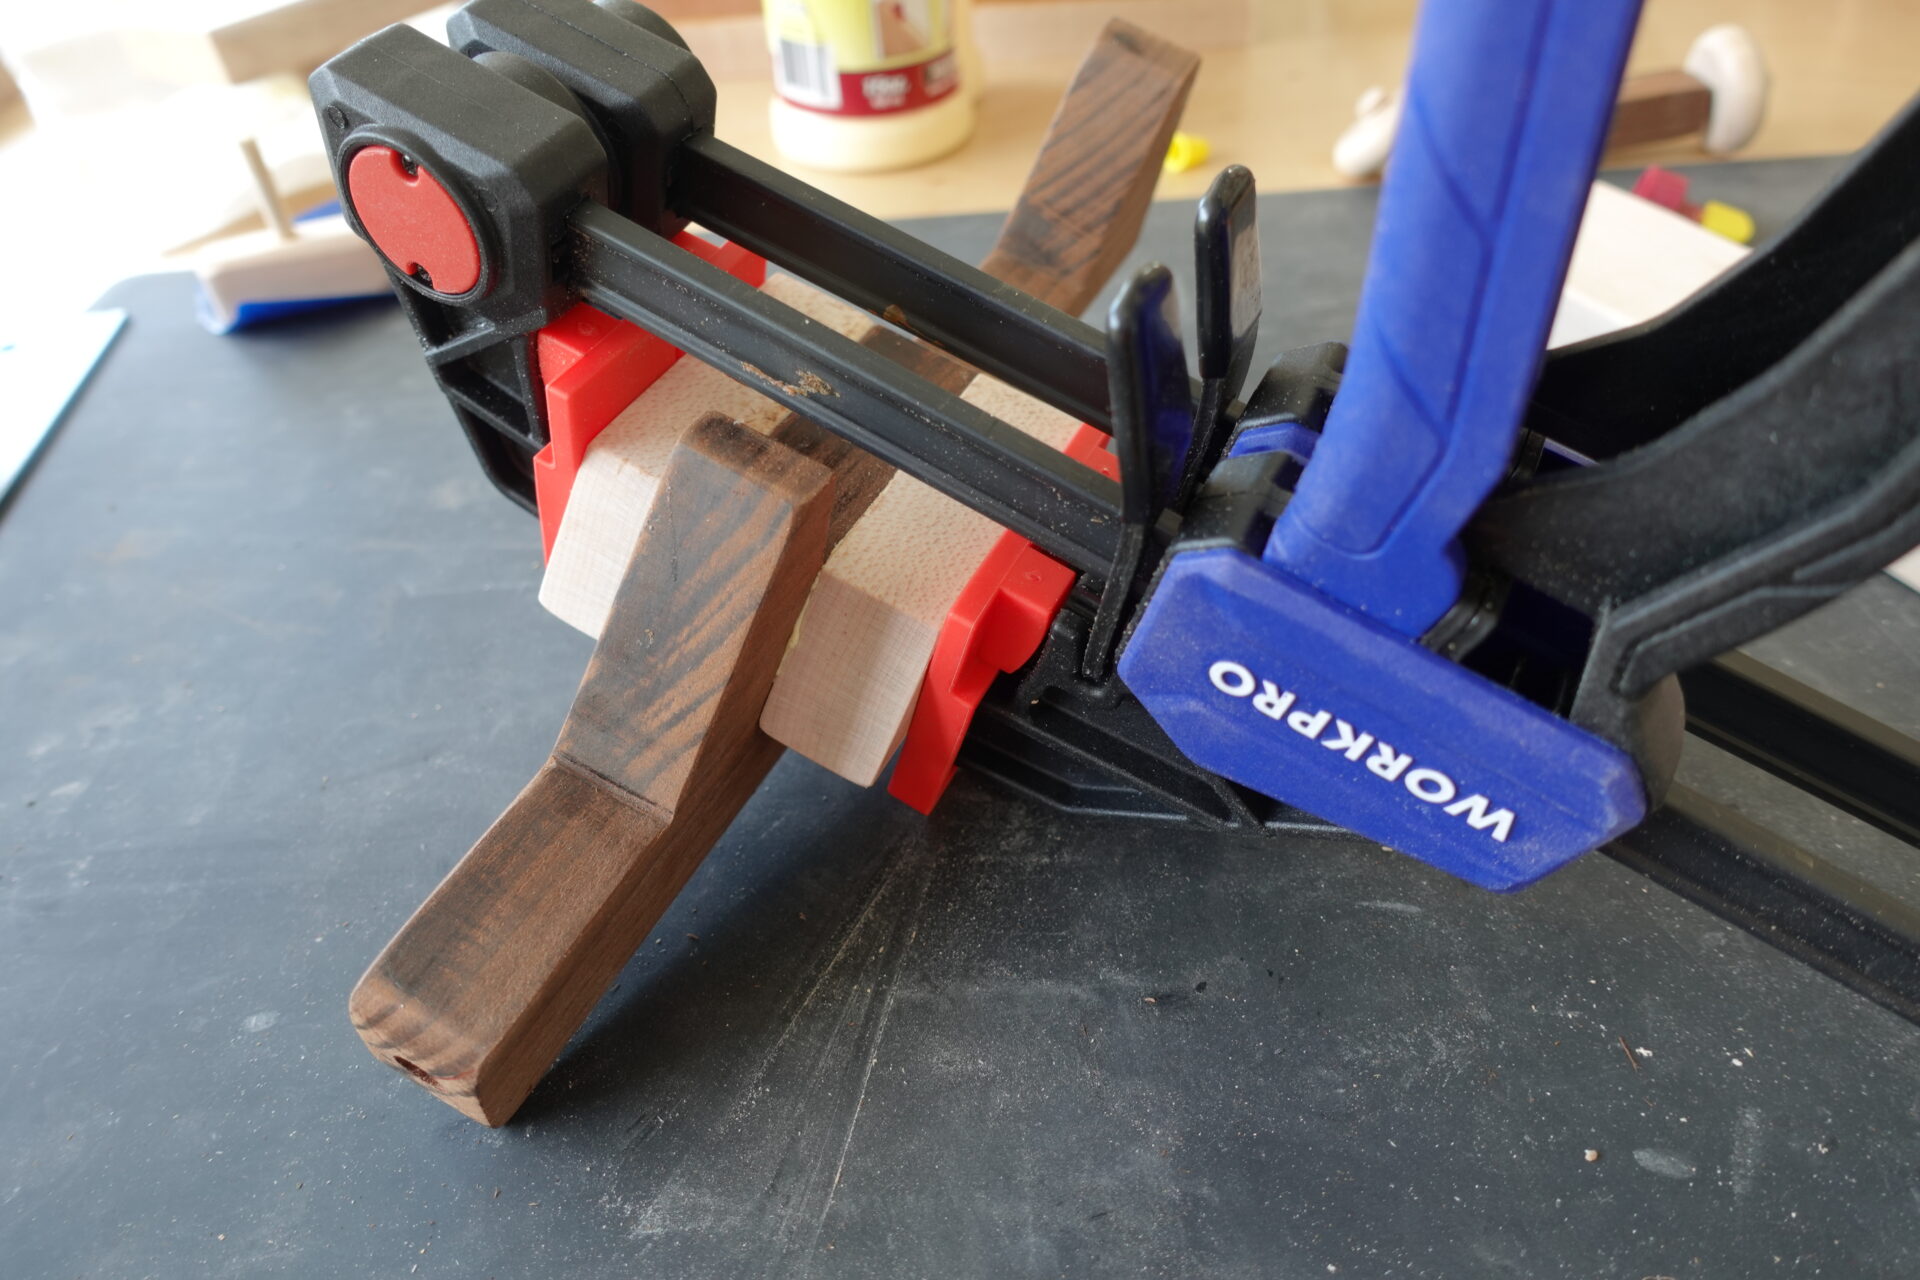
Clamp the cockpit windows to the body. Ensure alignment of a flush top and back edges. (We can sand again later to make sure the top is super flush.)
STEP 11:

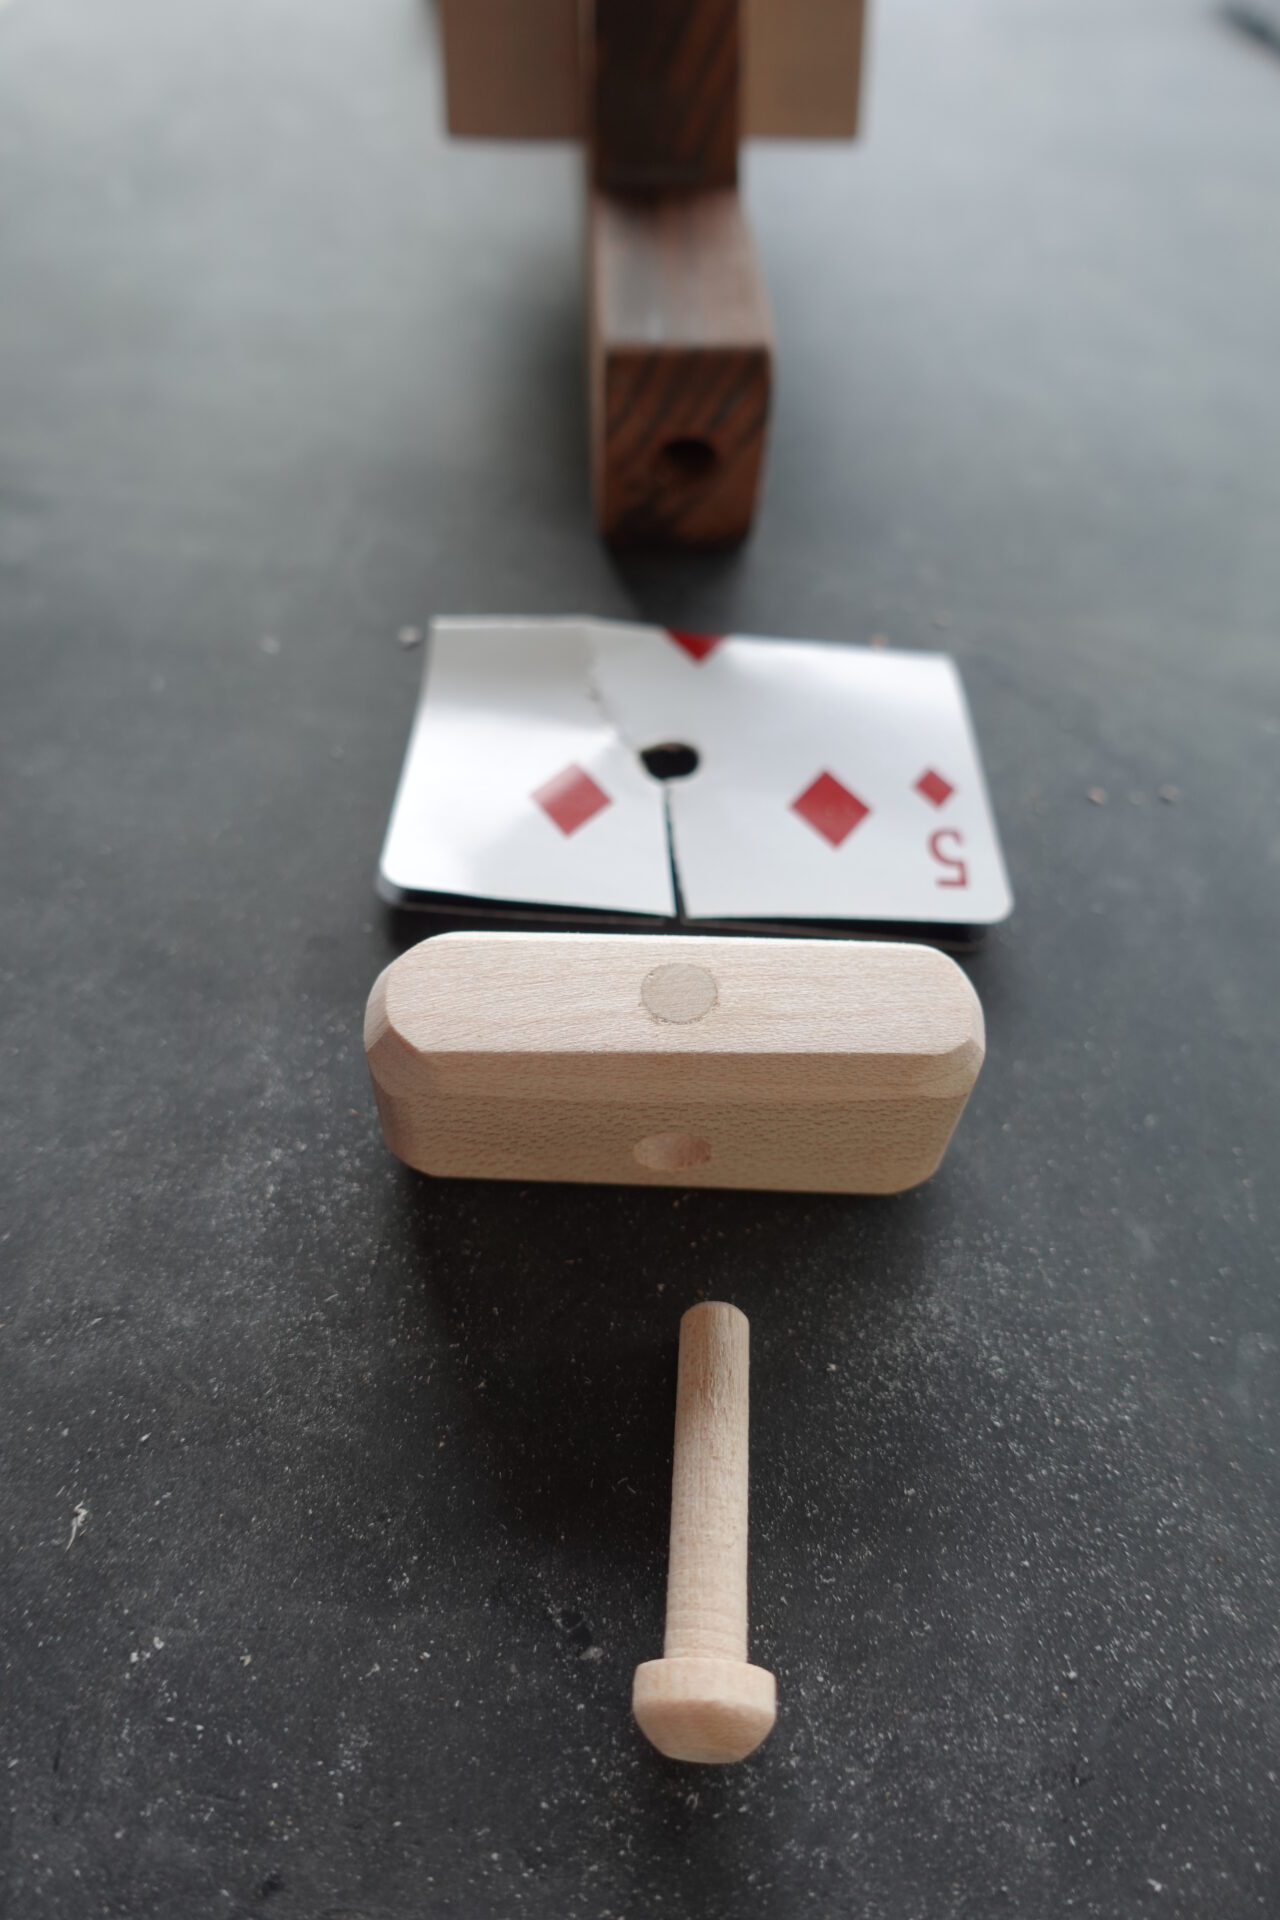
STEP 12:
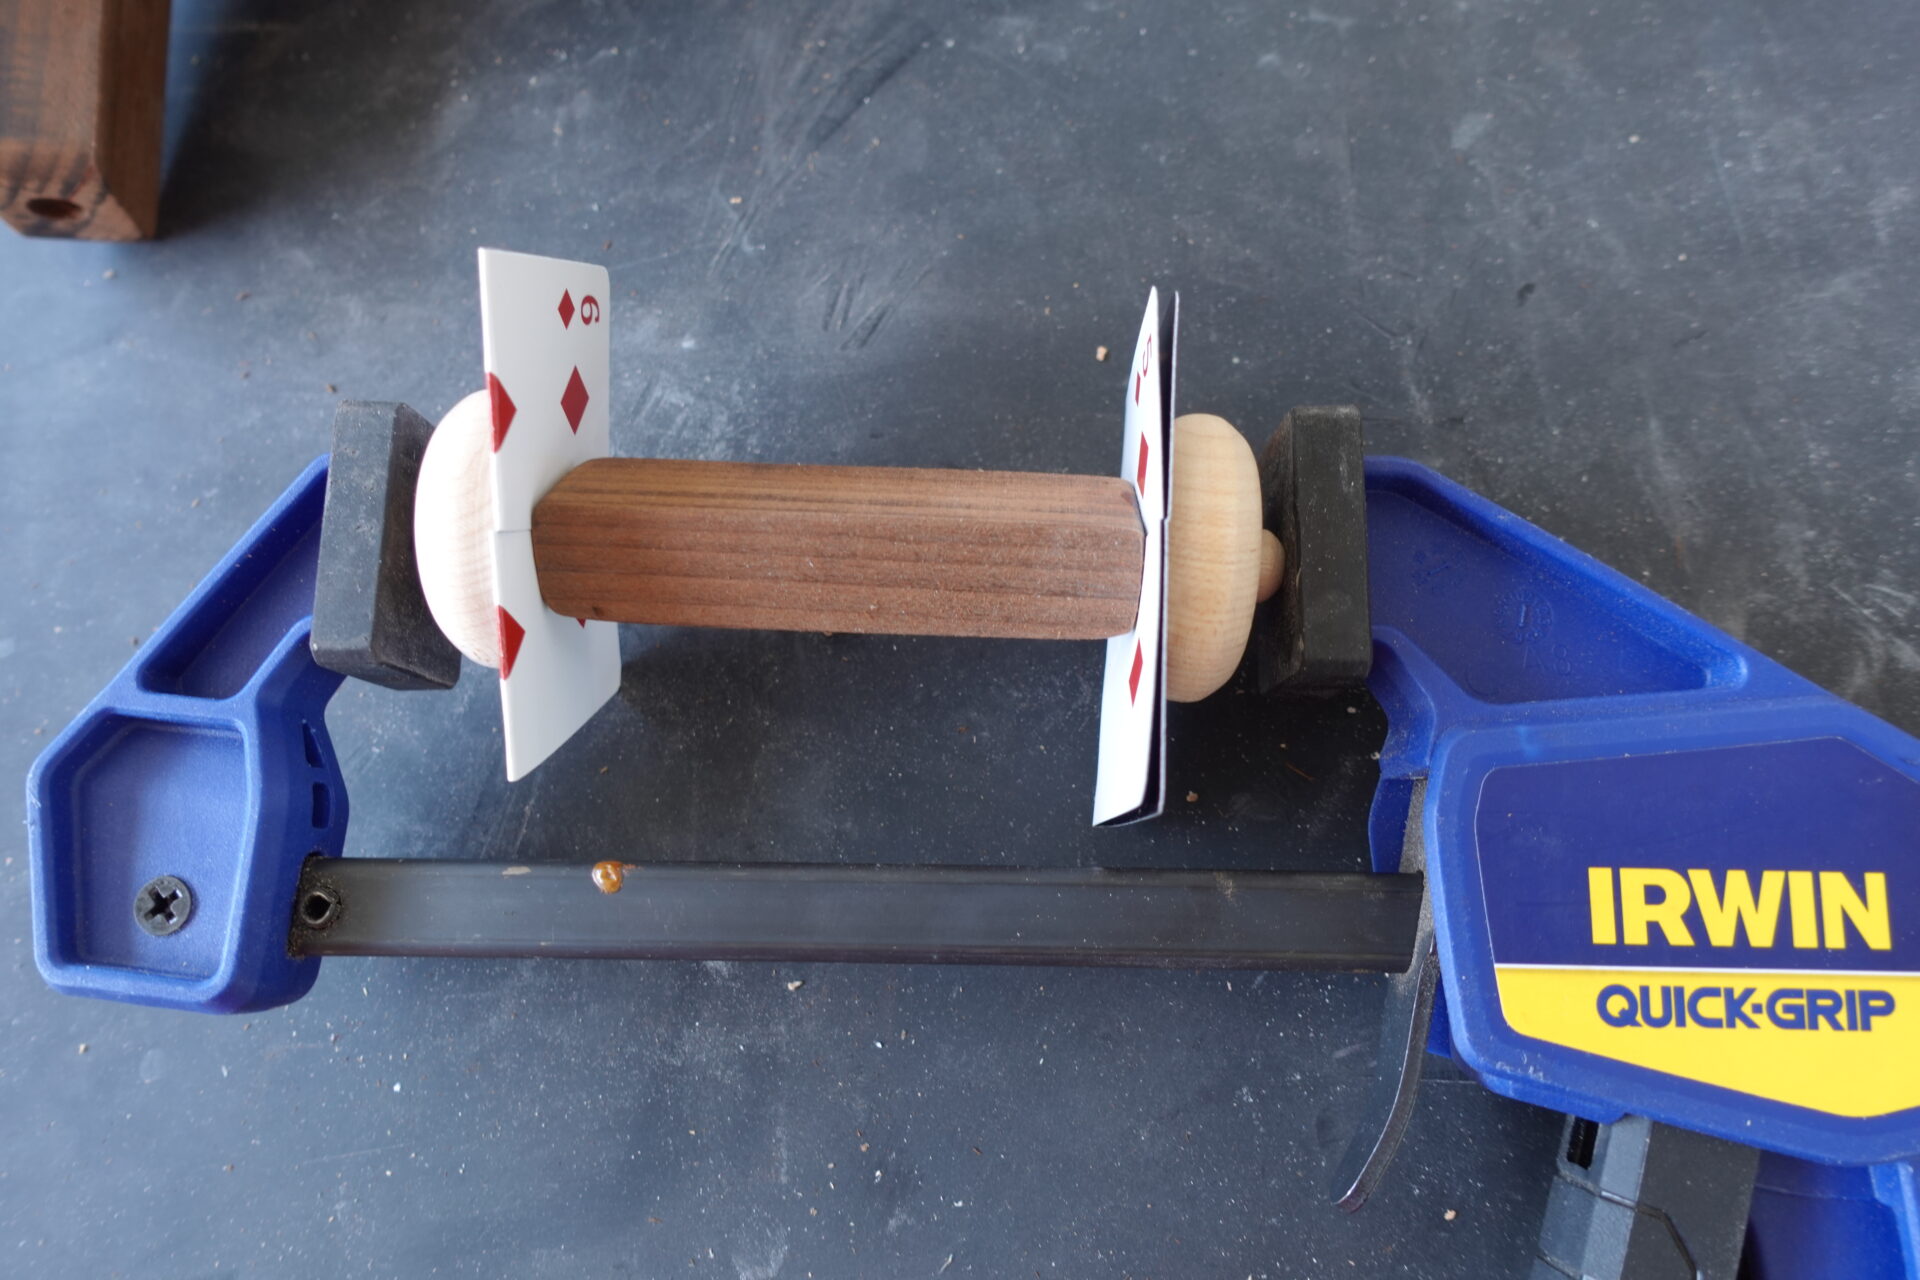
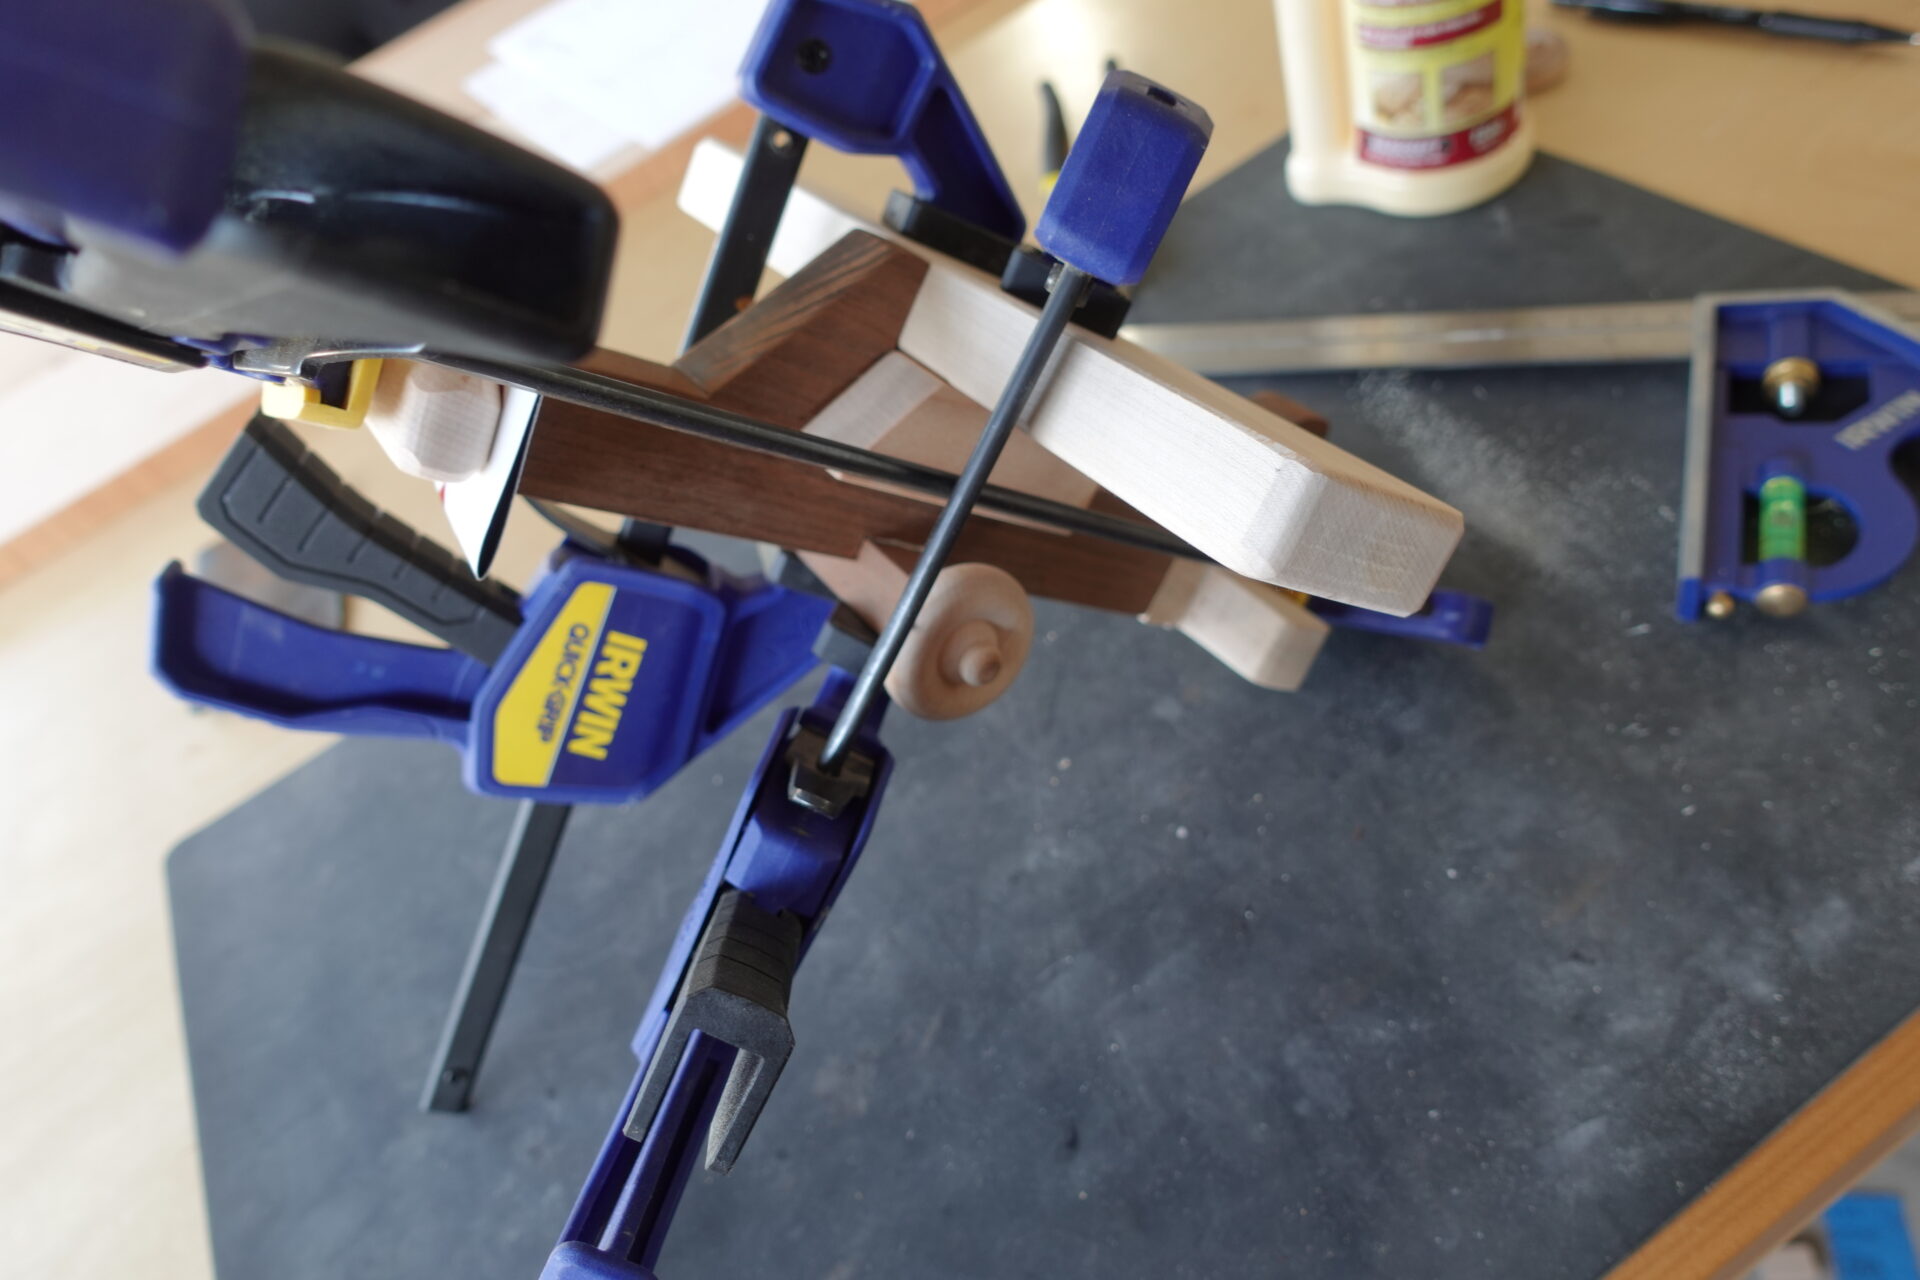
Clamp layout gear together. Again, the playing cards here will help to ensure the wheels are not accidentally glued to the landing gear.
STEP 13:
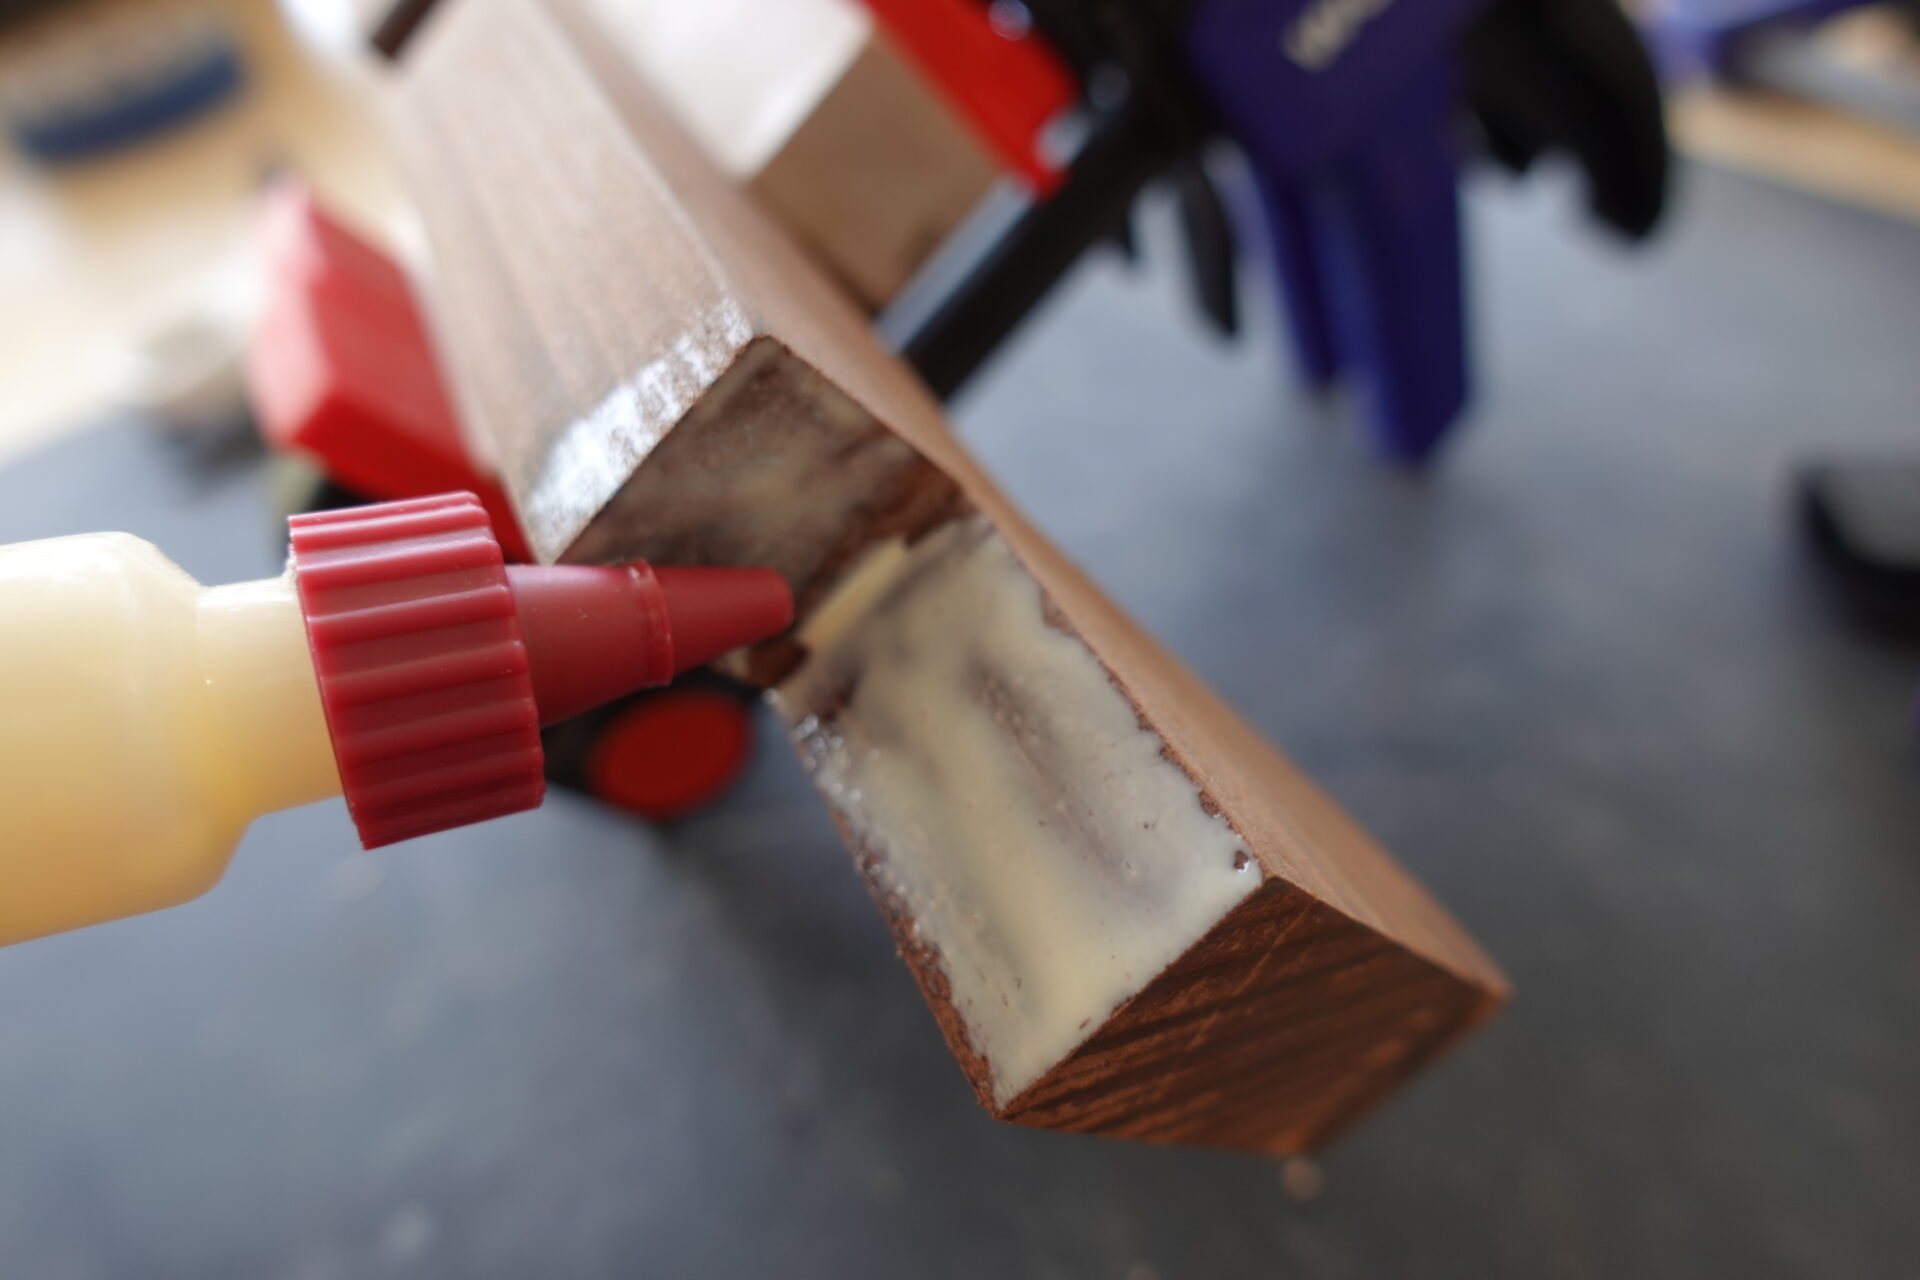
Glue and clamp the tail wing.
Wait 24 hours to dry…
STEP 14:
Before moving on, it’s a good idea to sand the plane again by hand with 150 grit, then 180 grit, and finally 220 grit sandpaper. Then move onto gluing the wing and landing gear. These can then be clamped together with two clamps.
Wait 24 Hours for Glue to Dry…
STEP 15:
(Optional): Sand again and remove all dust before applying Osmo Hard Wax Oil (+ Our Product Review) which is safe for children’s toys. Use gloves and non-abrasive pads to work the oil into the surface of the wood. Let sit for about 15 minutes and wipe the excess with a paper towels. IMPORTANT: Safely dispose of wet rags, gloves, and pads which can be flammable.