Introduction
An outfeed table in woodworking serves as a critical component in ensuring the smooth and safe operation of various woodworking tools, particularly table saws. Essentially, an outfeed table is an extension attached to the back of a table saw or other woodworking equipment. Its primary purpose is to support and guide the material being cut as it exits the saw blade.
When working with long or heavy pieces of wood, the outfeed table provides invaluable support to prevent the material from sagging or falling off the saw table, which could lead to inaccurate cuts or even accidents. By offering a stable surface for the wood to rest on as it moves past the blade, the outfeed table helps maintain precision and consistency in the cuts, resulting in higher quality woodworking projects.
Moreover, outfeed tables can be customized to suit the specific needs and preferences of woodworkers. They can be built at various heights and lengths to accommodate different sizes of workpieces and to fit within the available space in the workshop. Some outfeed tables are fixed in place, while others are designed to fold down or retract when not in use, providing flexibility in smaller workspaces.
Choosing the Right Outfeed Table
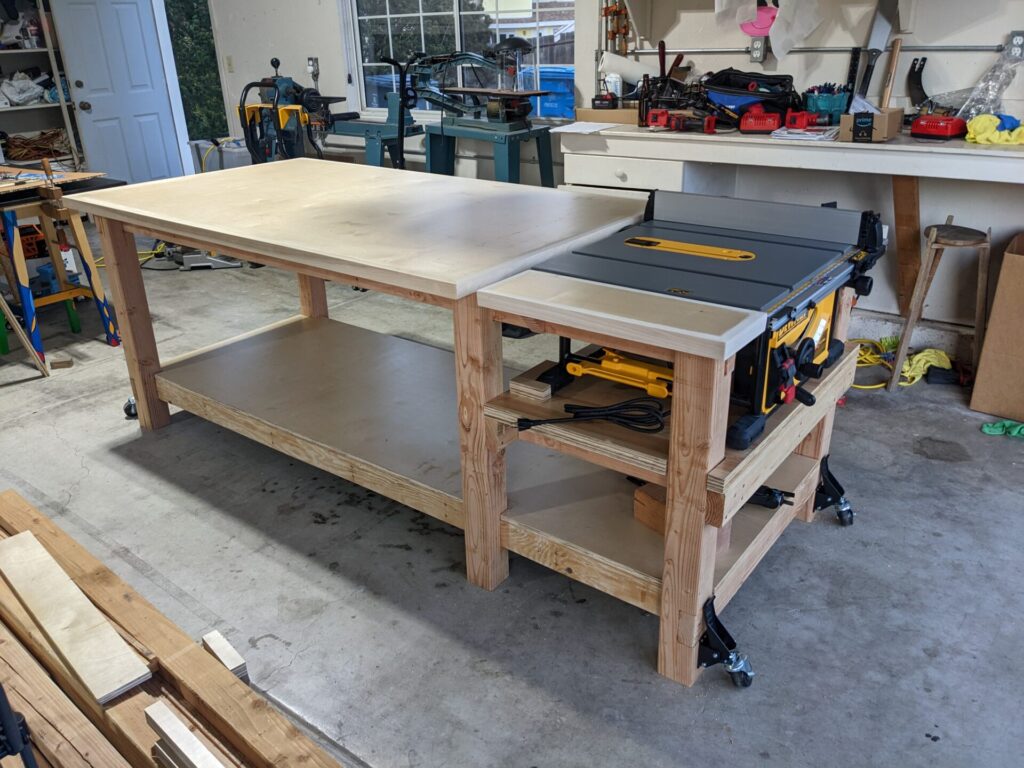
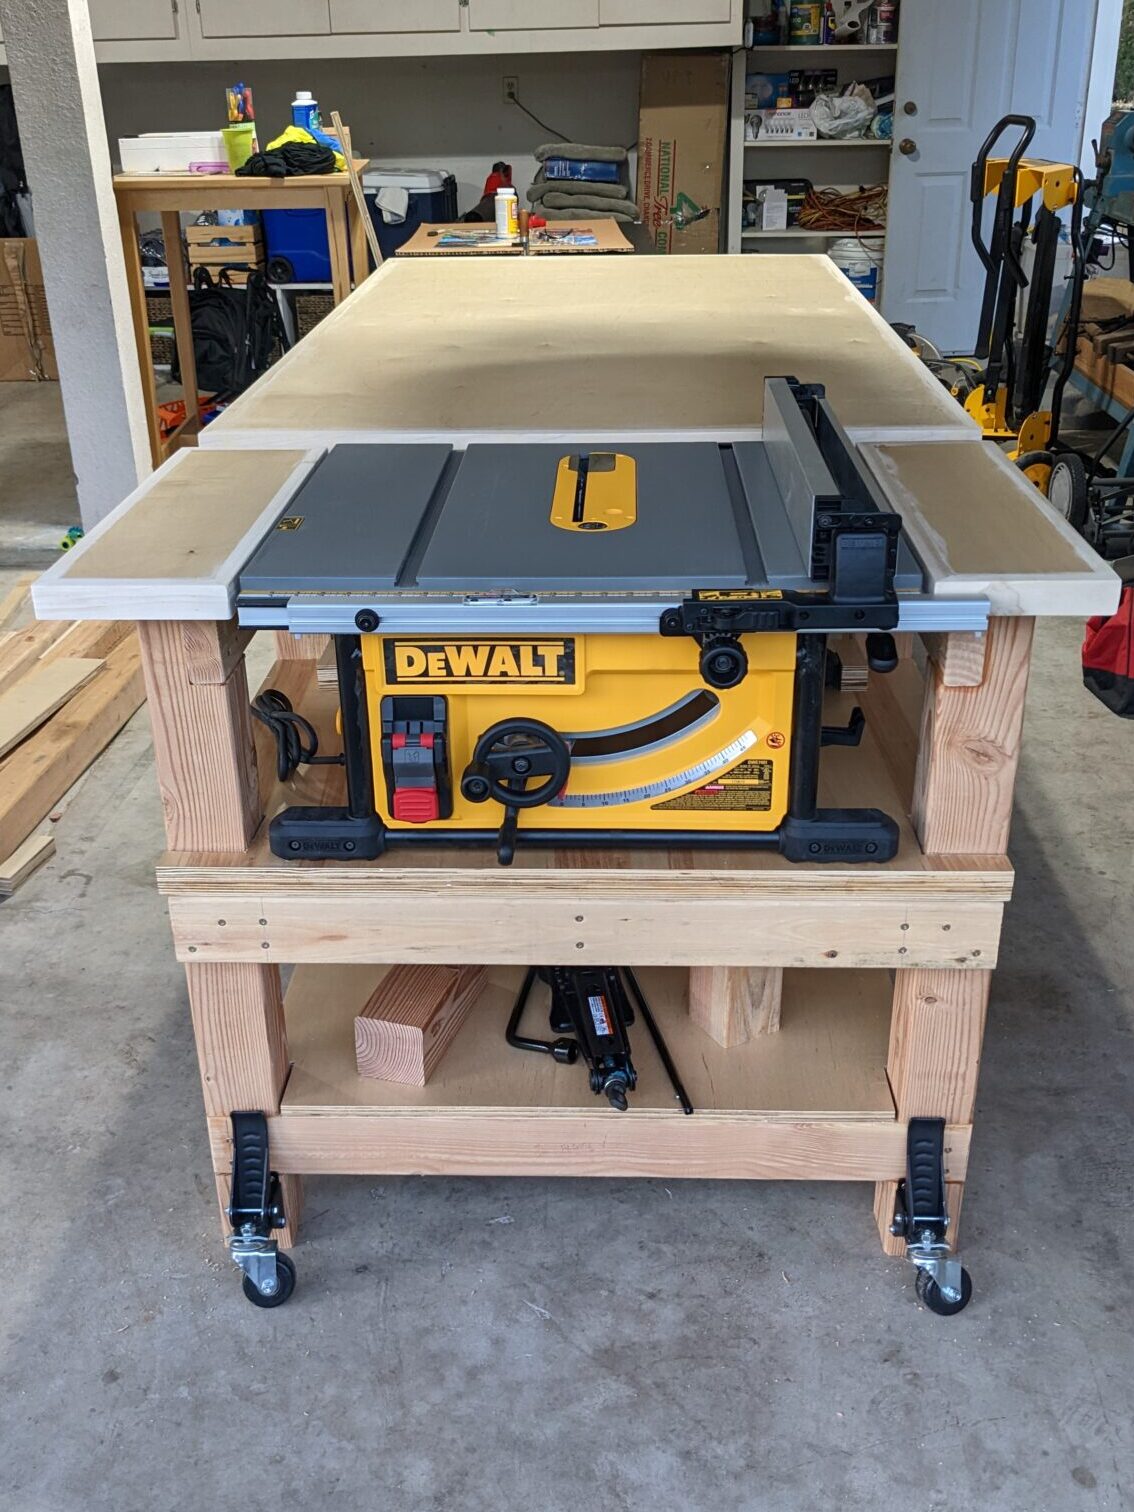
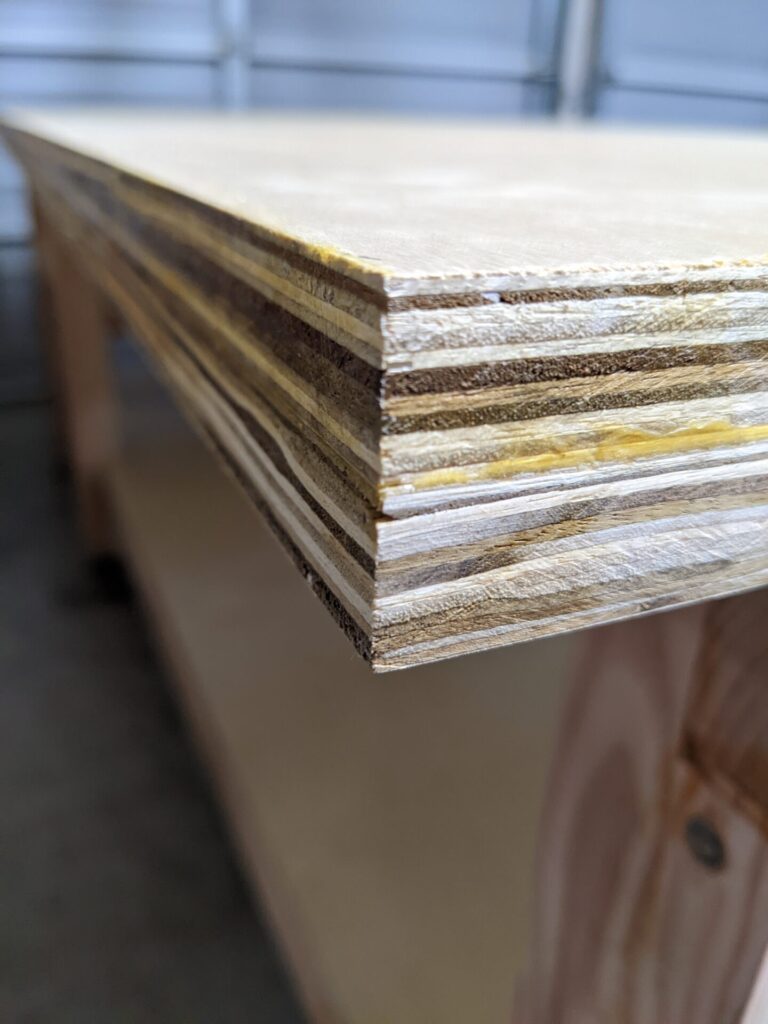
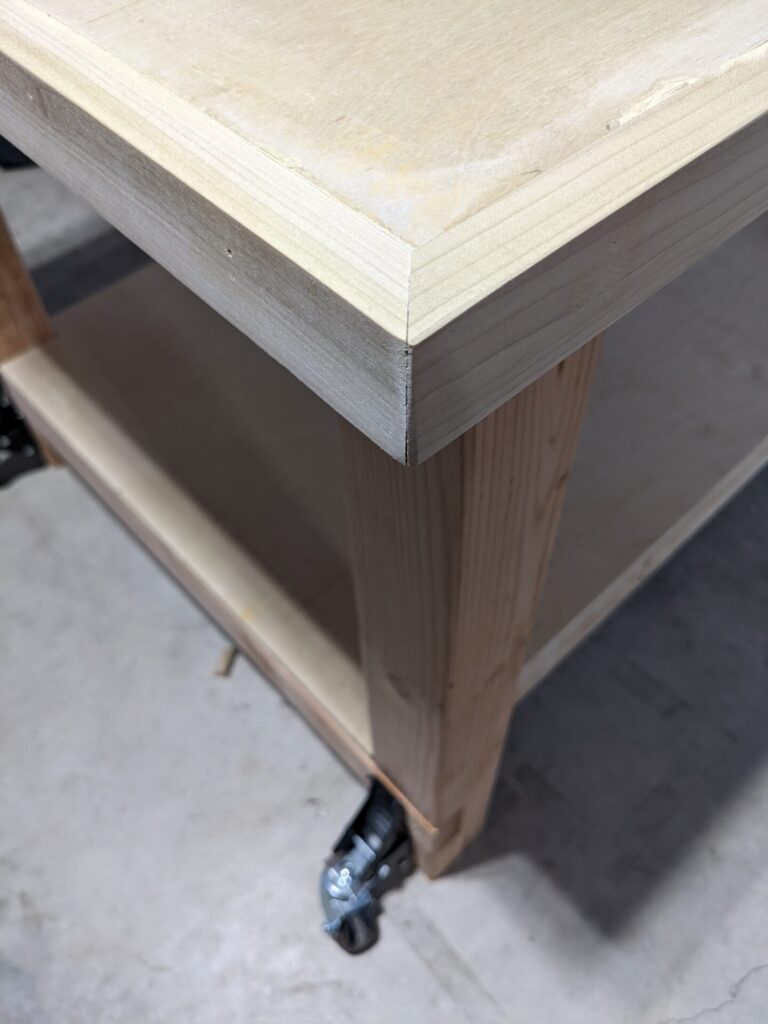
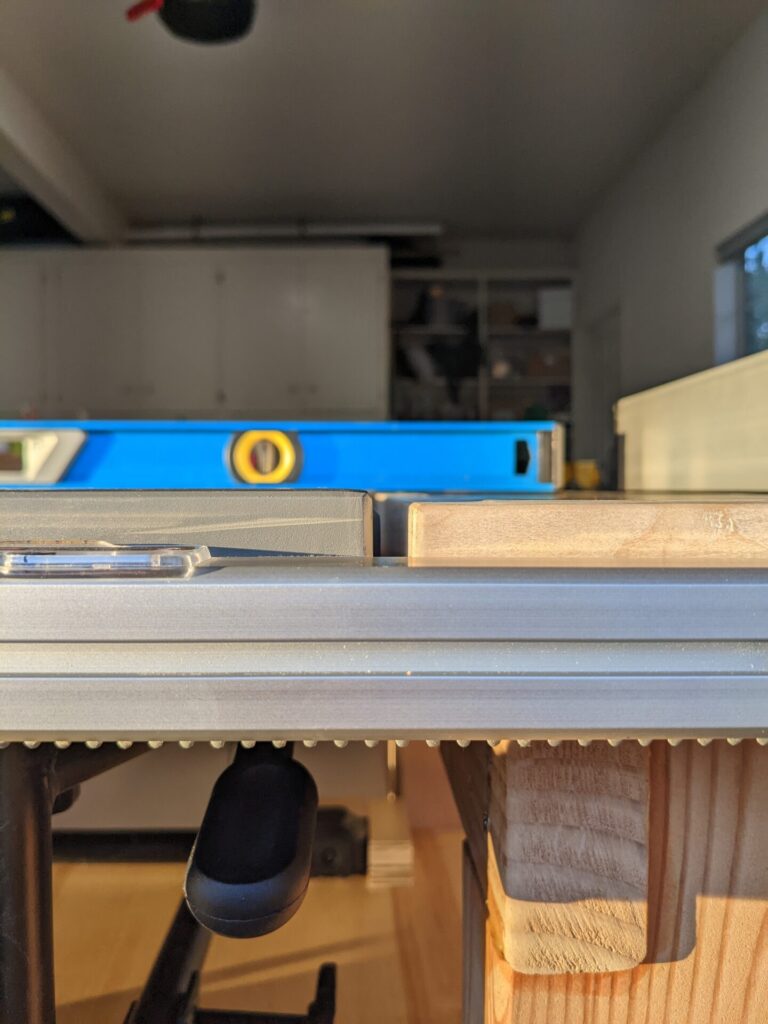
I chose this outfeed design because my Dewalt 10 inch Table Saw (click link to see review) fits perfectly, The top outfeed work surface features two sheets of plywood laminated together so it fits well in my one-car garage. Plus it is mobile with the heavy duty castors on the bottom.
Where To Get the Plans
I bought the plans on Etsy from Woodpackdiy (click to buy).
Other Considerations & Features to Consider
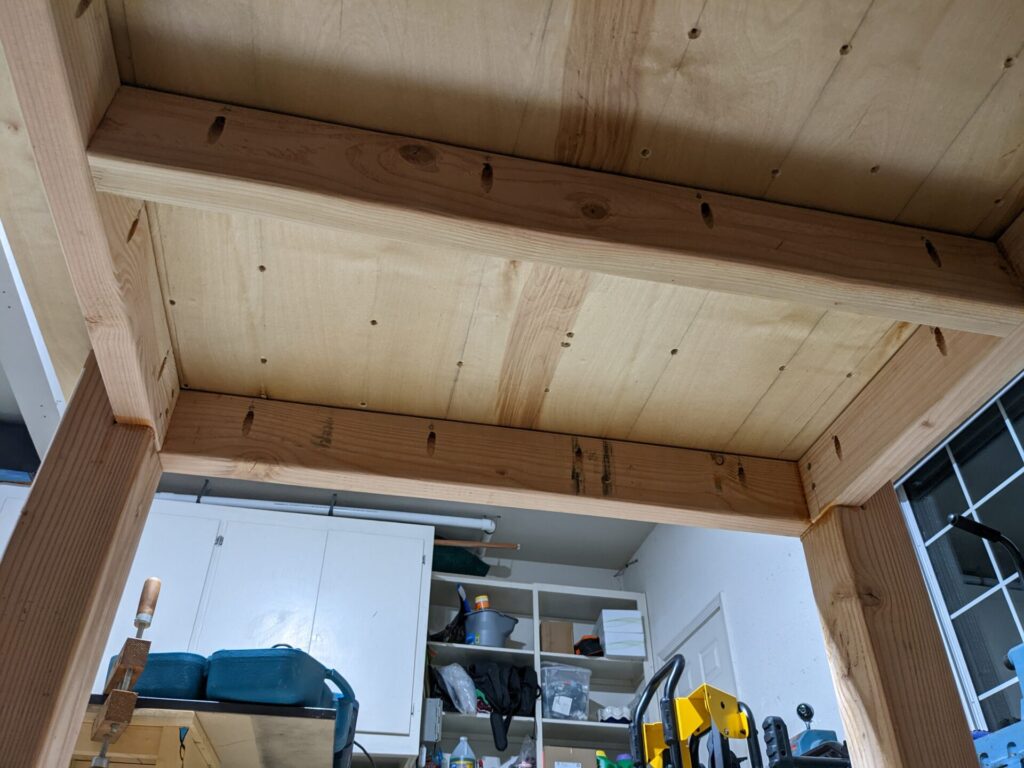
- Sturdy Construction: Outfeed tables should be built with durable materials such as hardwood, plywood, or metal to provide a stable and reliable surface for supporting workpieces.
- Adjustability: Many outfeed tables are designed to be adjustable in height or length to accommodate different types and sizes of workpieces, as well as to align perfectly with the table saw surface.
- Smooth Surface: A smooth surface ensures that the workpiece slides easily across the outfeed table without snagging or causing friction, allowing for precise and accurate cuts.
- Folding or Retractable Design: Some outfeed tables feature a folding or retractable design, allowing them to be easily stored when not in use or to conserve space in smaller workshops.
- Integrated Support Mechanisms: Certain outfeed tables may include built-in support mechanisms such as rollers, ball bearings, or adjustable legs to provide additional stability and support for longer or heavier workpieces.
- Measurement Scales or Guides: Measurement scales or guides on the outfeed table surface can aid in accurately positioning and cutting workpieces to the desired dimensions.
- Compatibility with Accessories: Compatibility with accessories such as extension wings, fences, or hold-down clamps can enhance the versatility and functionality of the outfeed table for different woodworking tasks.
- Portability: Some outfeed tables are designed to be portable, allowing woodworkers to easily move them around the workshop or transport them to job sites as needed.
- Safety Features: While not directly part of the table itself, safety features such as anti-kickback devices or blade guards should be considered when using an outfeed table to ensure safe woodworking practices.
How To Build This Outfeed Table
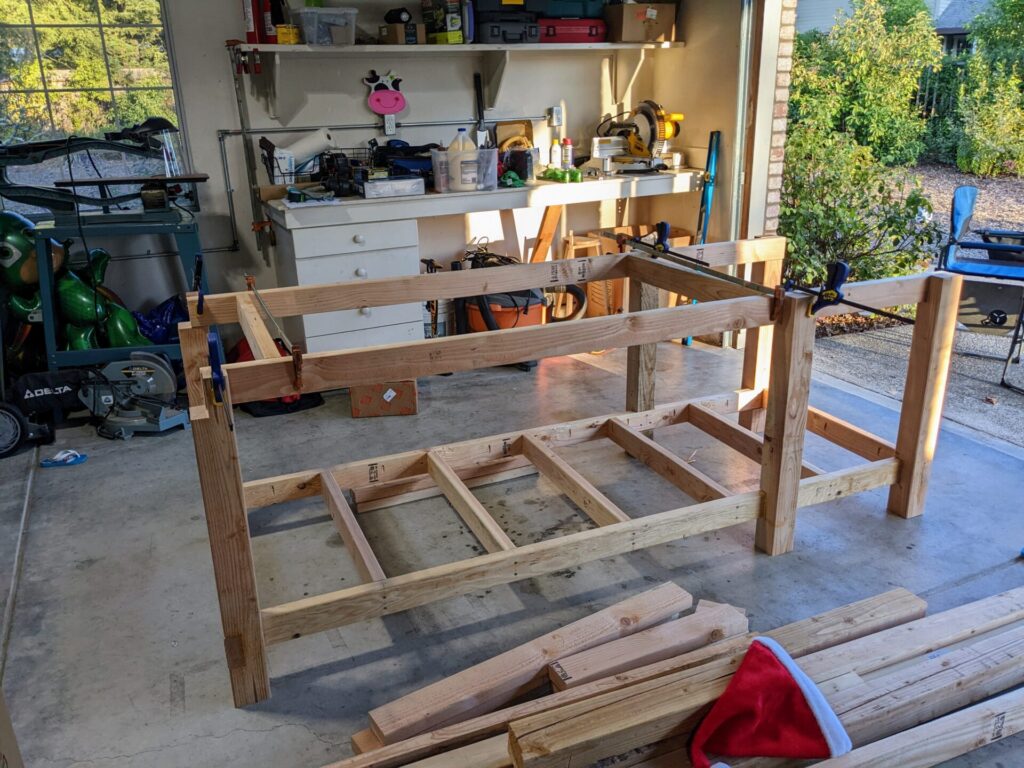
Watch the Video: I really appreciate the WoodPackDIY accompanying build video on YouTube.
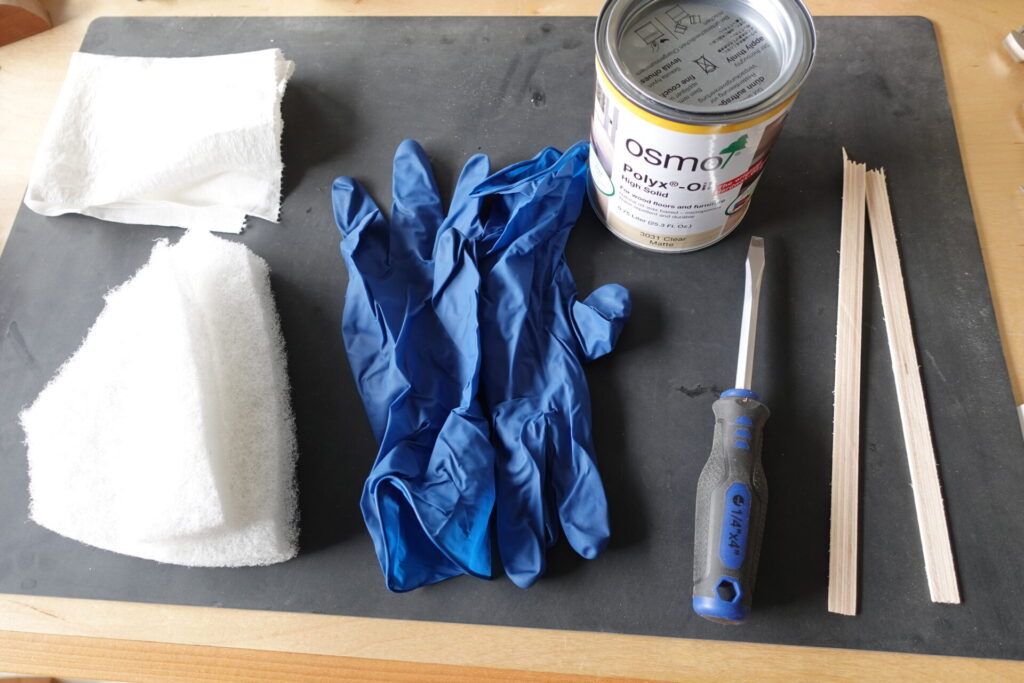
How To Finish the Top
I chose my go-to finish: Osmo Hard Wax Finish (Click for Review). It provides some protection against scratches and it’s easy to repair and add additional coats in the future if needed.
Limitations of This Design
While I love this design and functionality overall, there a couple downsides.
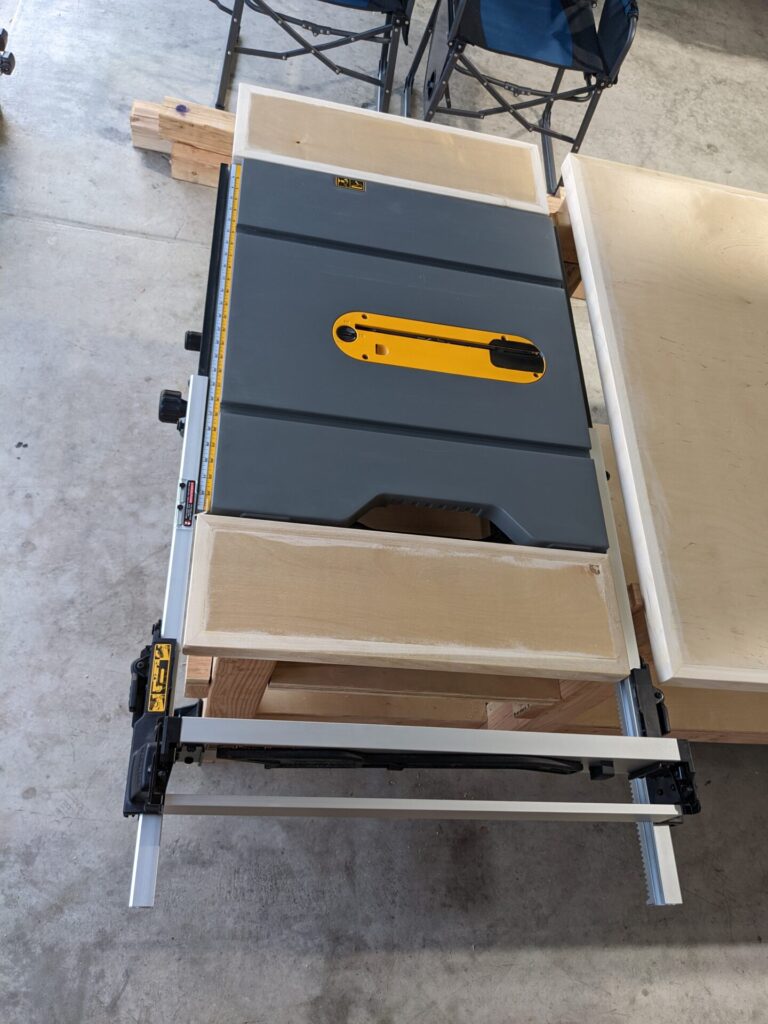
- Riving Knife- If you want to remove riving knife and install dado blades, you need to lift up the entire saw to access the level on the left underside. Not a biggie if you don’t use dado’s often.
- No Vice- There is no vice integration. It would be great to add this later in order to help with more hand tools like hand planes.
- No Hold downs- There is no way to hold down work pieces on the top work surface. Having a T-track system or bench dogs would be nice to hold the workpieces for routing and sanding.
Conclusion
Overall, this is a terrific workbench and outfeed table. It gives piece of mind when using the table saw by giving a crucial safety addition to my shop. I would definitely recommend adding it to your shop.