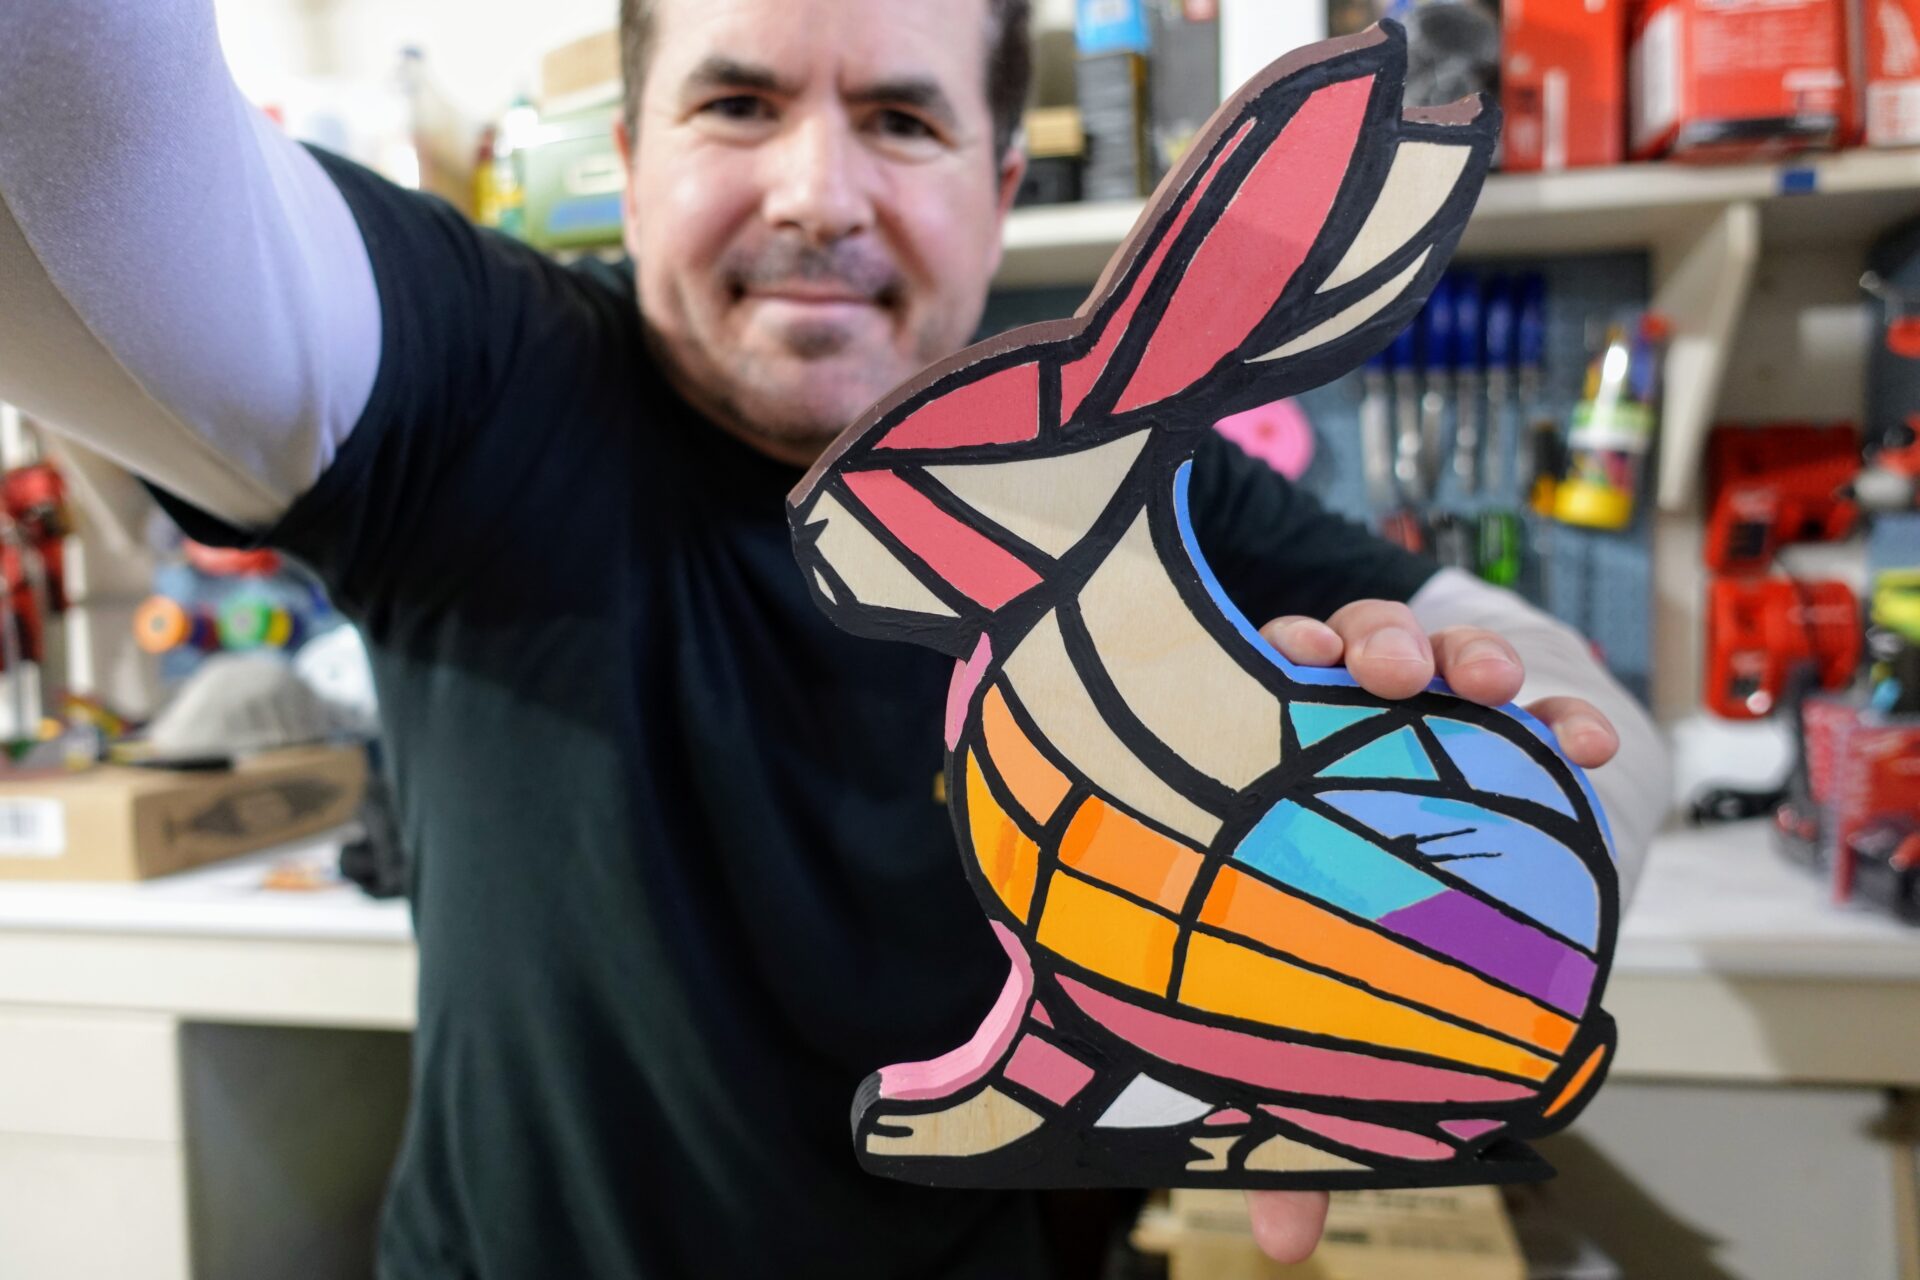
Easter is right around the corner, but you still have time to make this colorful and bright scroll saw neon bunny to keep the holiday festive.
Key Project Details
I had some extra half-inch Baltic Birch plywood on hand and thought I would combine inspiration from Alex Yanez and Danilo Roots to make a neon bunny. It’s a fun and colorful addition to the Easter DIY Decorations albeit not on the same level of the works of the artists above. It’s humbling to see how easy they make it look to paint so accurately and with such precision. Plus, I ran into some issues with the lacquer on the second coat which probably ruined it. Still, I had to try and have some more ideas for future projects.
| Time to Build | 2 Days (includes paint drying time) |
| Difficulty | 2 of 5 |
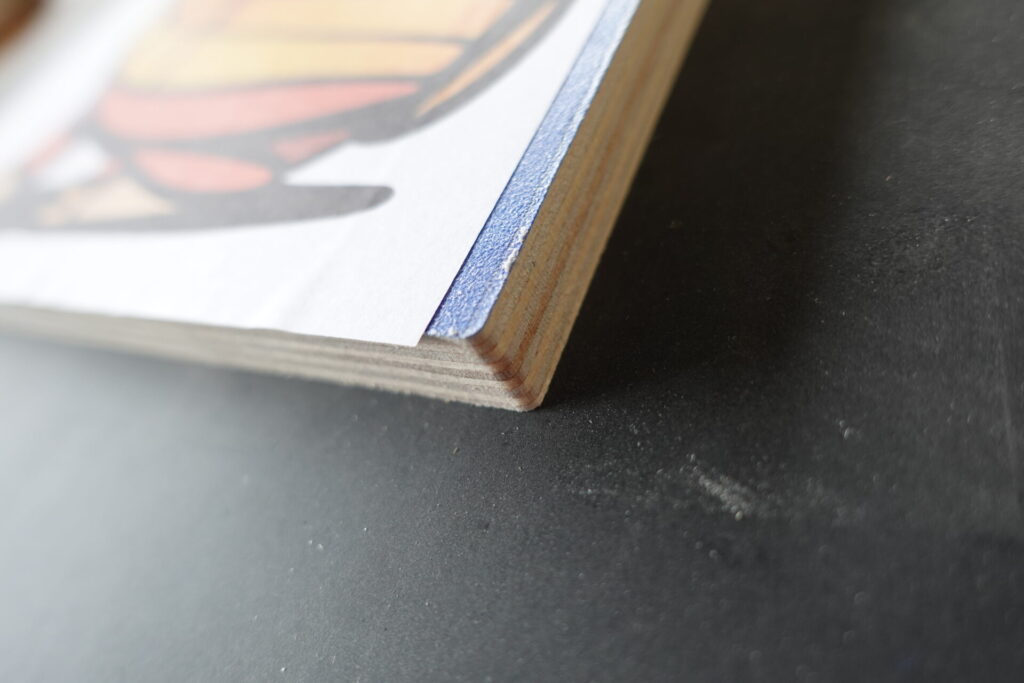
| Dimensions | 10 x 8 x 1/2 inches (LxWxH) |
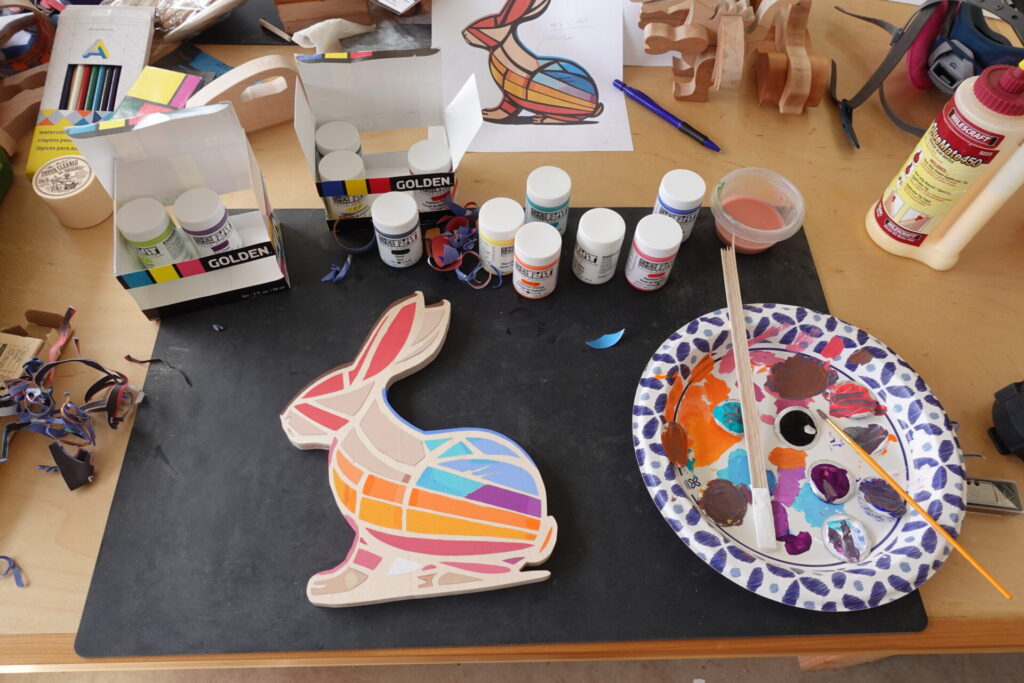
| Materials Needed | 1/2 inch Baltic Birch plywood (Woodworkers Source) 3M Super 77 (spray adhesive) Masking tape 180 Grit Sandpaper Box Cutter (or razor blade) Princeton Select Artiste, Series 3750, Liner, 10/0 Golden SoFlat Matte Acrylic Paint, Pop Set (0974-0) Golden SoFlat Acrylics, Zing 6 Color Set |
| Tools Needed: | Scroll Saw + Our Product Review |
| Lessons Learned: | Follow the directions on the lacquer label; proper temperature is key. Invest in better paint brushes; I should have used the Princeton Select instead of cheap brushes. |
Download Free Plans:

Step-by-Step Build Instructions
STEP 1:
Print the plans on 8-1/2 x 11 letter paper. Then apply masking tape over the half inch Baltic Birch plywood and use spray adhesive (3M Super 77) to attach the paper plans to the masking tape. (This will make it much easier to remove in later steps).
STEP 2:
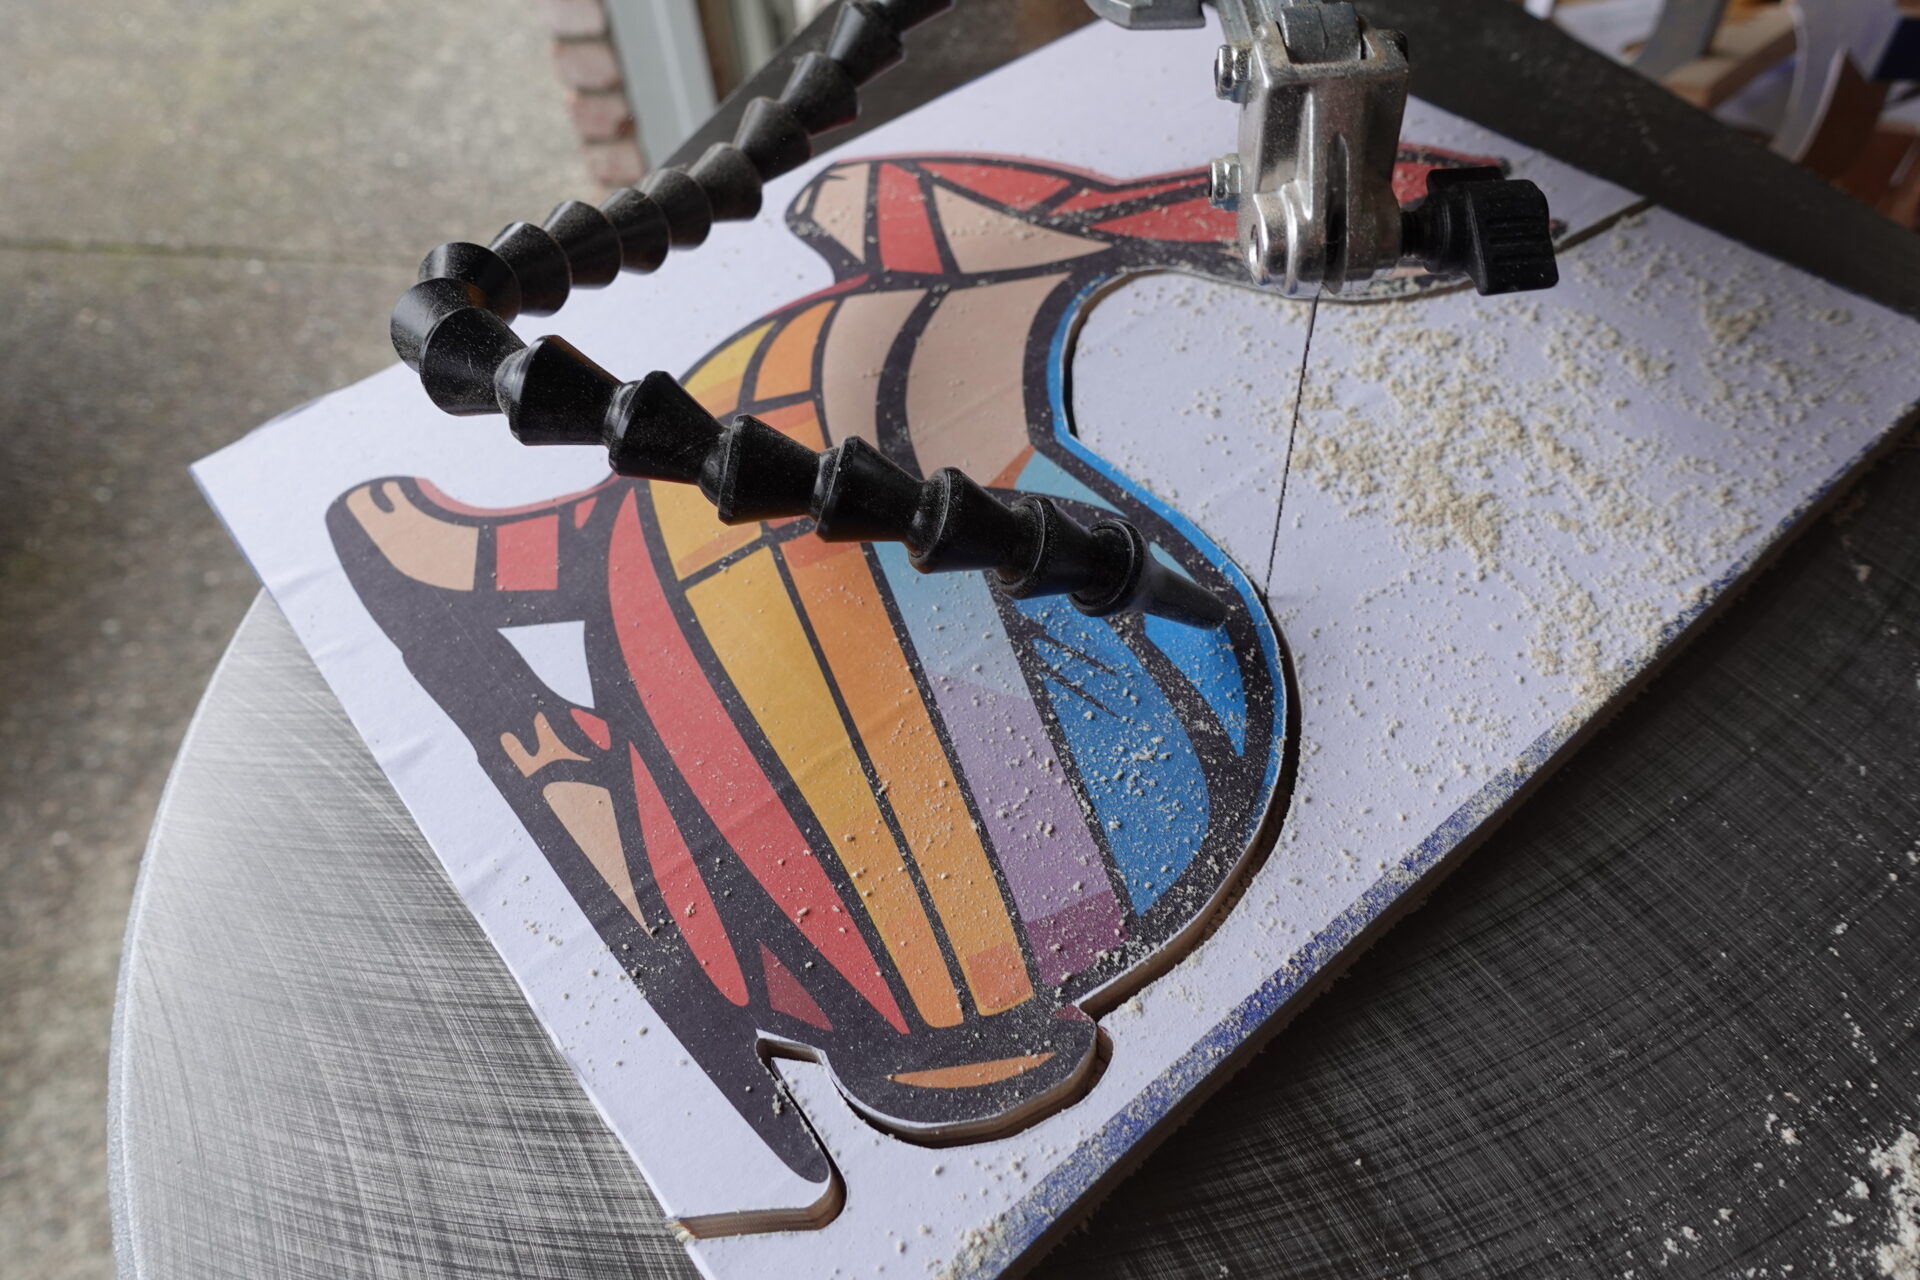
Use a Scroll Saw to cut out the neon bunny along the edges.
STEP 3:
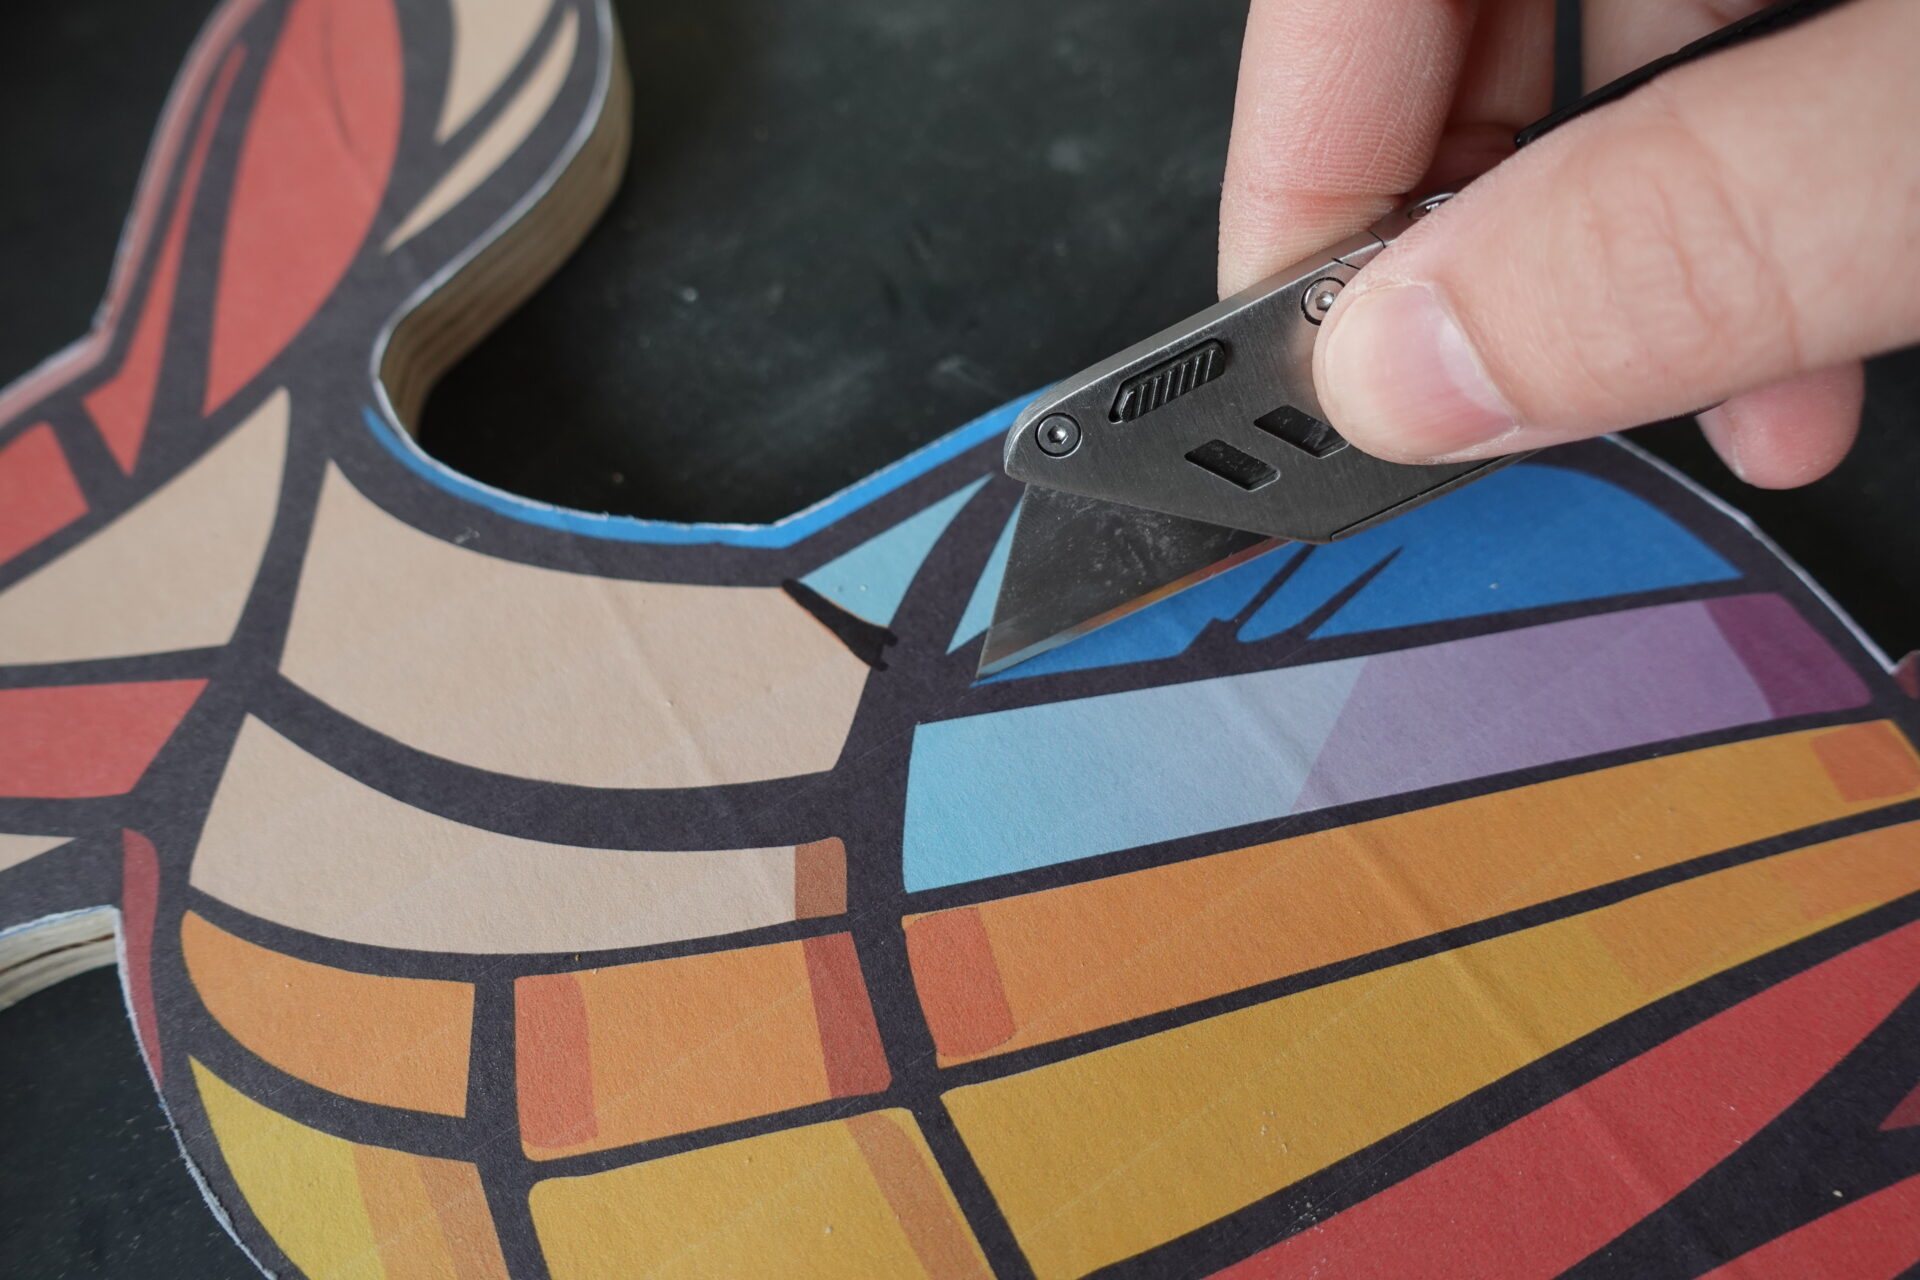
Use a sharp razor blade or box cutter to cut out all the black edges edges. This is a fairly time consuming endeavor so take breaks and get some air periodically so you don’t lose patience.
STEP 4:
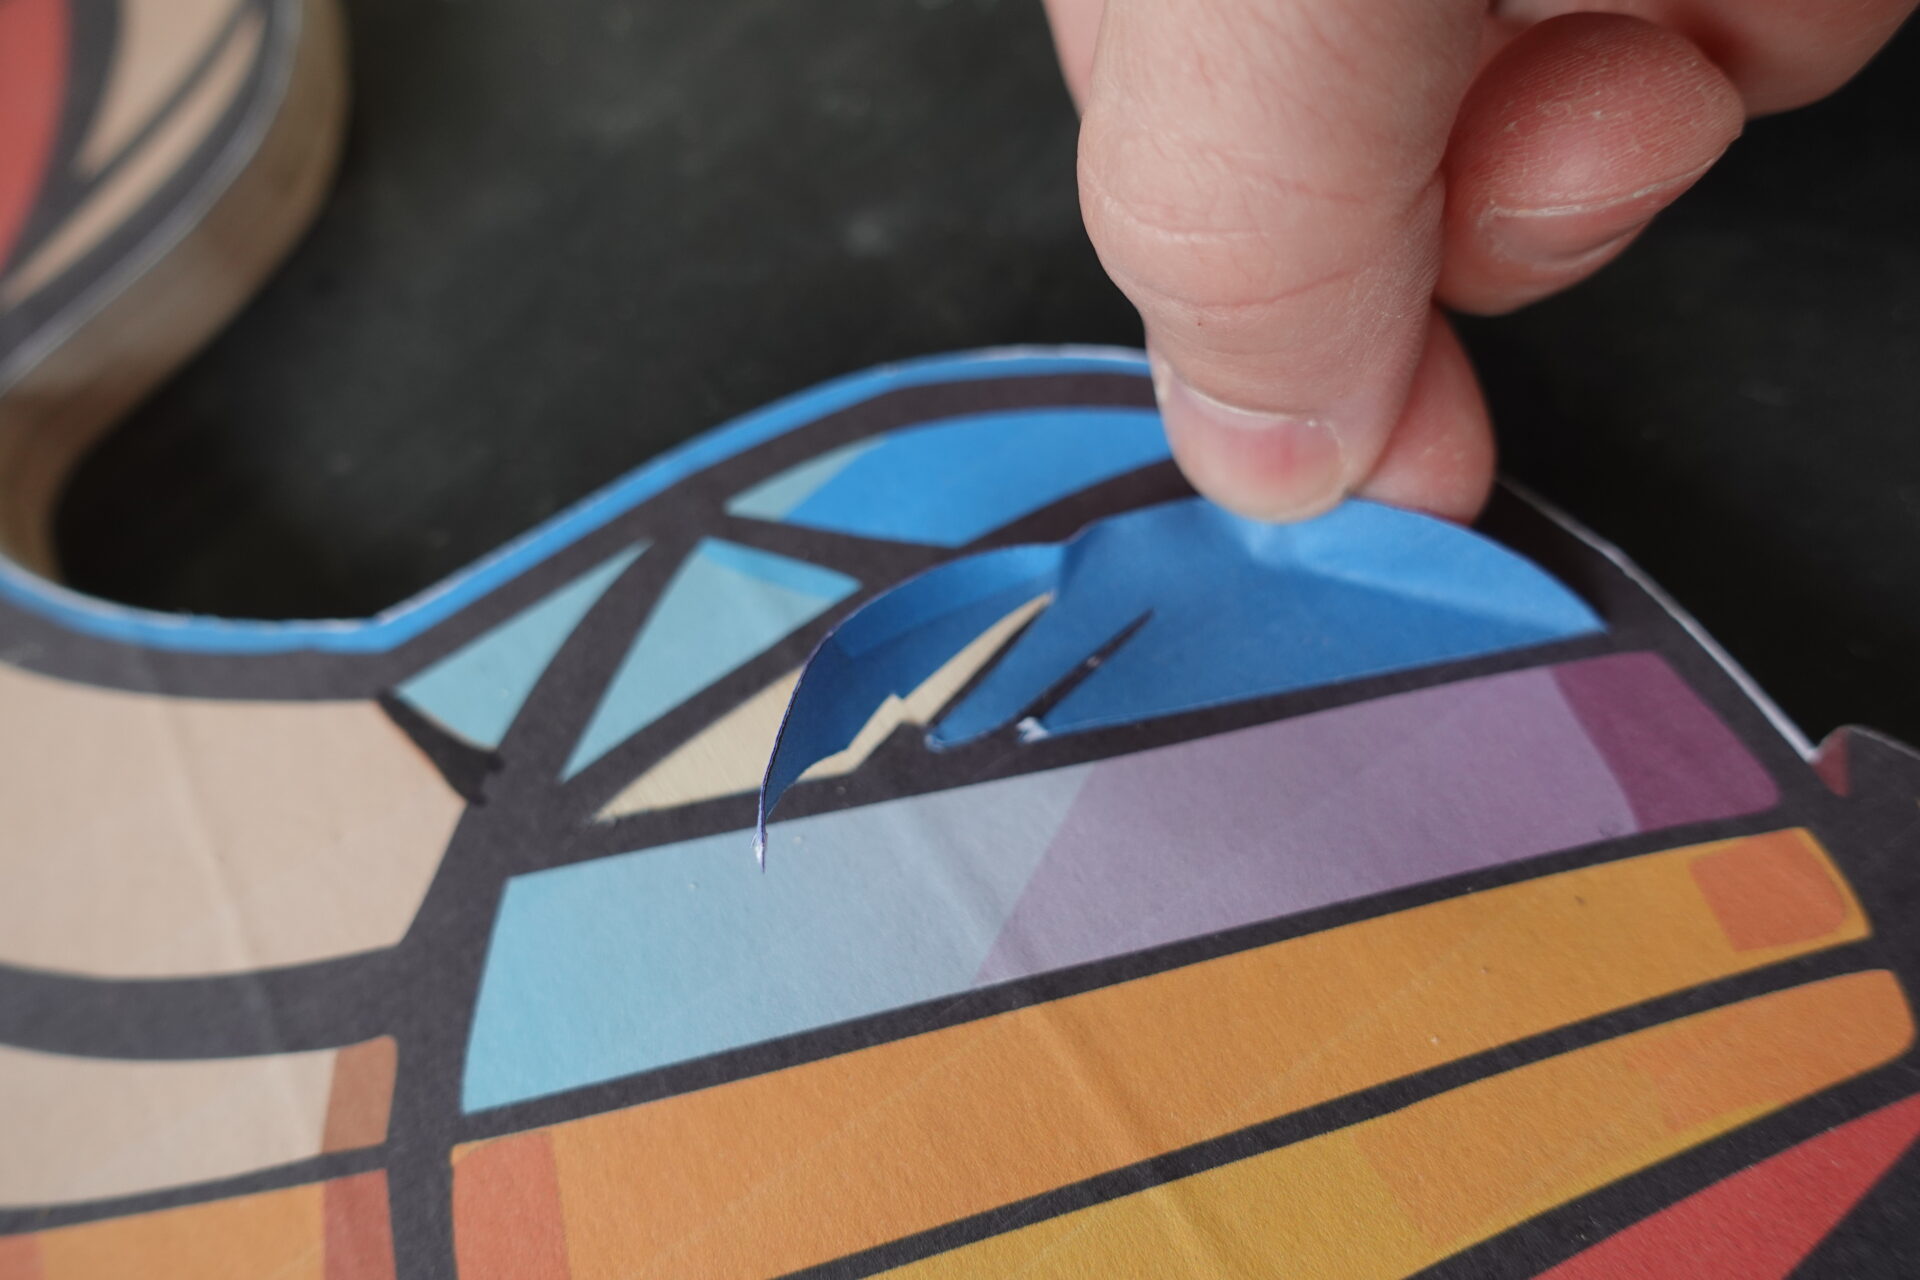
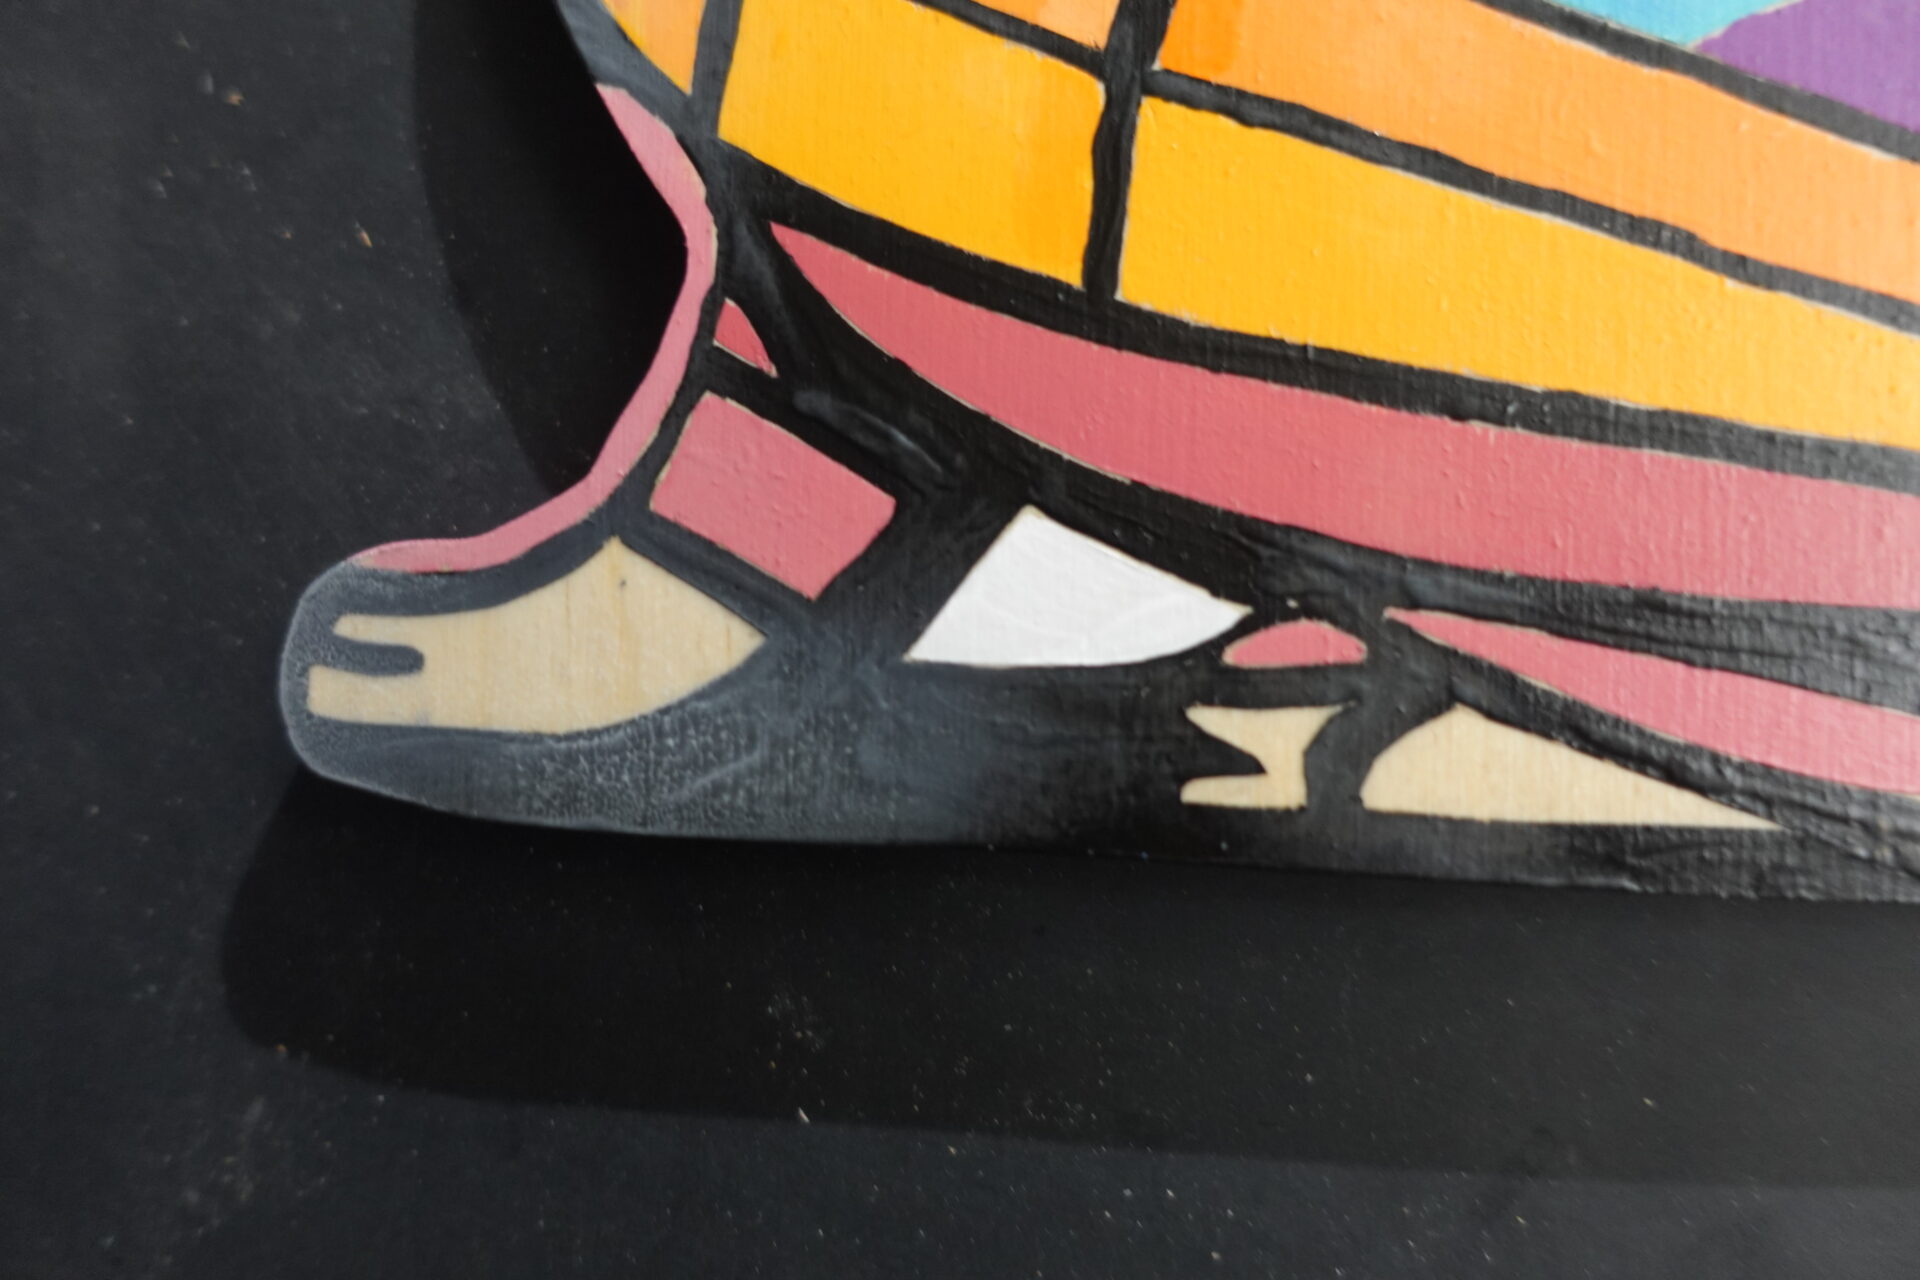
After all the edges of the black inner lines are cut with the razor blade, now you can remove the colored areas with a razor blade and fingers. IMPORTANT: Do not remove the light brown areas! These will be removed later to reveal the natural wood.
STEP 5:
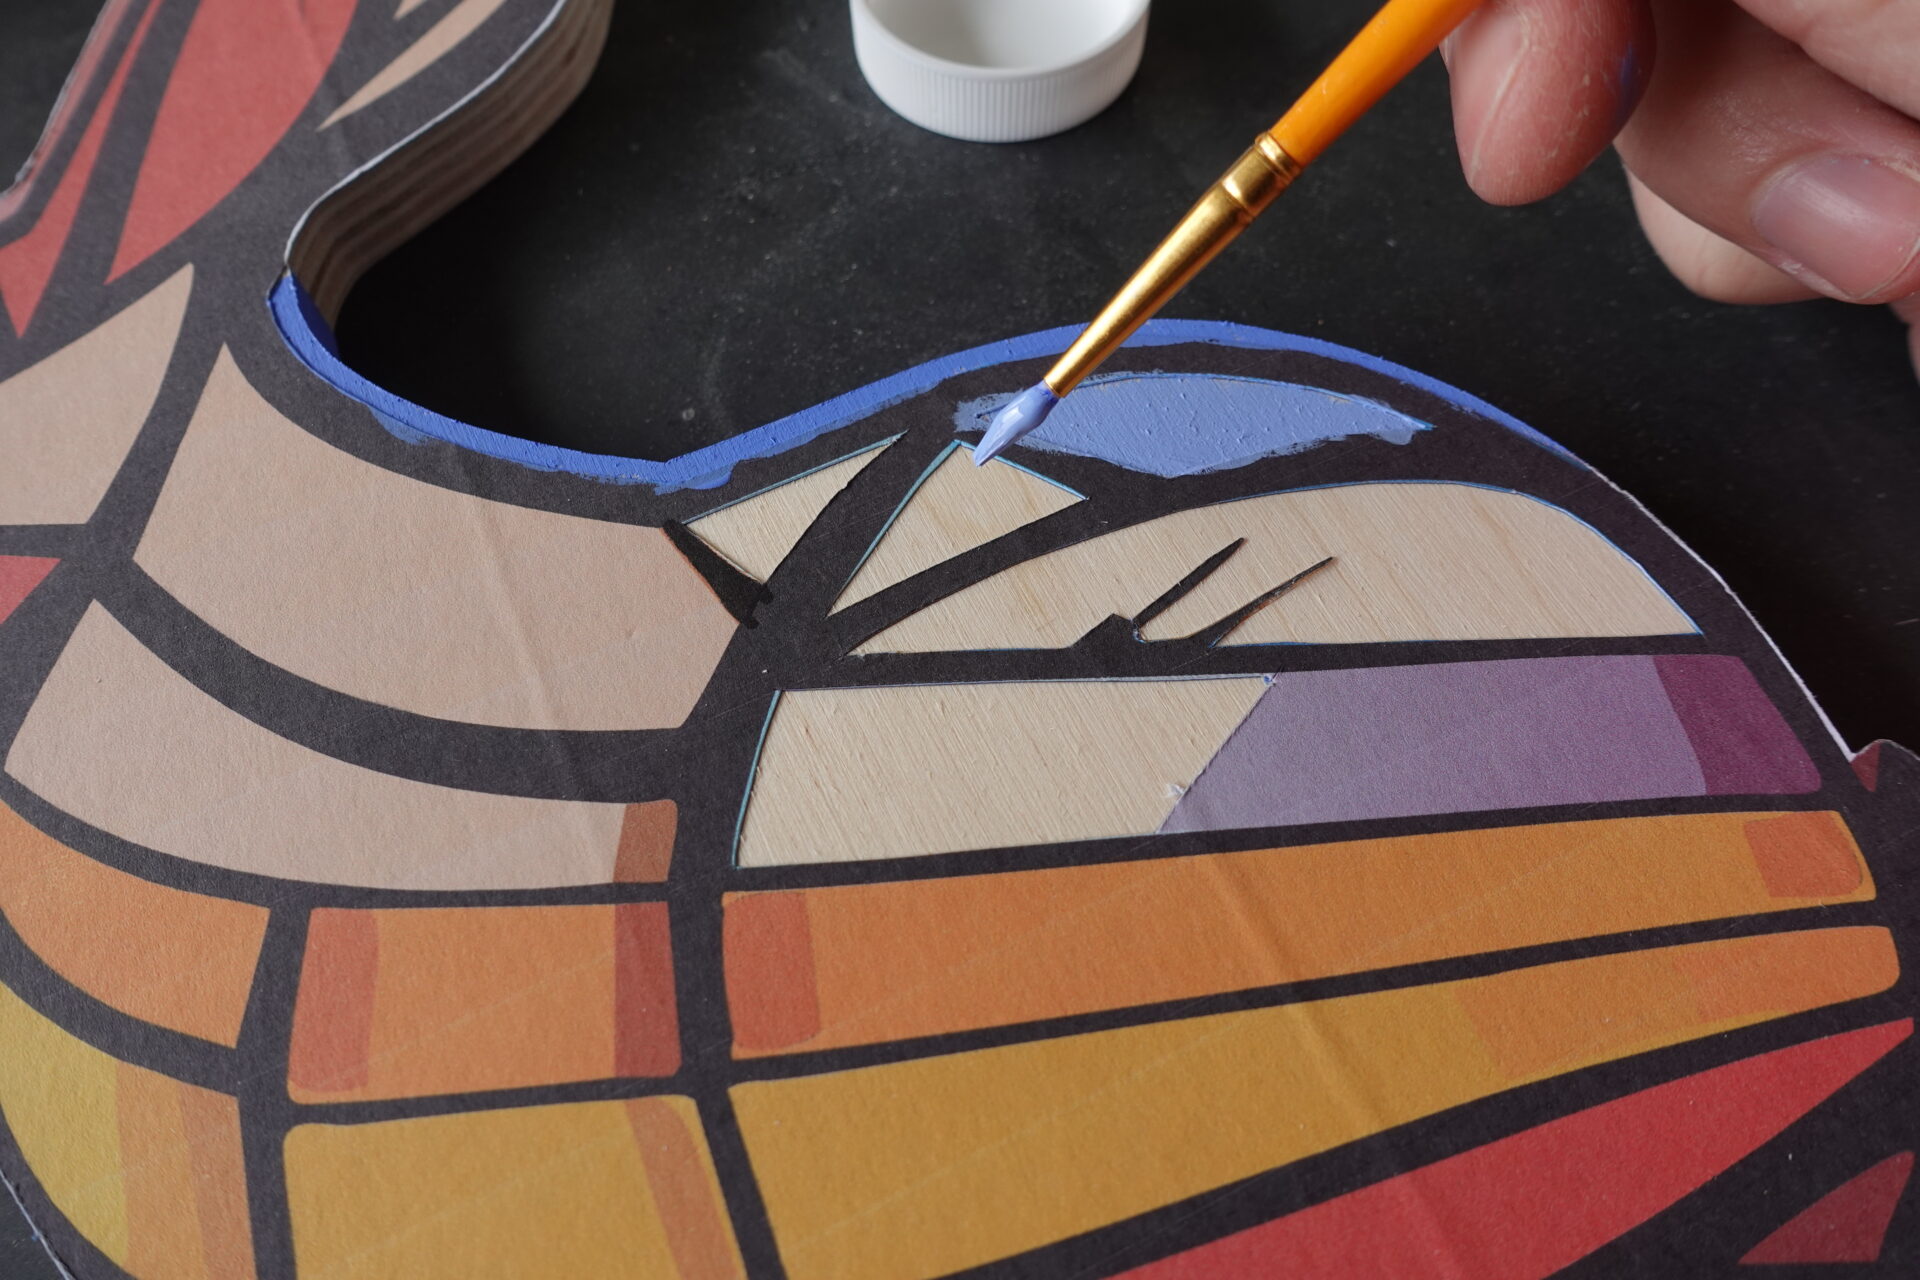
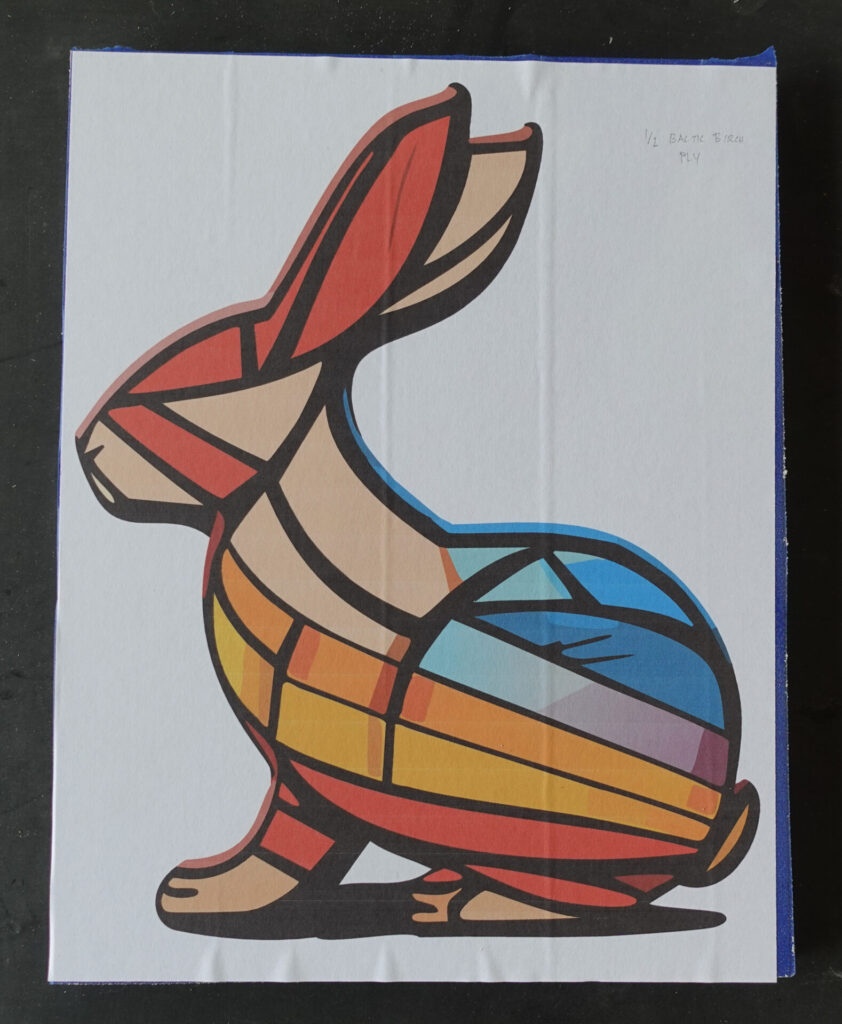
Paint the inner bunny using Golden SoFlat Acrylics, Zing 6 Color Set. Match the colors on the design to the paint colors. These colors did a great job of matching the intended layout and colors.
STEP 6:
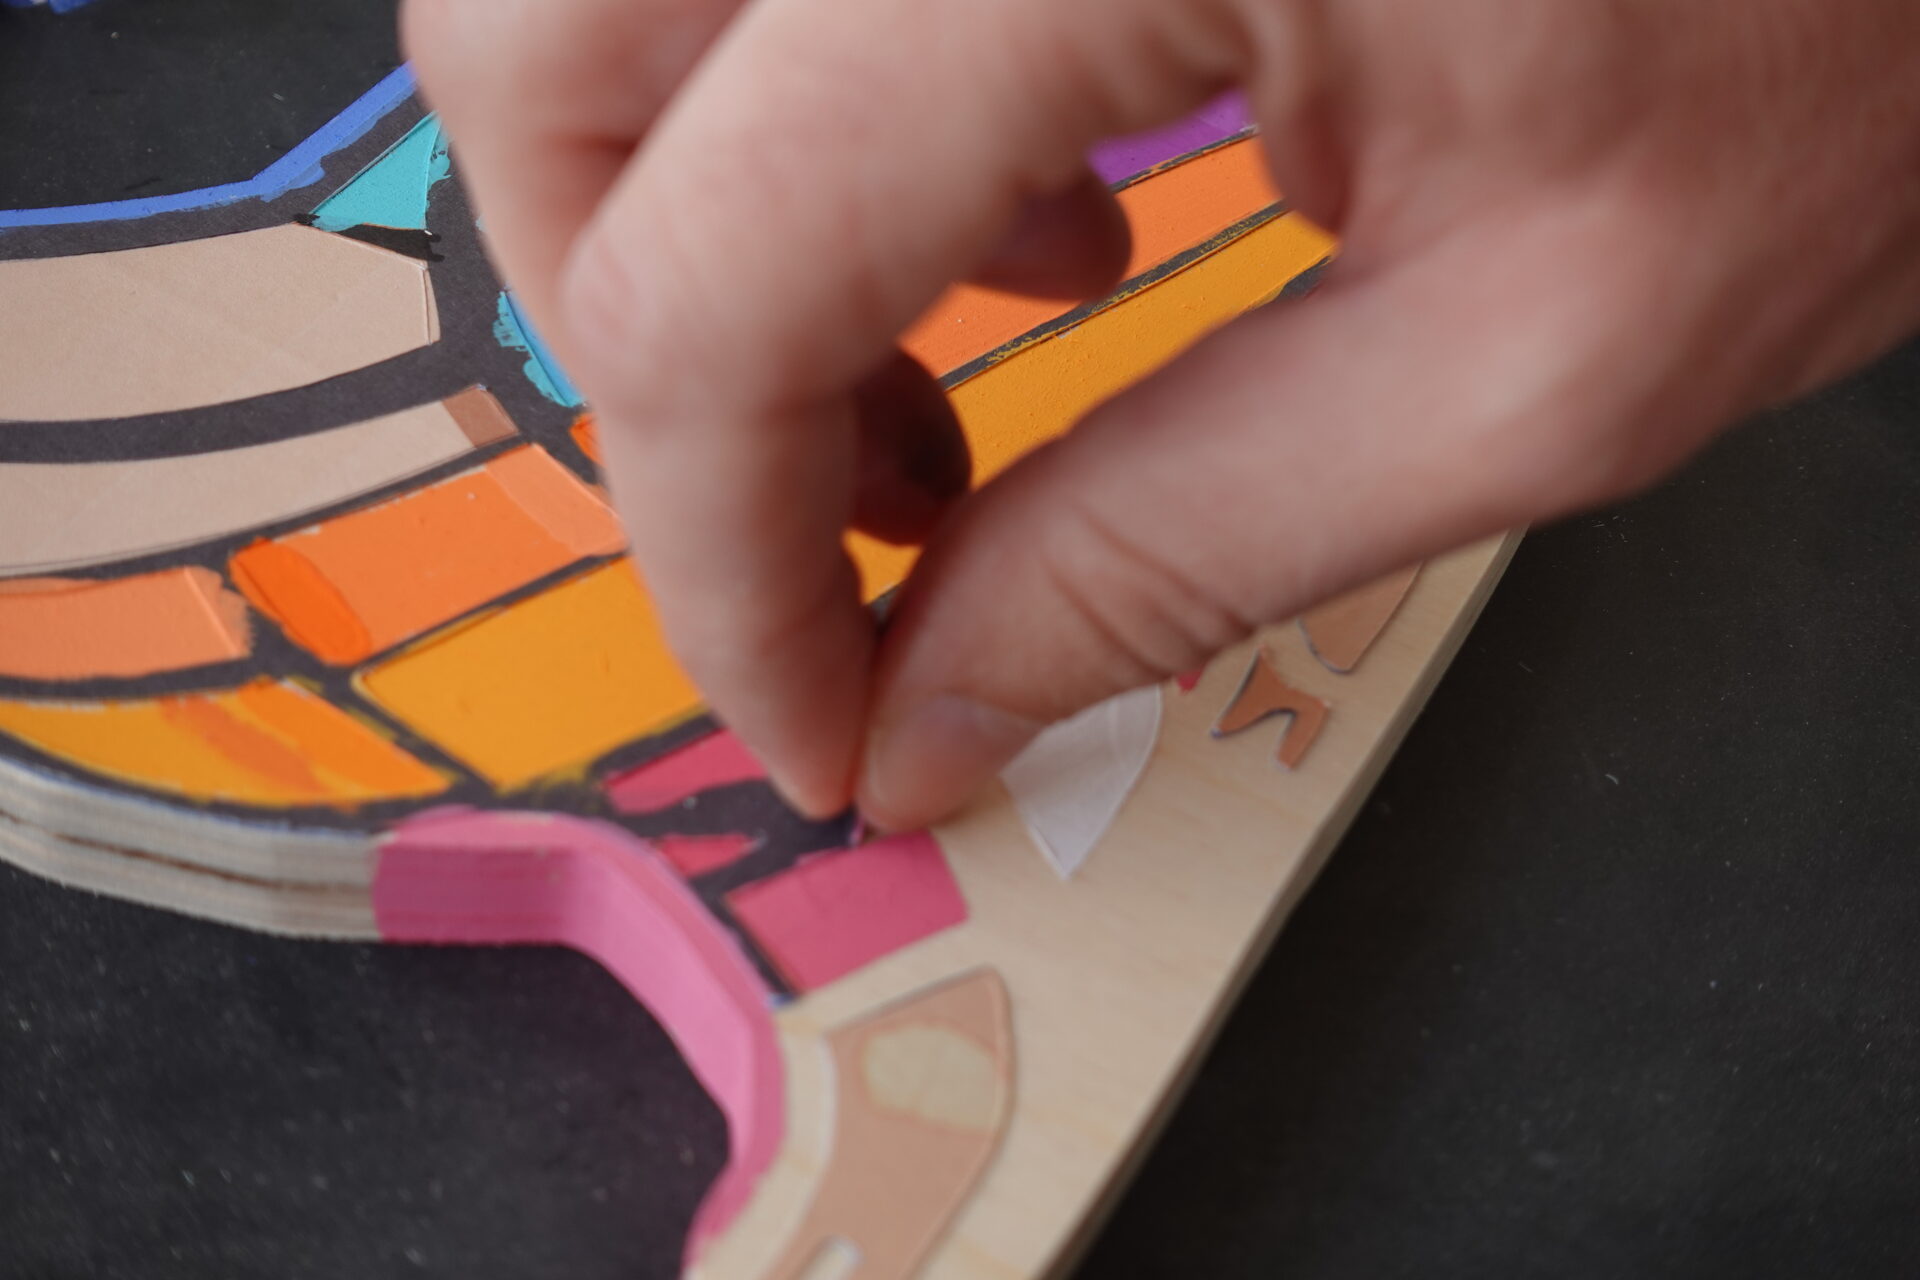
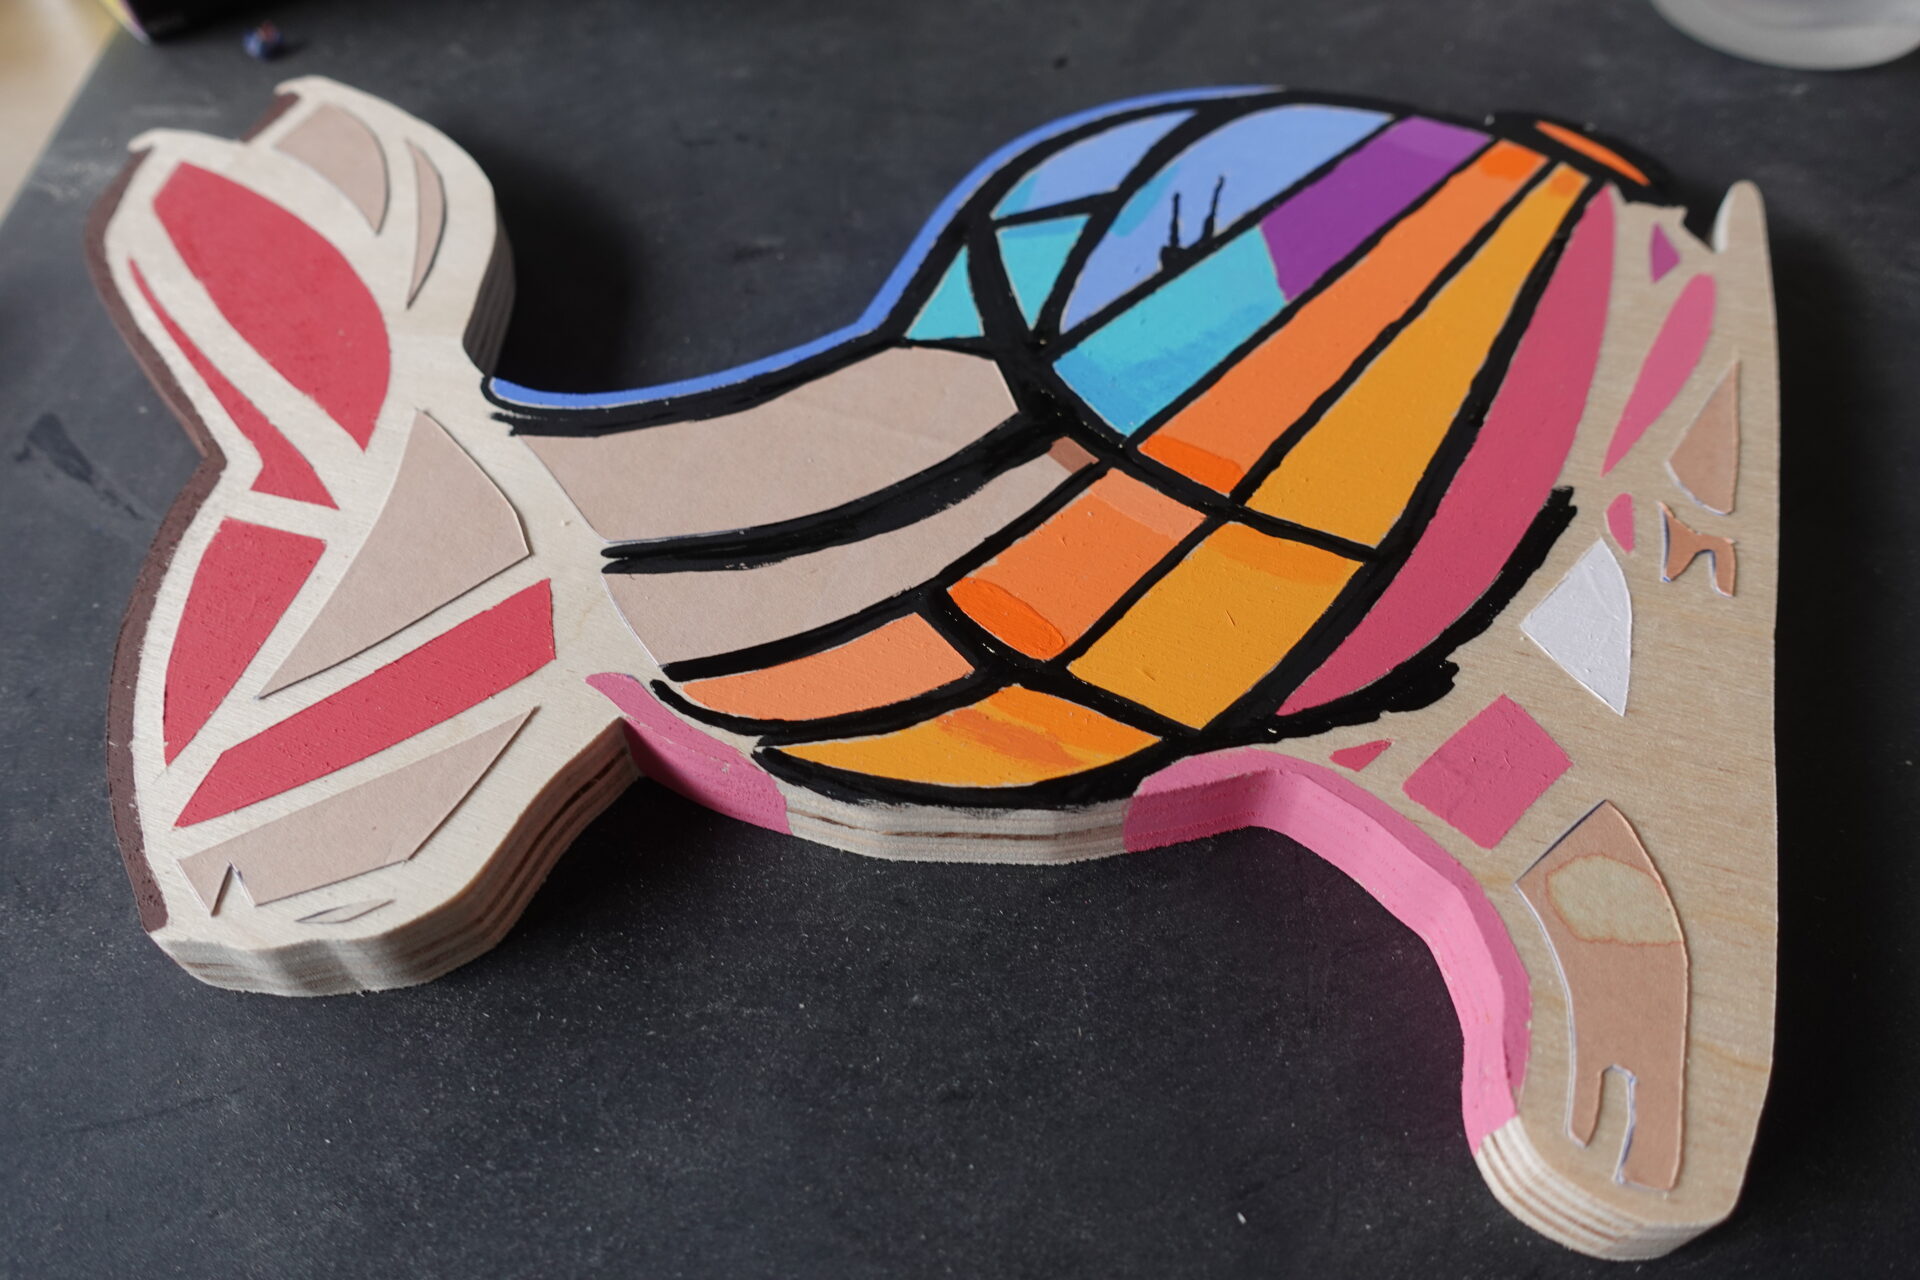
Remove the black inner lines connected to the masking tape. Using a razor blade can be very helpful.
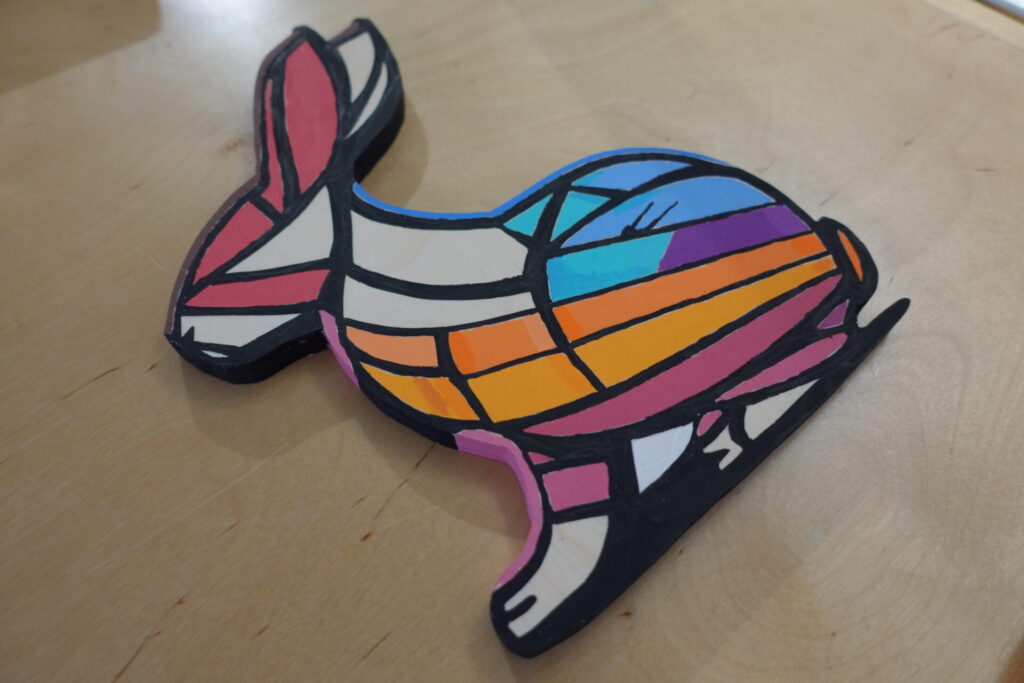
At this point you should have the neon bunny looking like the photo above.
STEP 7:
Next, paint in the black lines in between the spaces to match the design. Then remove the beige masking tape to reveal the natural wood.
STEP 8:
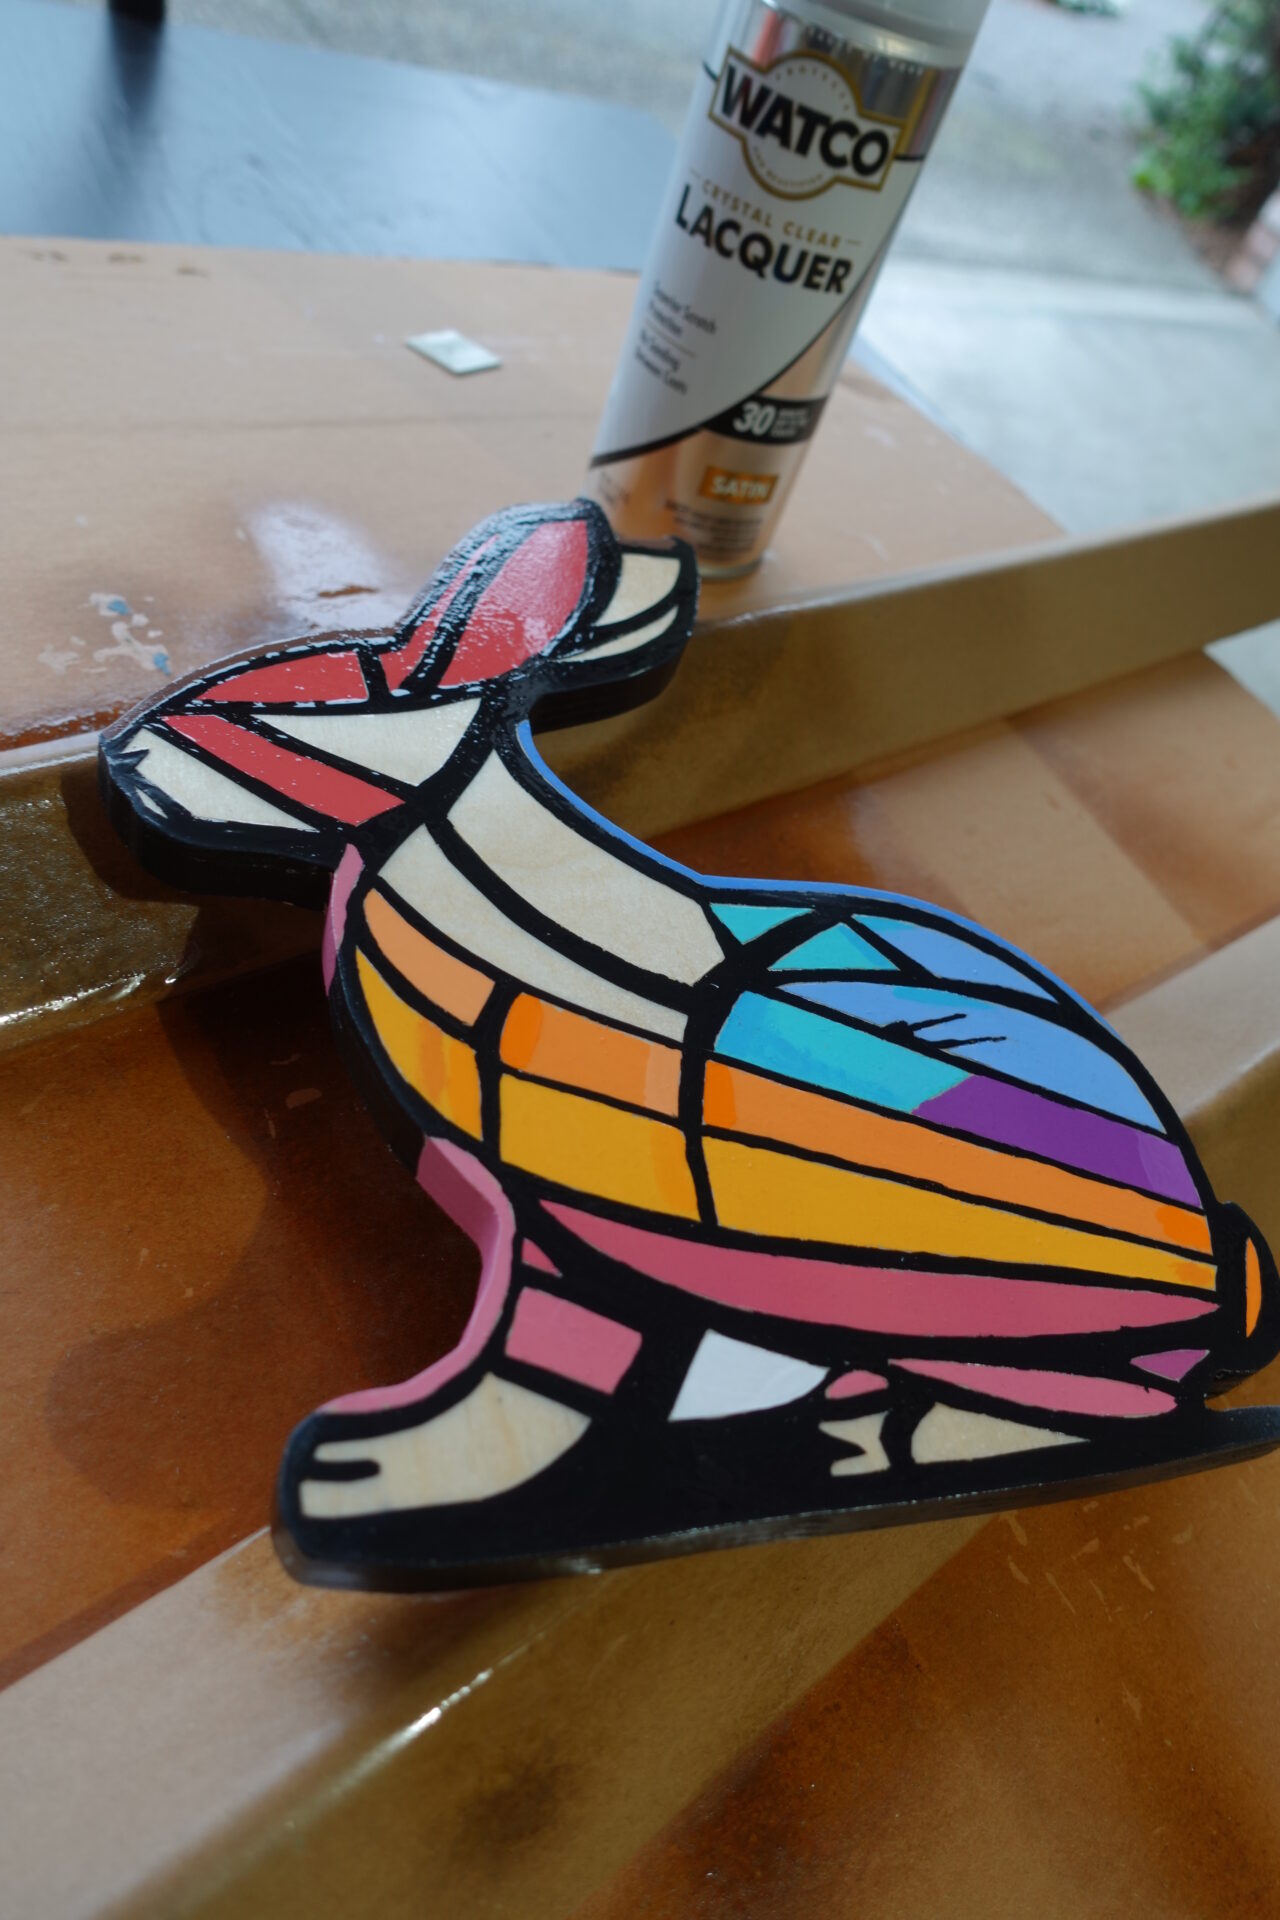
Add spray lacquer (optional). Be sure to follow the instructions on the spray can. Having the correct temperature in your environment is crucial as I learned the hard way. It was probably too cold for the application, but I got impatient and sprayed anyway. The first coat went on well so 30 minutes later, I tried adding a second coat and threw on my DIY Air Filter. Too much cold air created fogging on the top coat.
Conclusion
This was a fun project even though it didn’t live up to my expectations. Hopefully you can avoid my mistakes if you choose to build this project. I will definitely be testing different brushes and following the directions on the lacquer in the future.