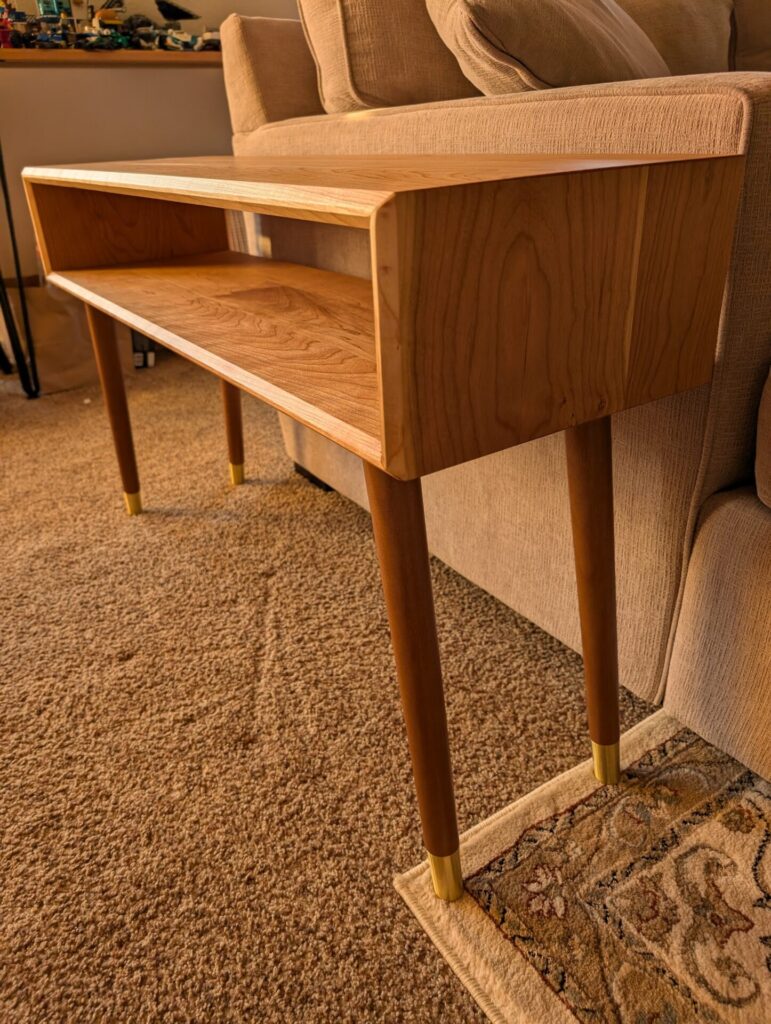
Follow along as we build this unique console table featuring waterfall overhanging edges.
Design & Wood Choice
This table features a solid cherry top and (pre-manufactured) walnut legs, and gives homage to a 1960’s mid-century retro look.
One element in my first Waterfall Console Table I didn’t fully feel was quite right: the middle open section. Too much open space between the top wooden shelf and the table legs.
So I was determined to make some sort of shelf, drawer, or storage space to make it look more complete. There is also a “waterfall” (one where the grain seamlessly falls over the edges of the table) element to the top. Usually this is found on live edge tables where the slab top is supported by the waterfall edge that effectively acts like a table leg. Check out Blacktail Studio’s with their Fire & Waterfall Desk. This was my second time attempting the waterfall technique and below you’ll see some of the mistakes I made along with the final product which turned out pretty well.
Dimensions: 37L x 12W x 22H inches
Wood Choice: Cherry for the top and Walnut (pre-manufactured) legs.
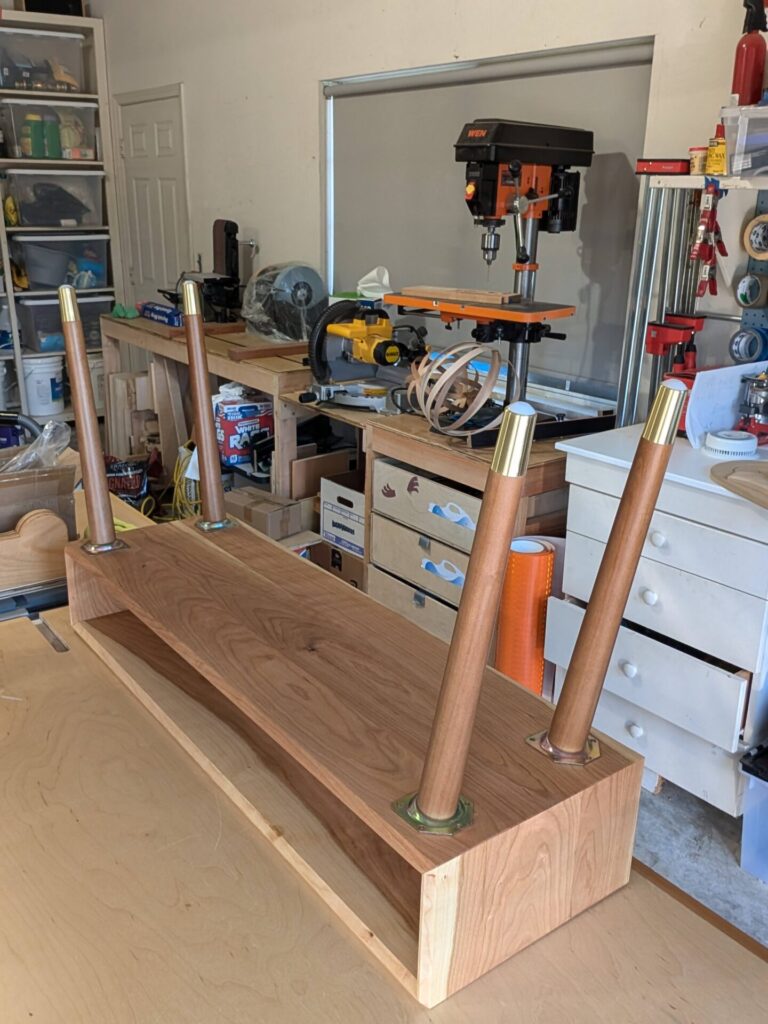
Building the Table
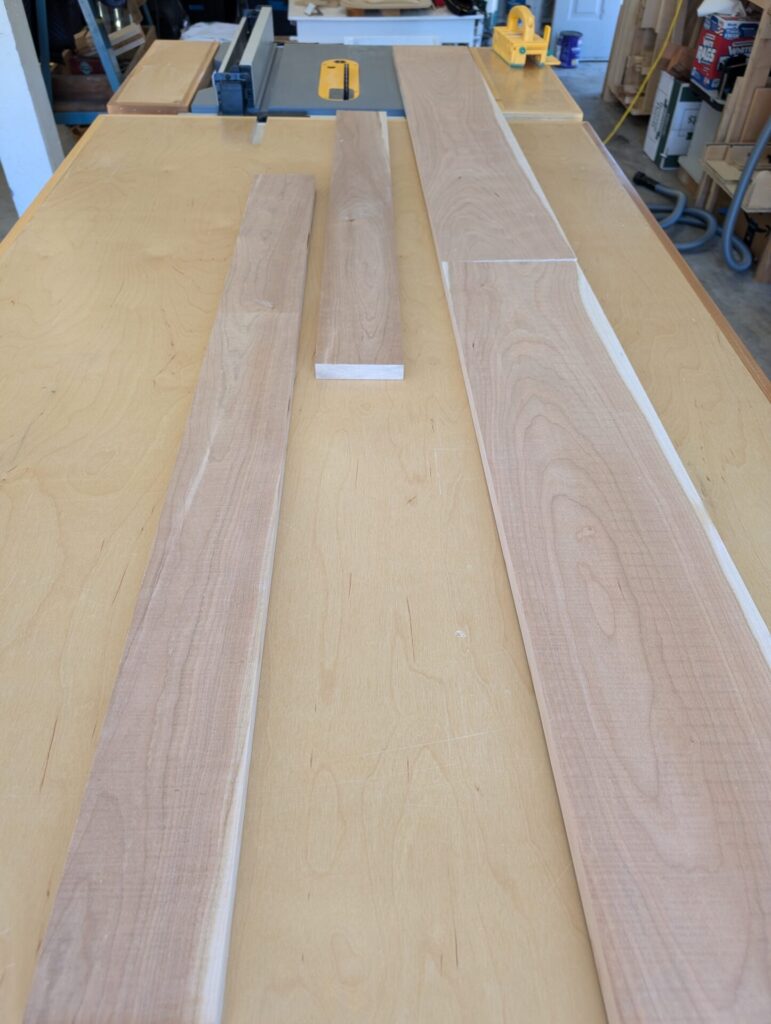
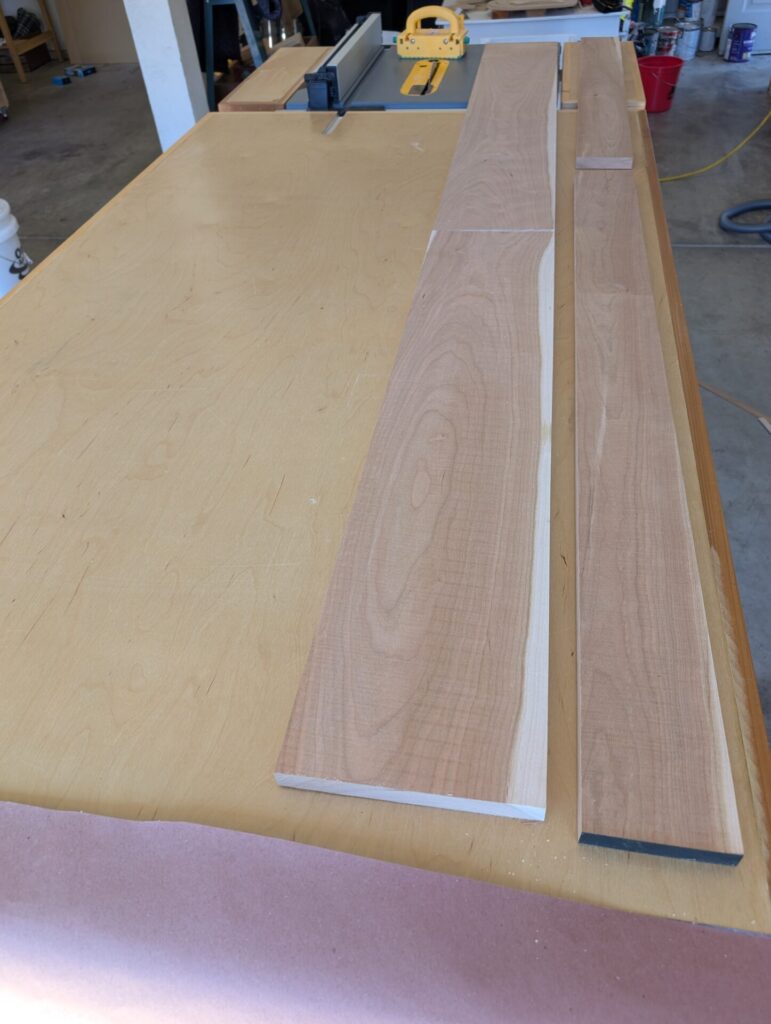
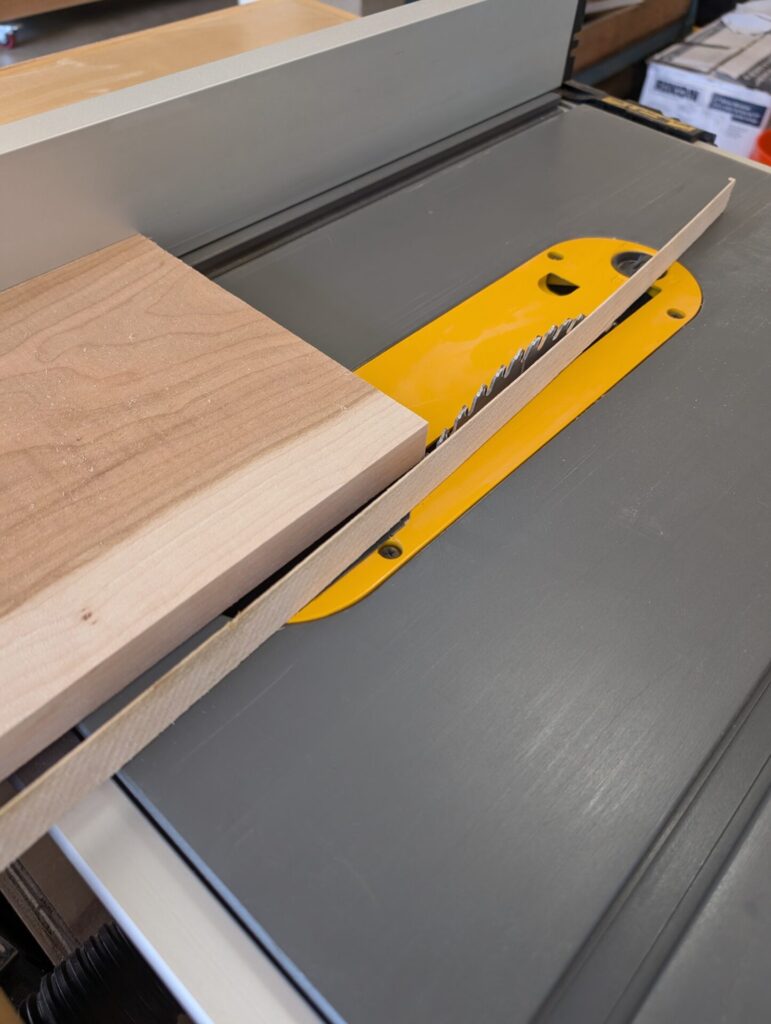
From the photos above, you can see the process I used to rip the boards to size. First I used my jigsaw to cut the boards to rough length and then used my table saw to rip the long edges to size and ensure 90 degree edges all around.
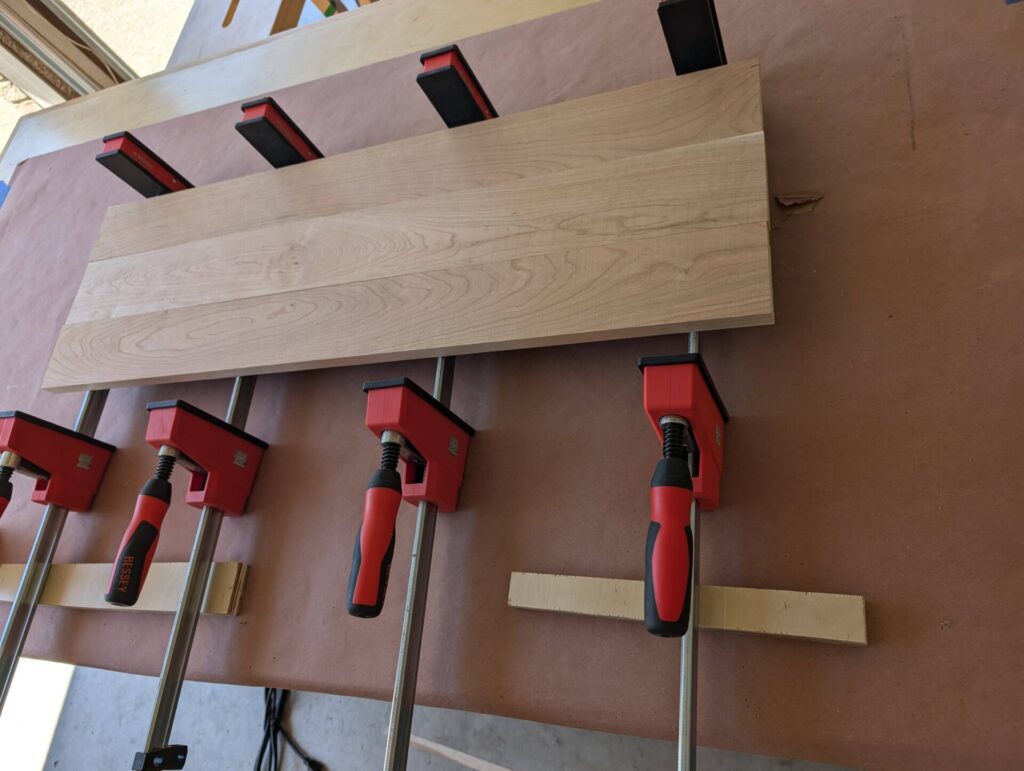
The next step was to glue up all the pieces with Tite Bond II and a bunch of clamps. During the glue up, I tried my best to make sure the seams between the boards were flat as possible because once dry, this piece would be too big for my 13″ Planer. I was really pleased with the Bessy Clamps to help keep the boards flat and prevent cupping. After 24 hours of drying, I cleaned up the excess glue with a chisel and then used the orbital sander to flatten the top. I started with 80 grit and then moved to 100 grit, and then 150 grit, repeating the process for both the top and the bottom.
Chamfer Edging
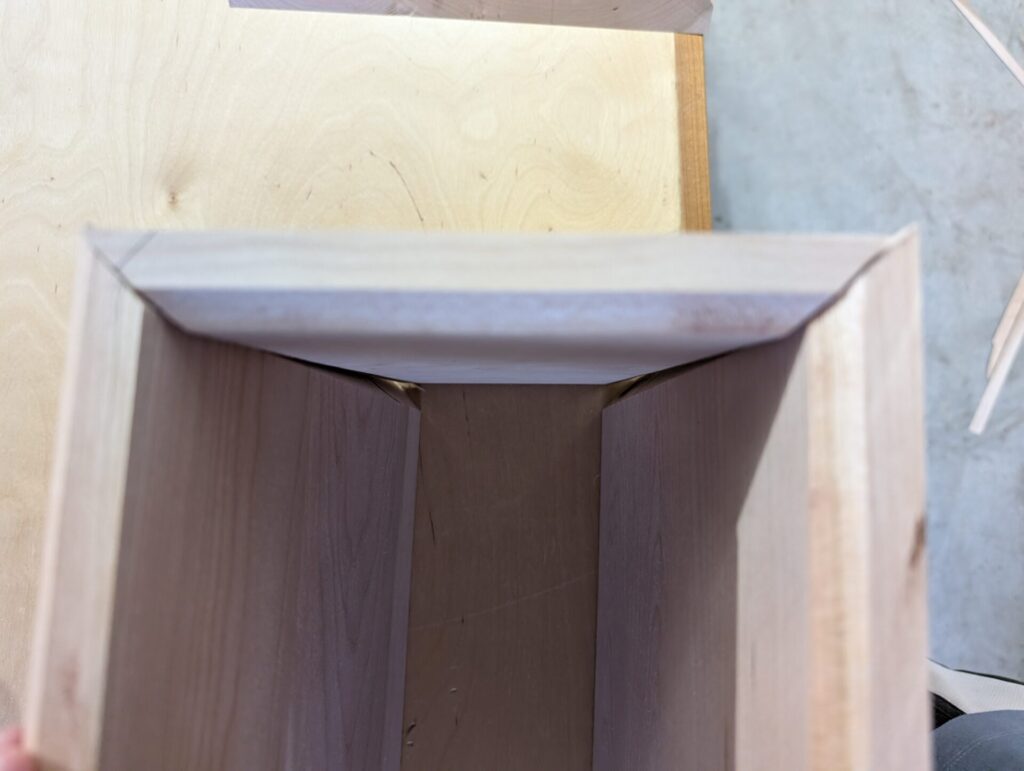
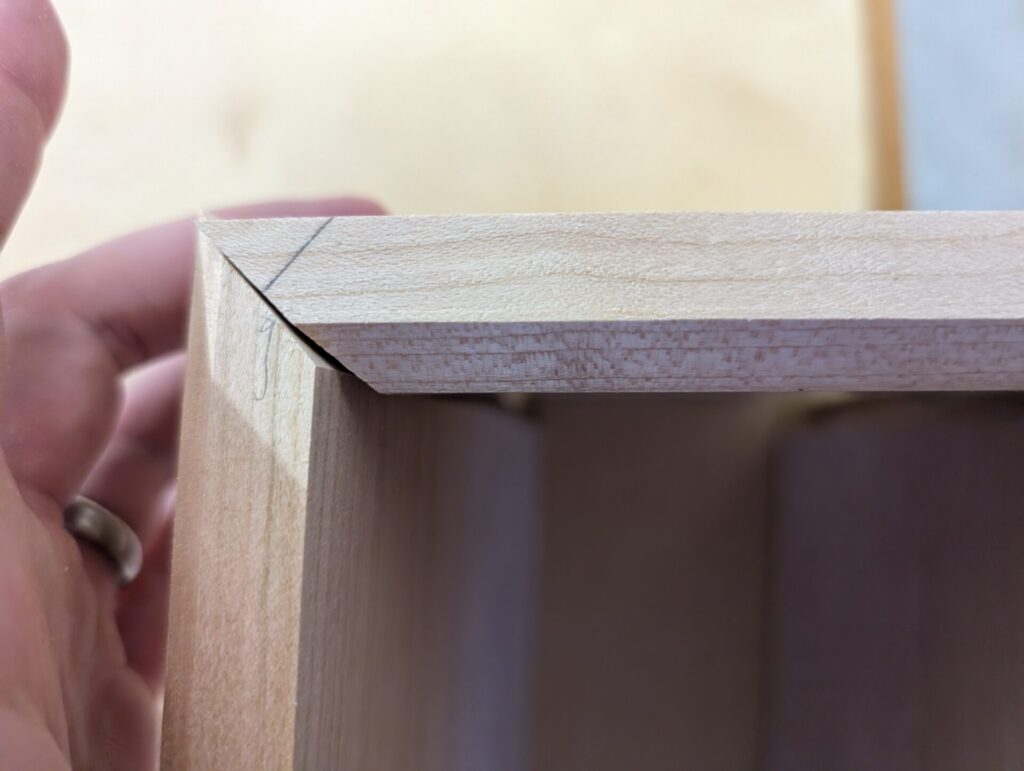
I realized I needed to route both sides to make these corners fit together. This was done by using the chamfer bit and passing along both sides.
Final Result
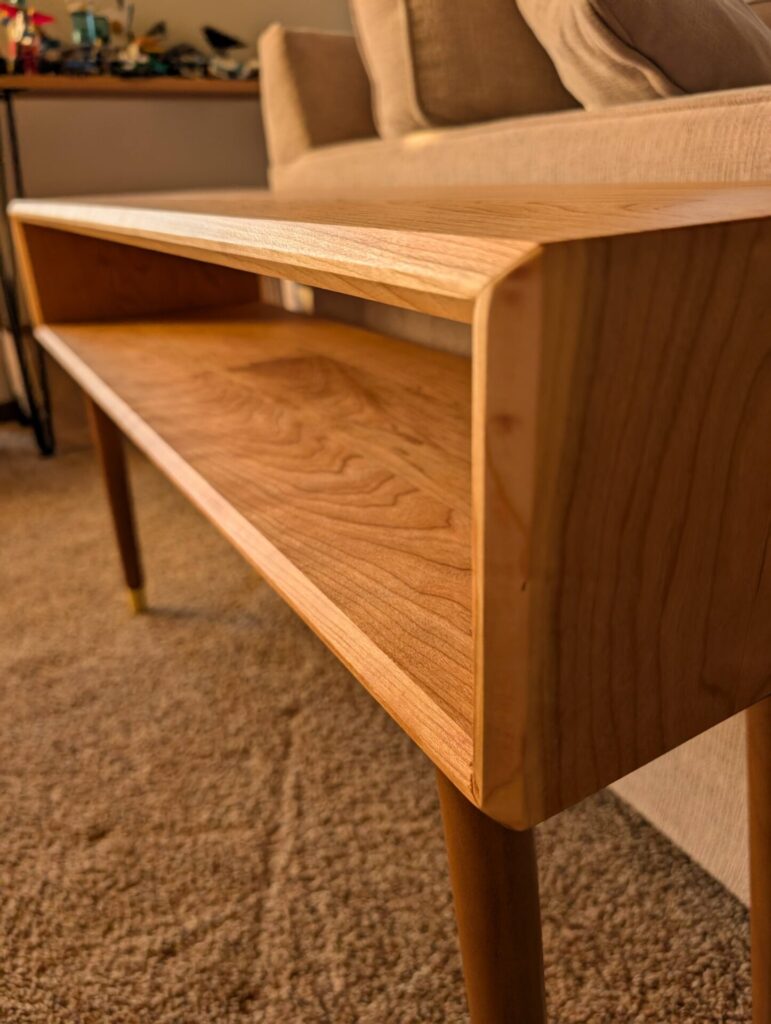
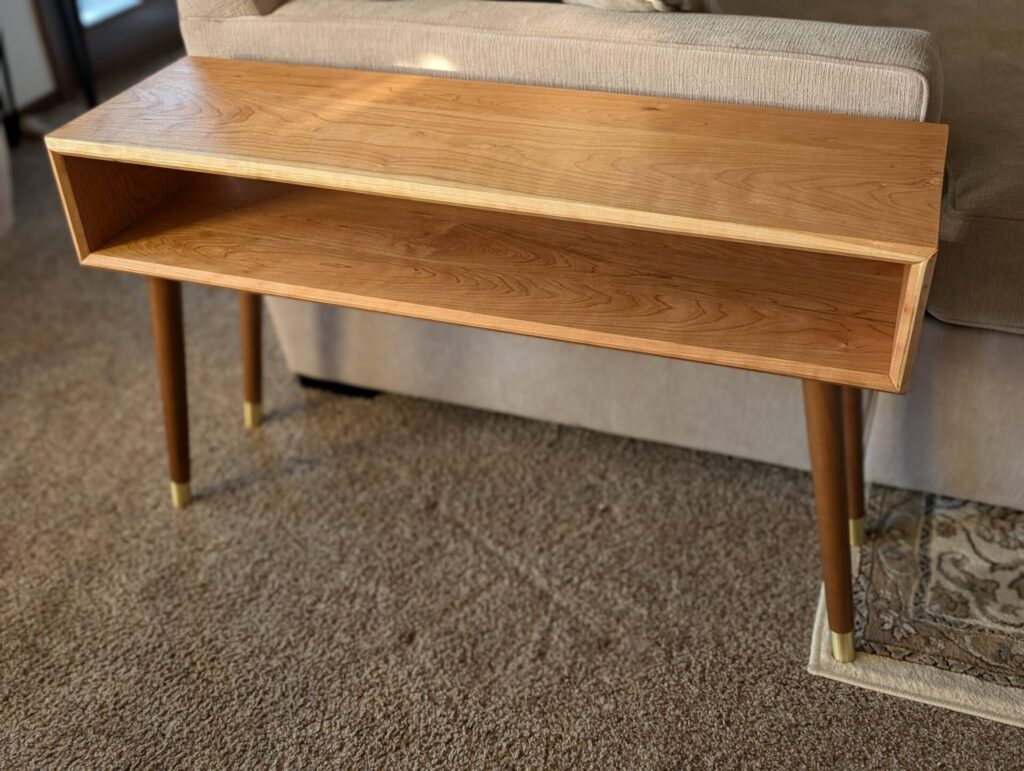
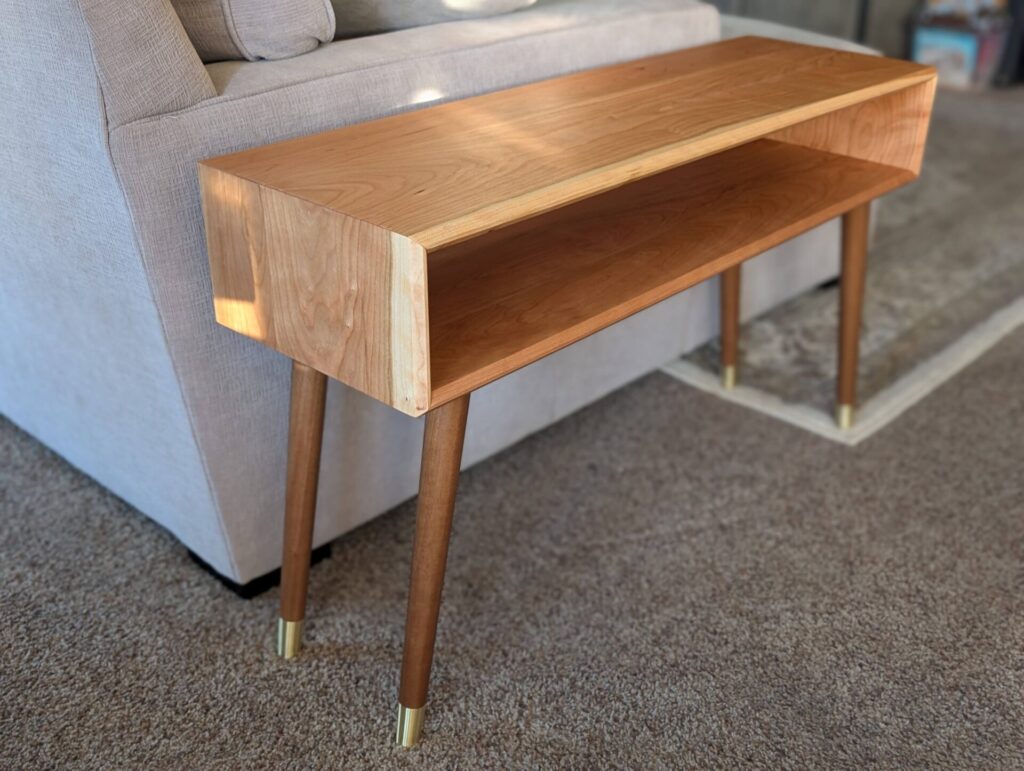
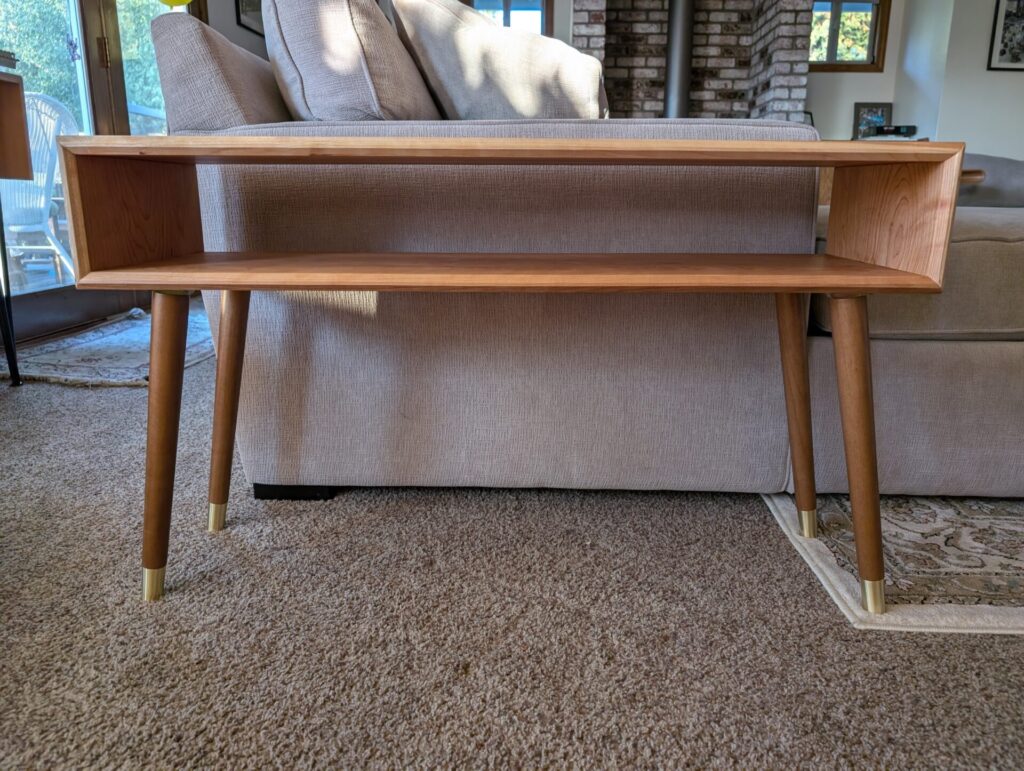

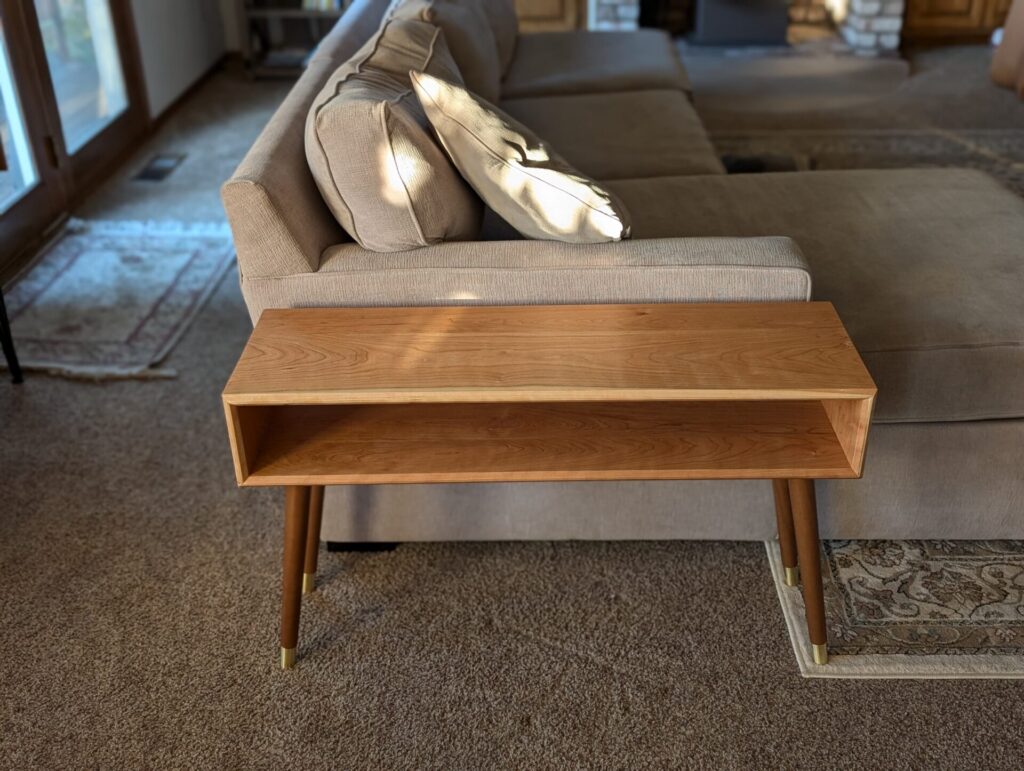
Finished with Rubio Monocoat