Follow along to build this mobile sports cart to keep your sports equipment organized and your garage clean.
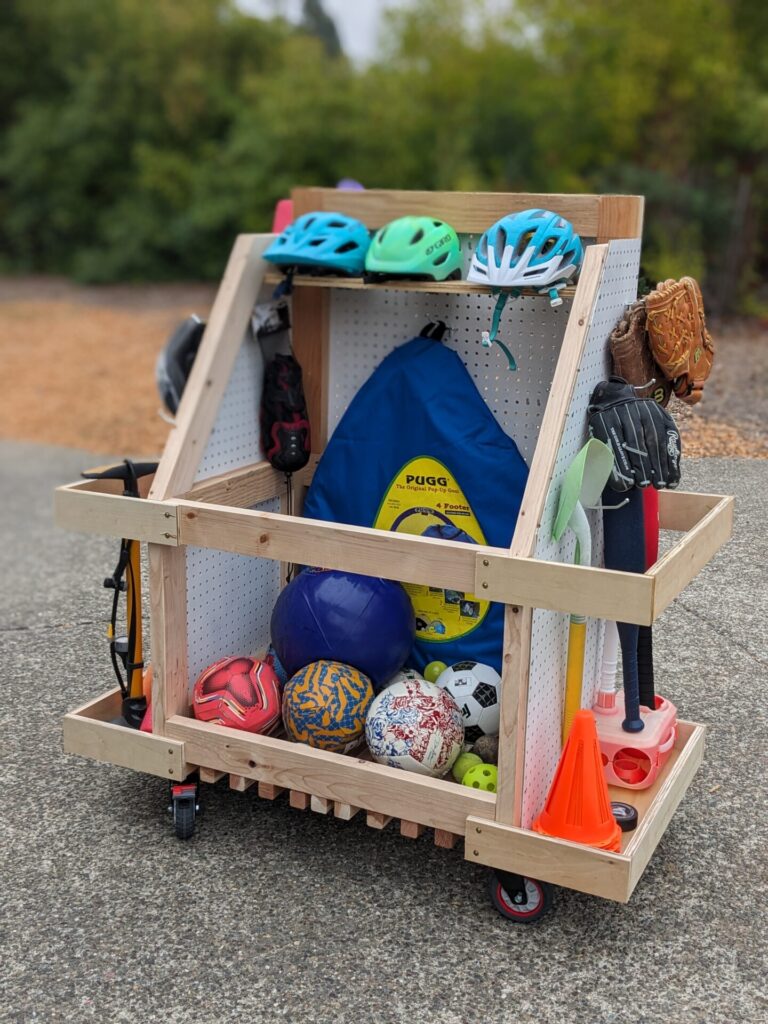
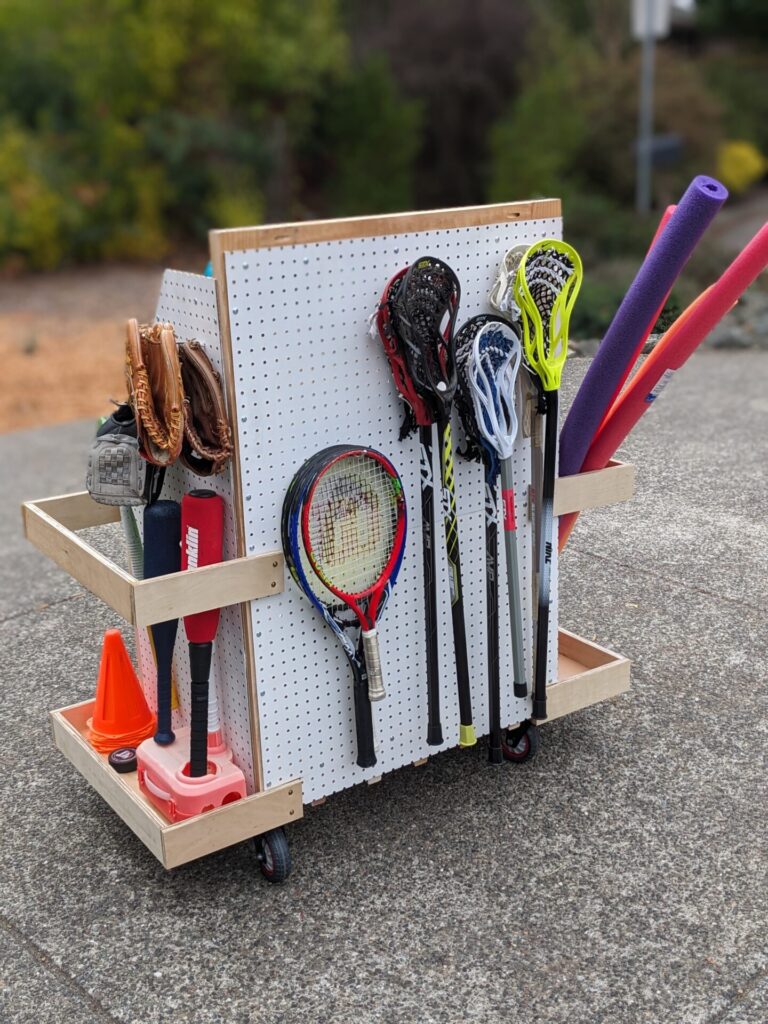
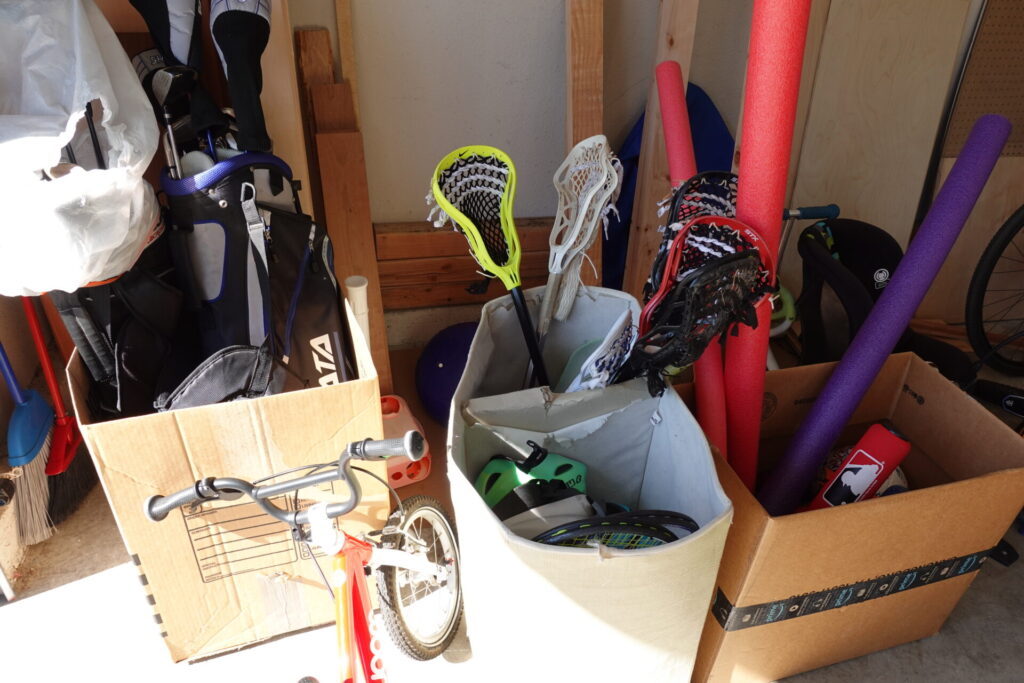
Our three and six year old boys love to play outside, and as a result, our garage has exploded with games and toys. Their sports equipment ended up in an old hamper and then overflowed into an Amazon box. Stuff was everywhere, and we needed a home for all the gear. Enter the XV Super Sports Cart (named by our 6 year old son).
Tools & Materials Needed for this Build:
Materials
- (8) 2″x4″x10′ Douglas Fir
- (1) 4’x8′ sheet of peg board
- (5) 1×1″x4′ Redwood deck fence slats
- (1) Box Kreg soft wood screws 1 1/2″ screws
- (1) box #9 – 2 1/2″ construction screws
- (1) box #8 – 1 1/2″ construction screws
- (4) Castor wheels (or pneumatic)
Tools
- Table Saw
- Chop Saw
- Kreg Pocket Hole Jig
- Cordless Drill
- 48″ Level
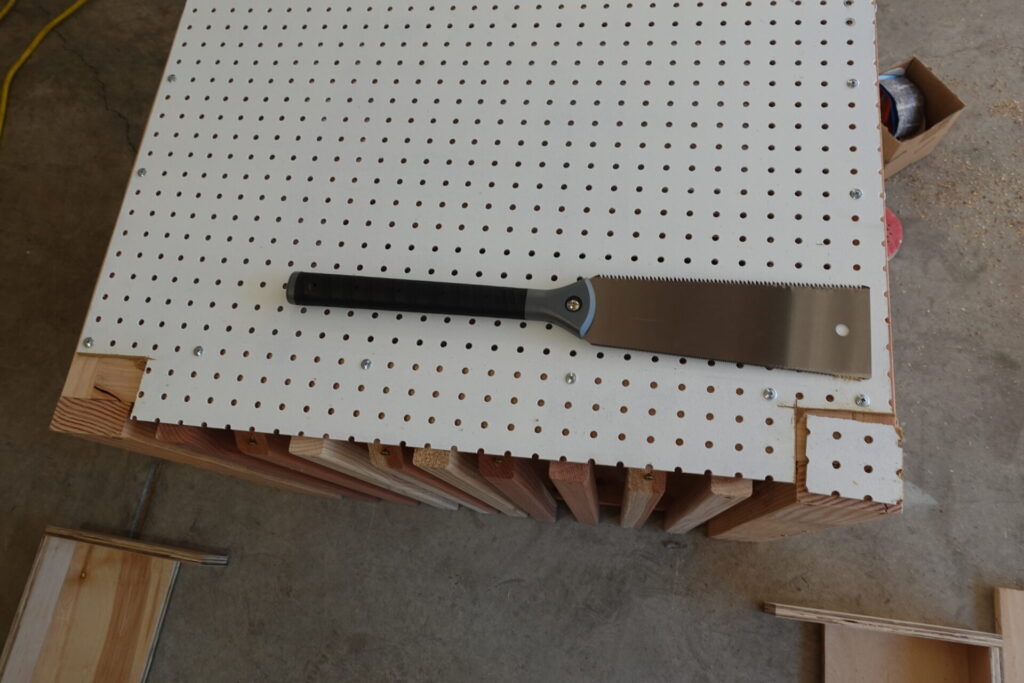
- Hand Pull Saw
- Tape Measure
Let’s Build!
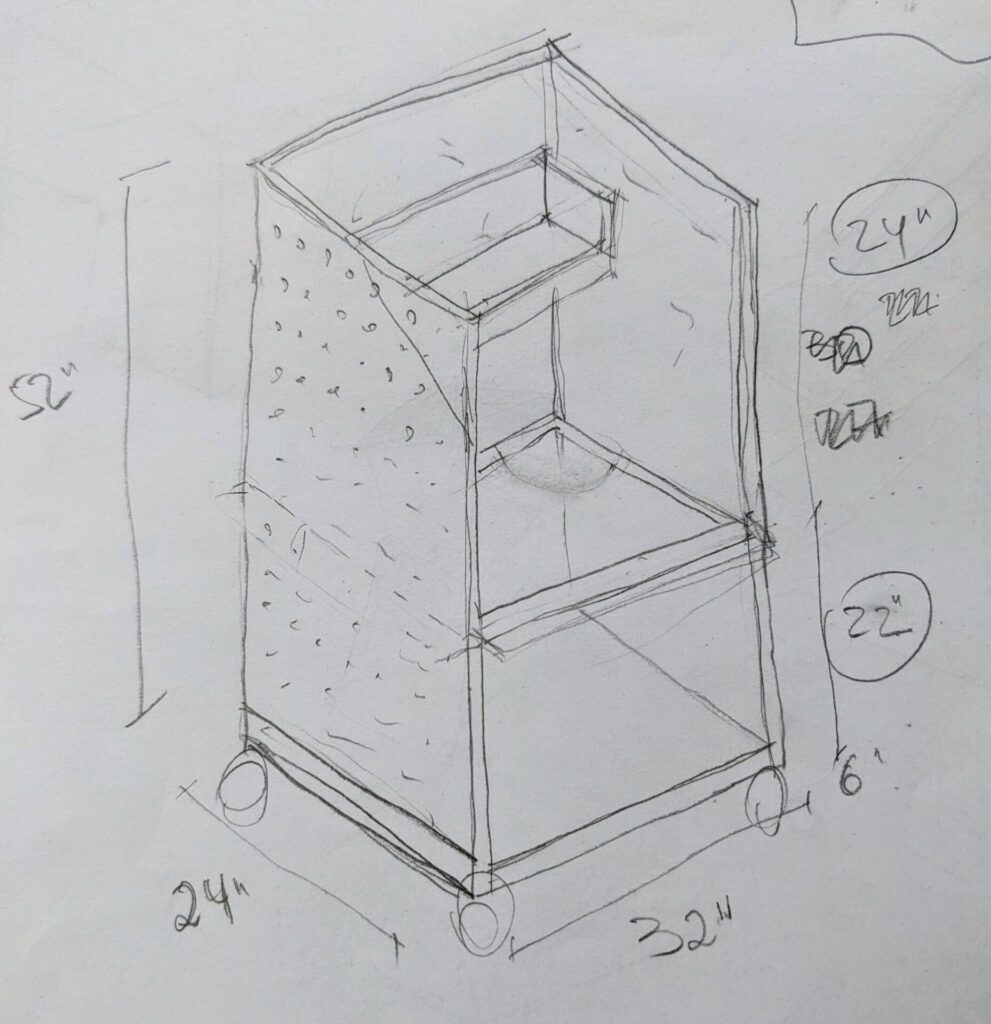
Original Sketch of the Sports Cart
Level of Difficulty: Medium
Estimated Time to Complete: 2 Days
Lessons Learned:
– Use pocket hole screws plus wood glue
– For rough flooring use pneumatic tires
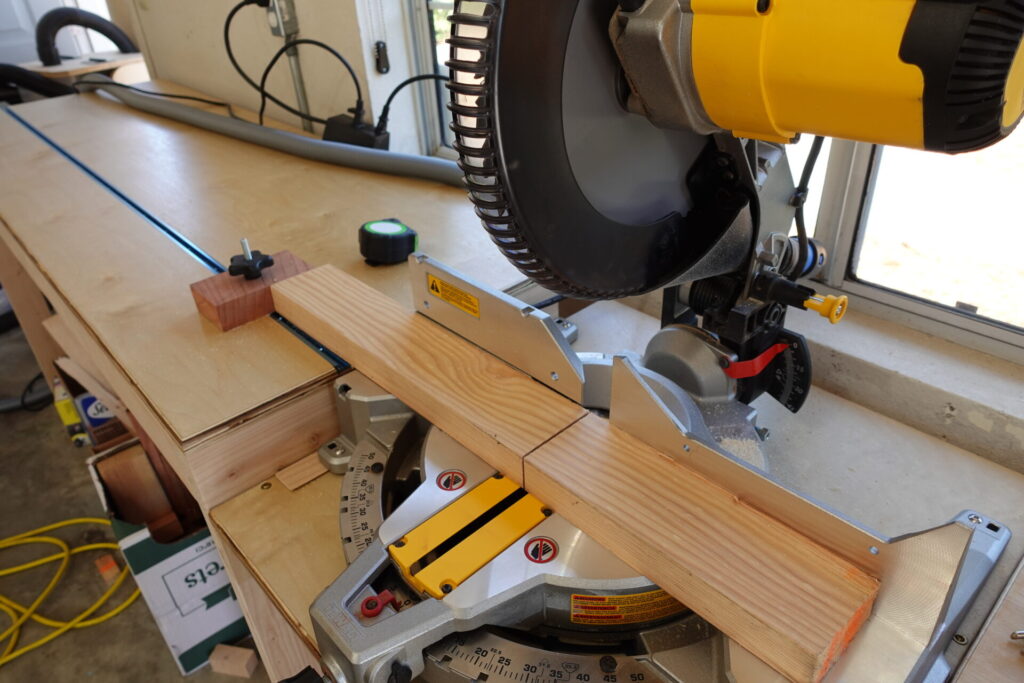
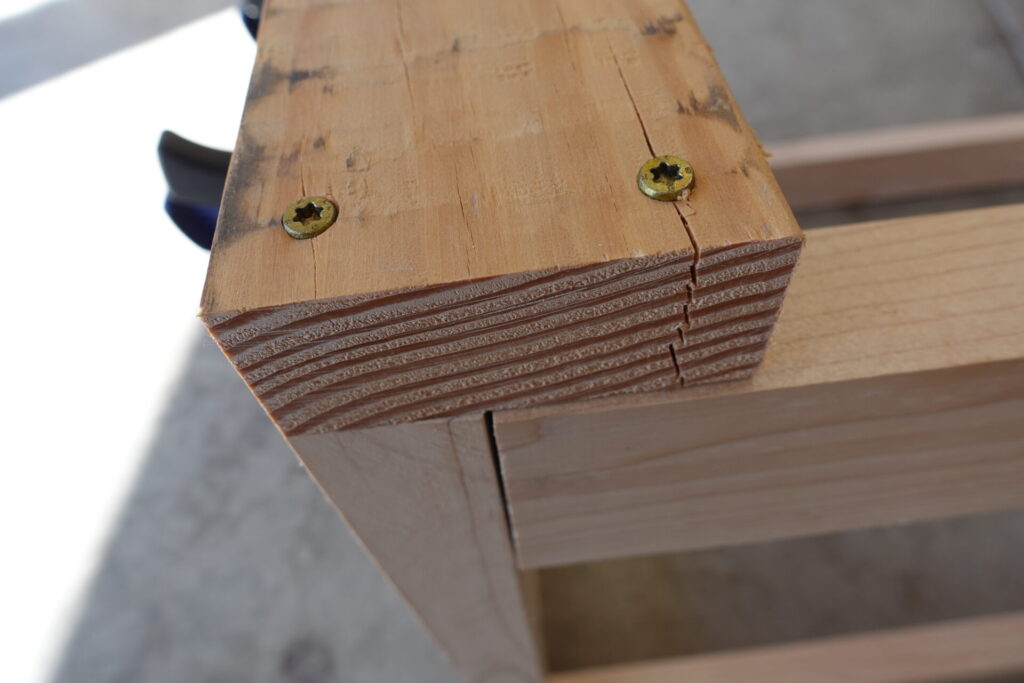
Step 1 – Cut 2×4’s to Size
Step 2 – Assemble the Base
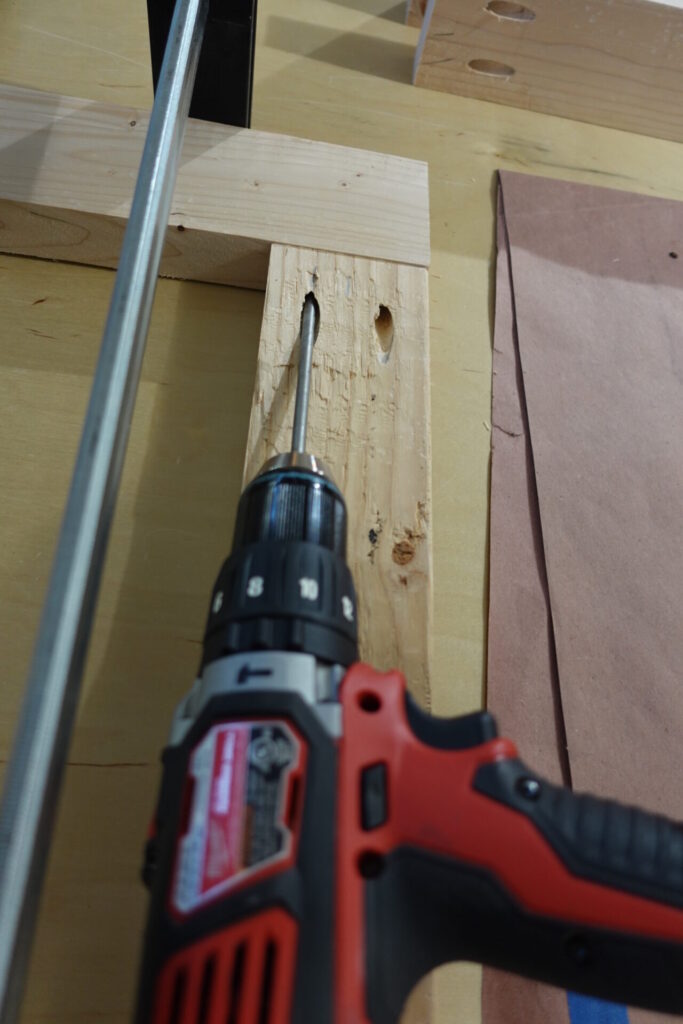
Use pocket holes to join the boards together, making sure to keep the frame square.

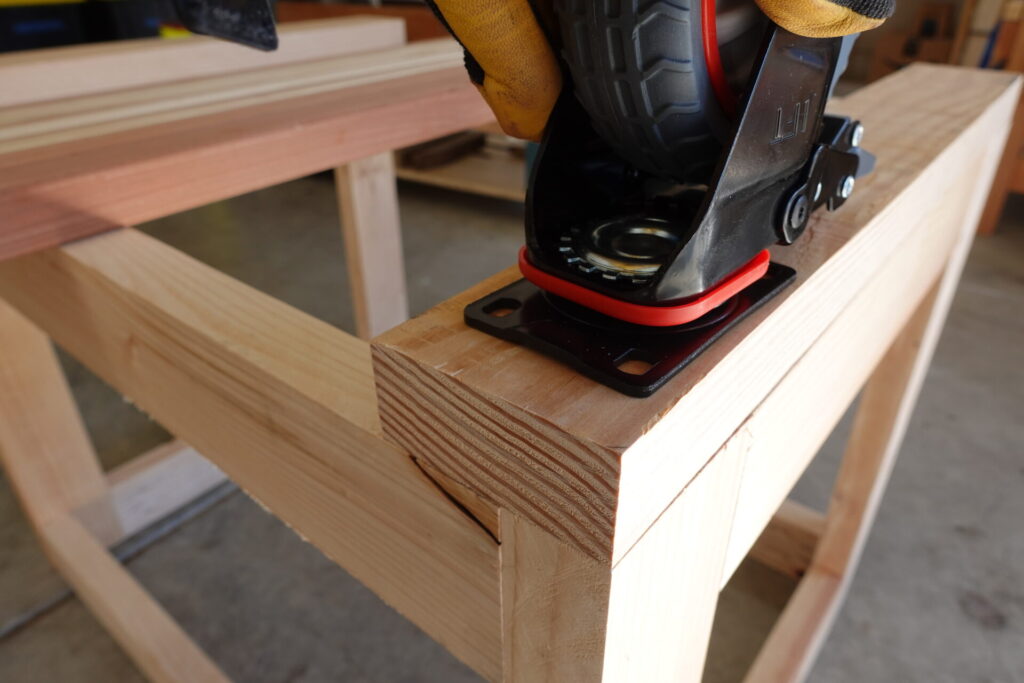
Step 3 – Add Extra 2×4’s for Wheels
It’s important for the wheels to attach with a solid wooden base. This means that the screws will drive perpendicular to the wood fibers (instead of drilling parallel to the wood fibers below. So this extra 2×4 was added.
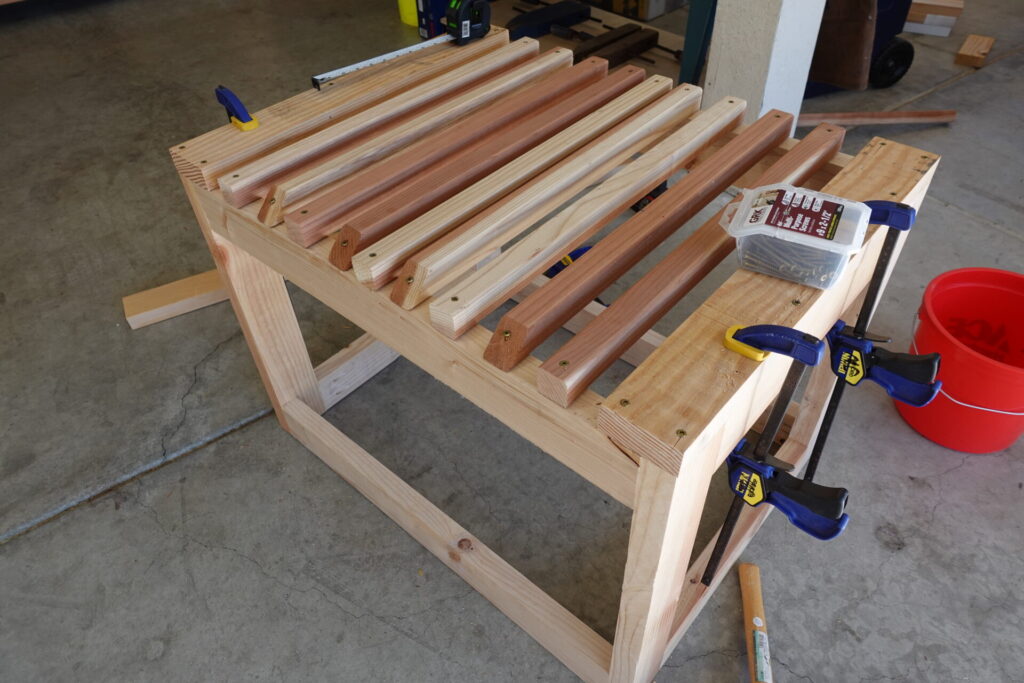
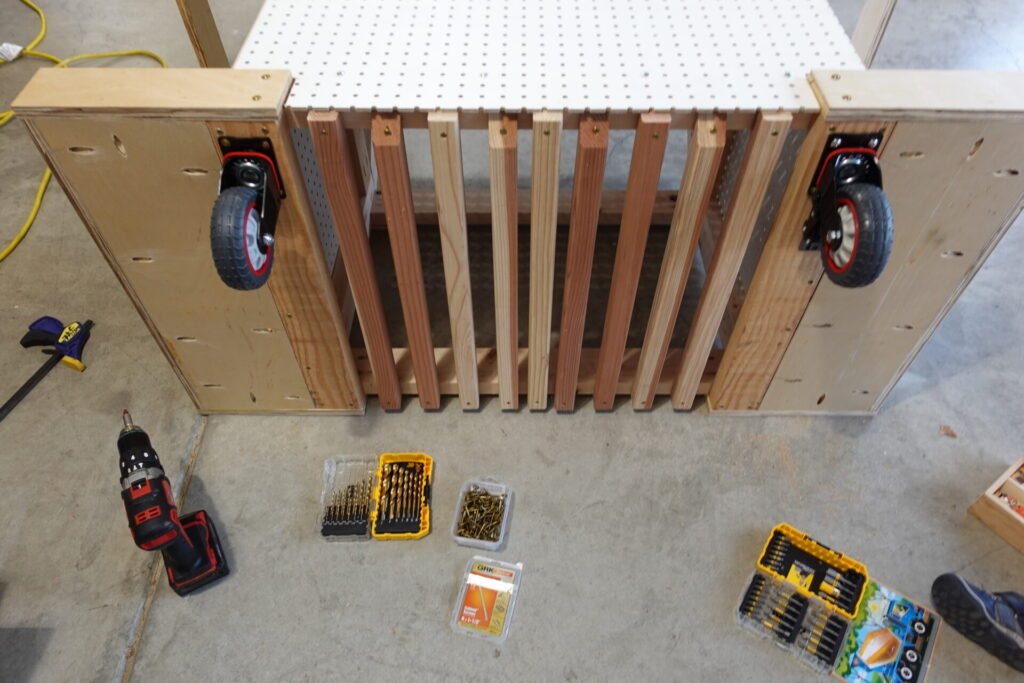
Step 4 – Attach the Slats in the Base
I had some extra redwood 1×1″ deck railings so I cut to size and used them on the base. (#9 – 2 1/2″ construction screws)
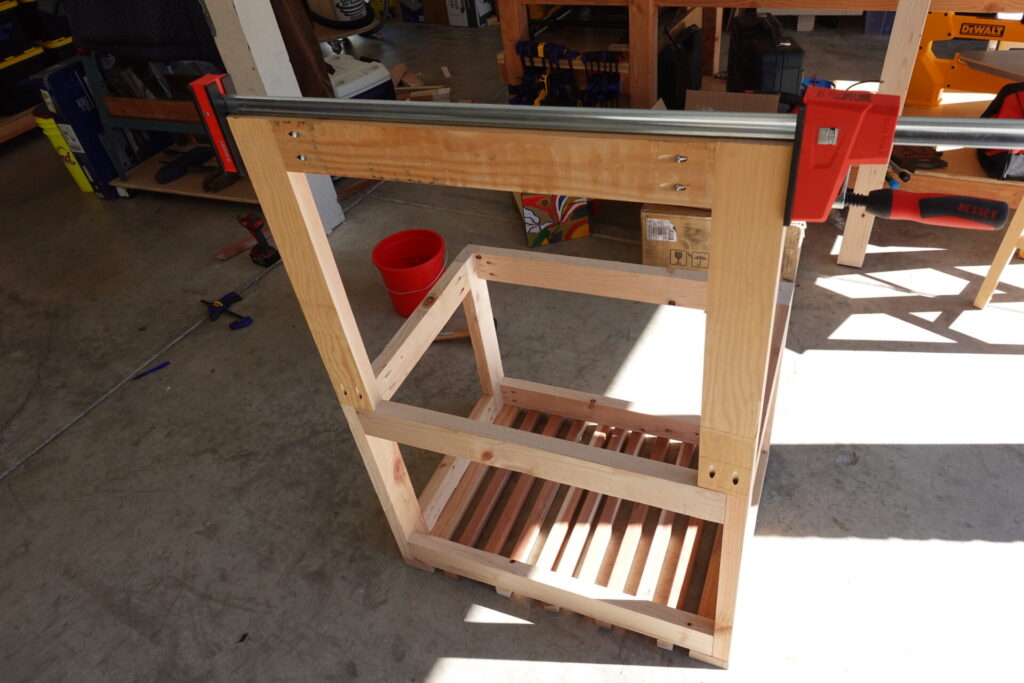
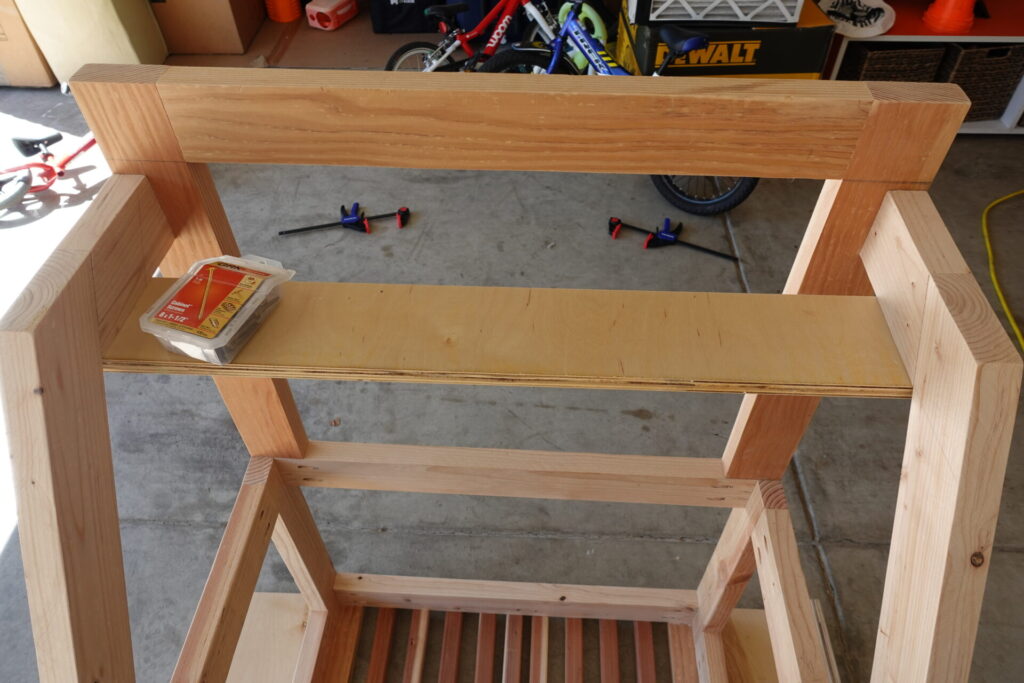
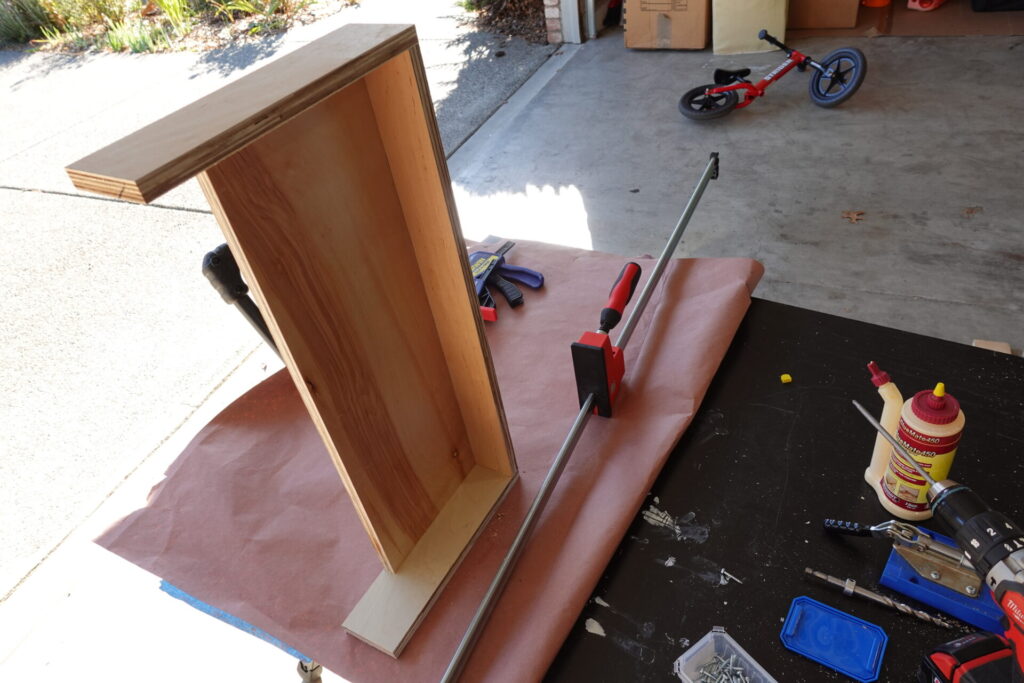
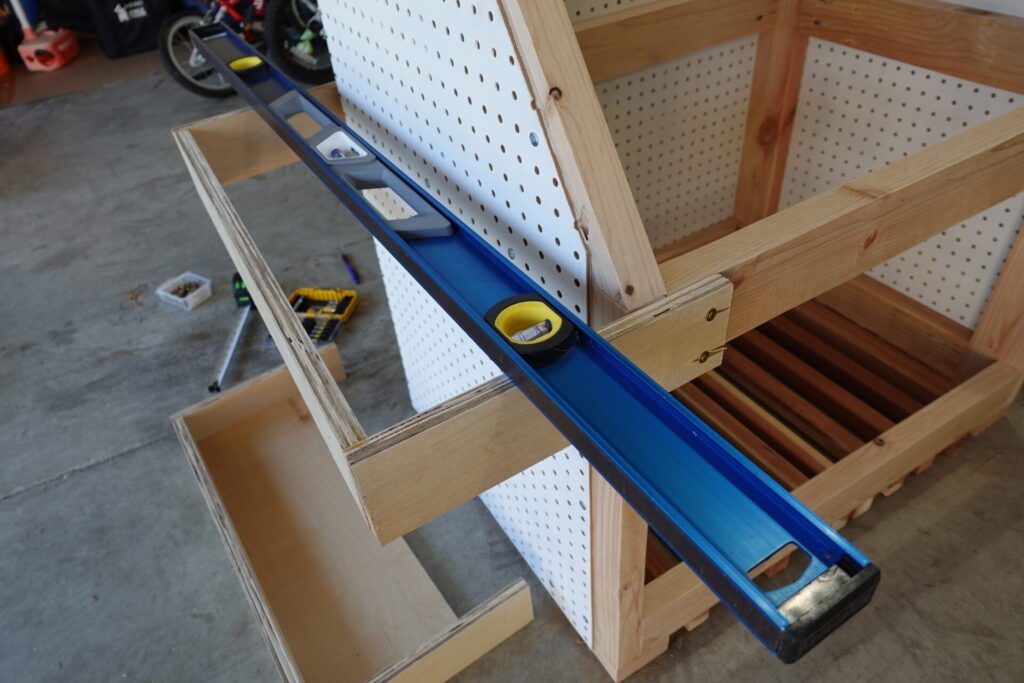
Step 5 – Attach Top Frame
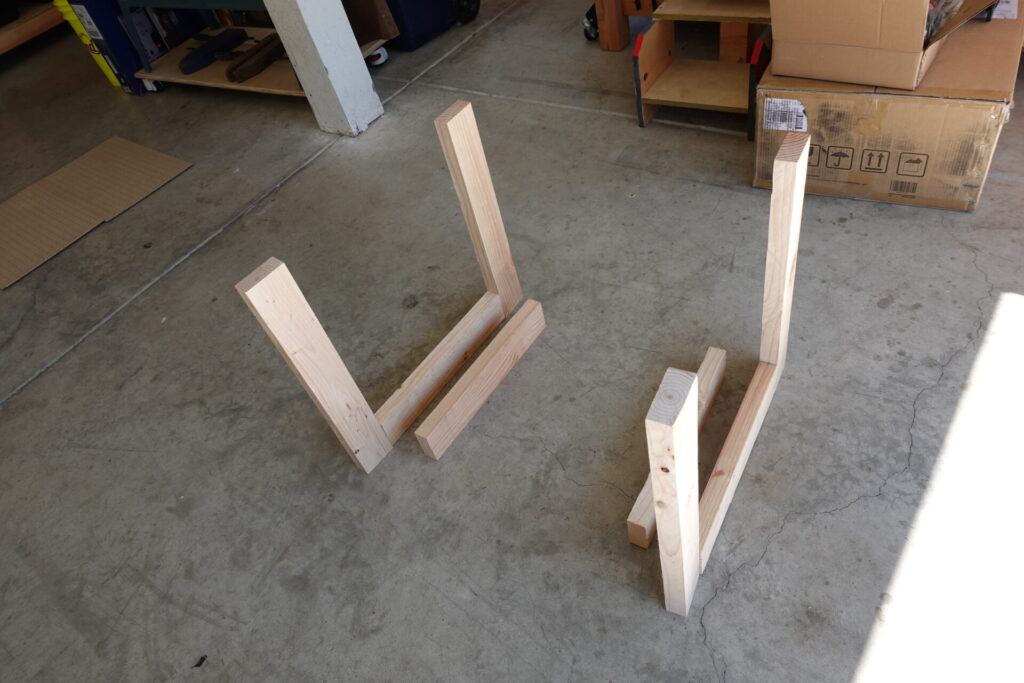
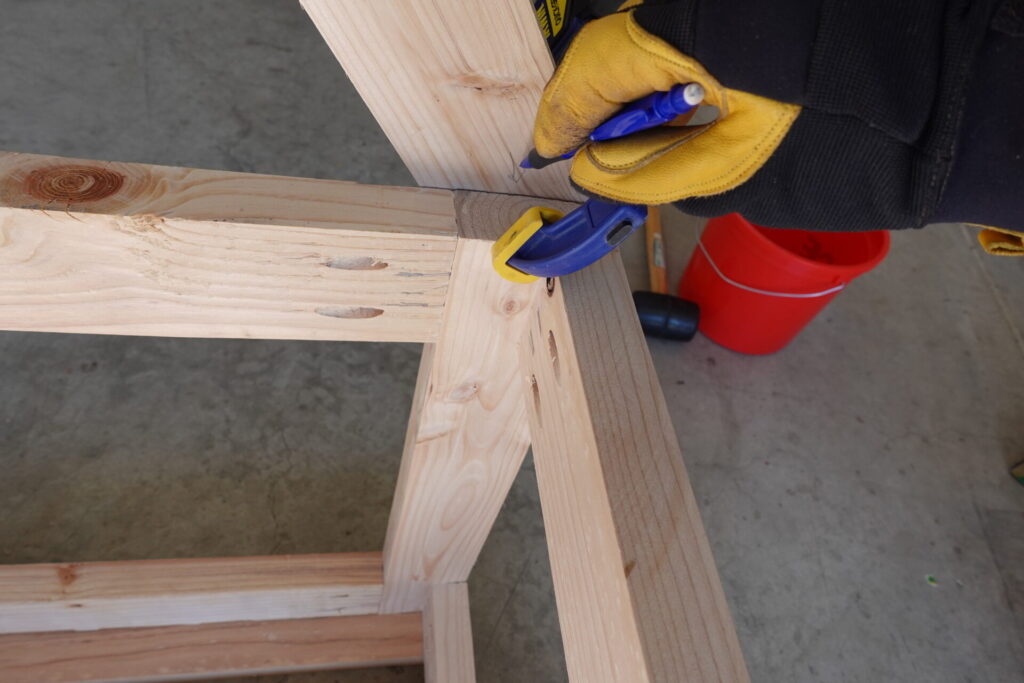
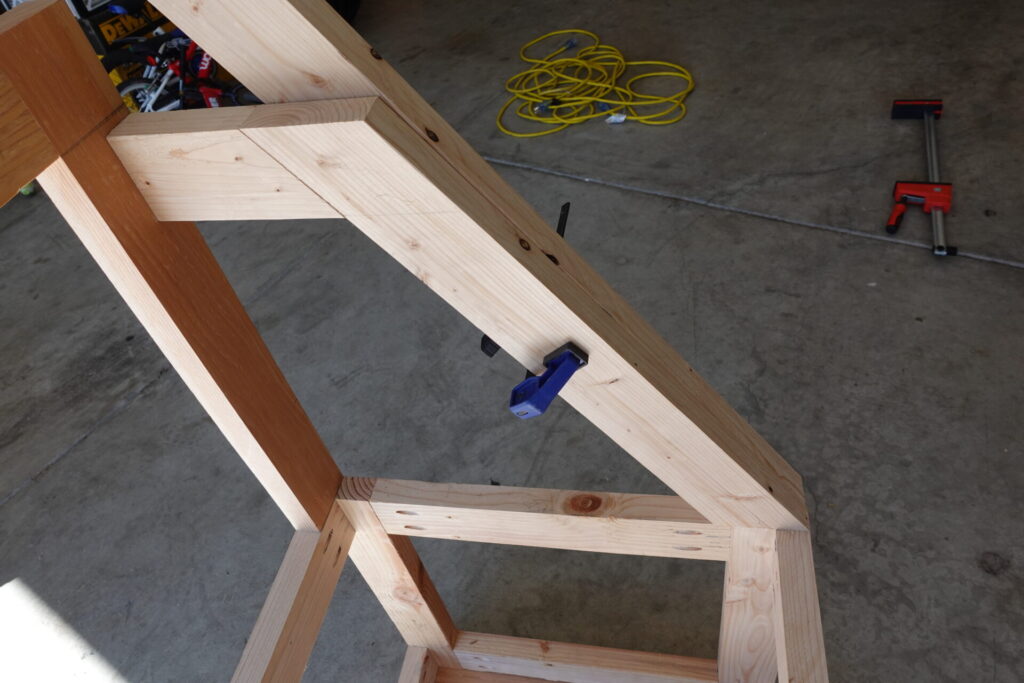
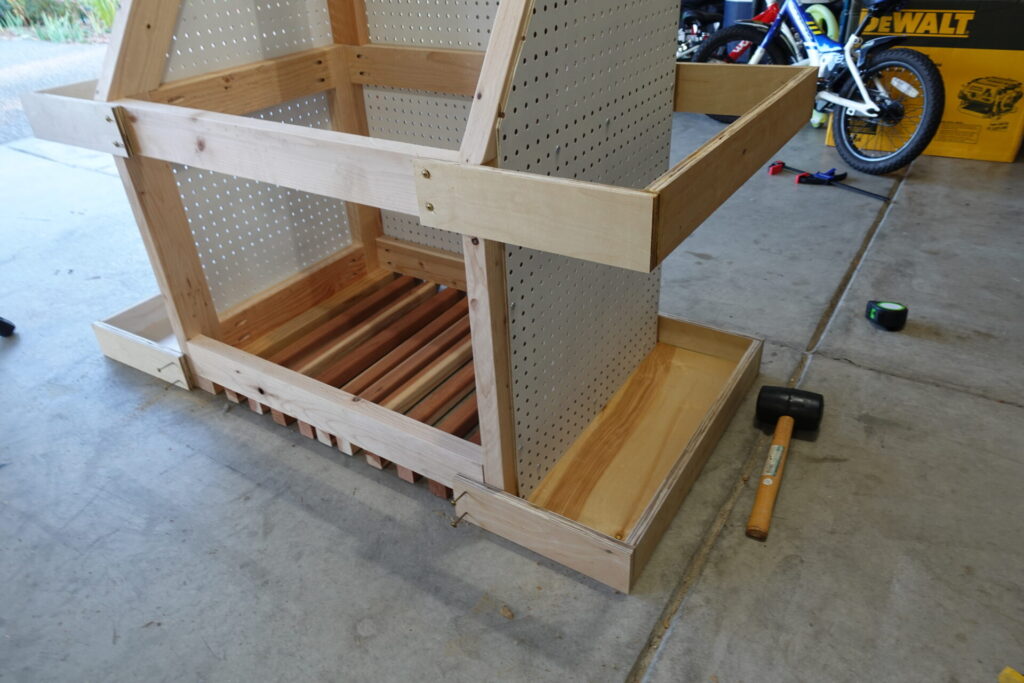
Step 6 – Layout, Mark & Attach Elbow
I used some clamps for extra hands and clamped to the frame for measuring.
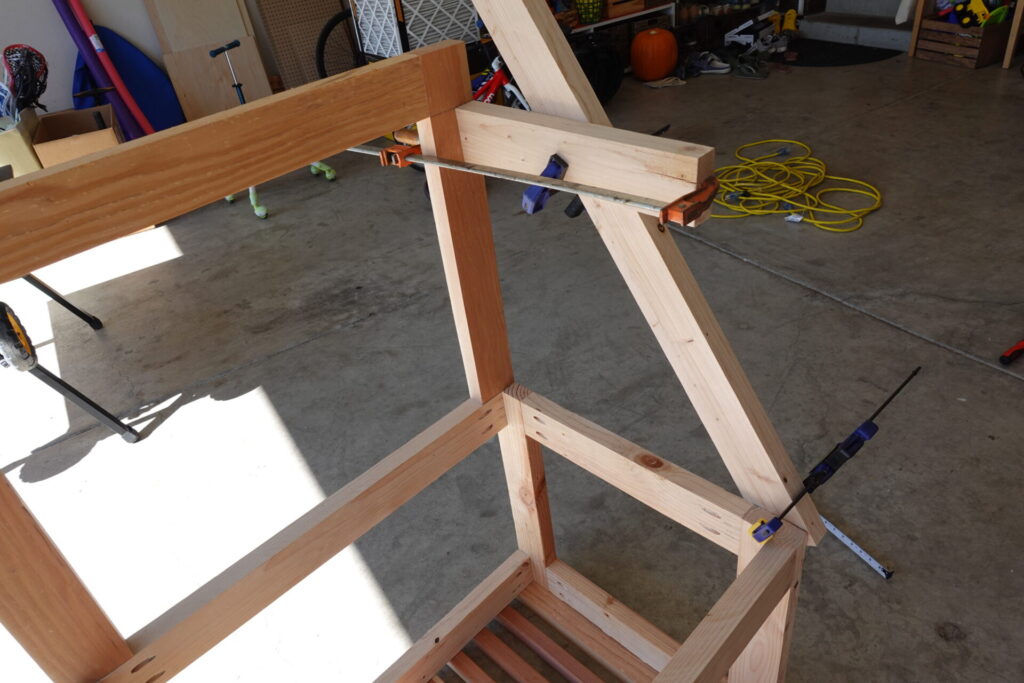
After the positioning is correct, I simply marked the following lines where the boards meet. This means: no calculations needed.
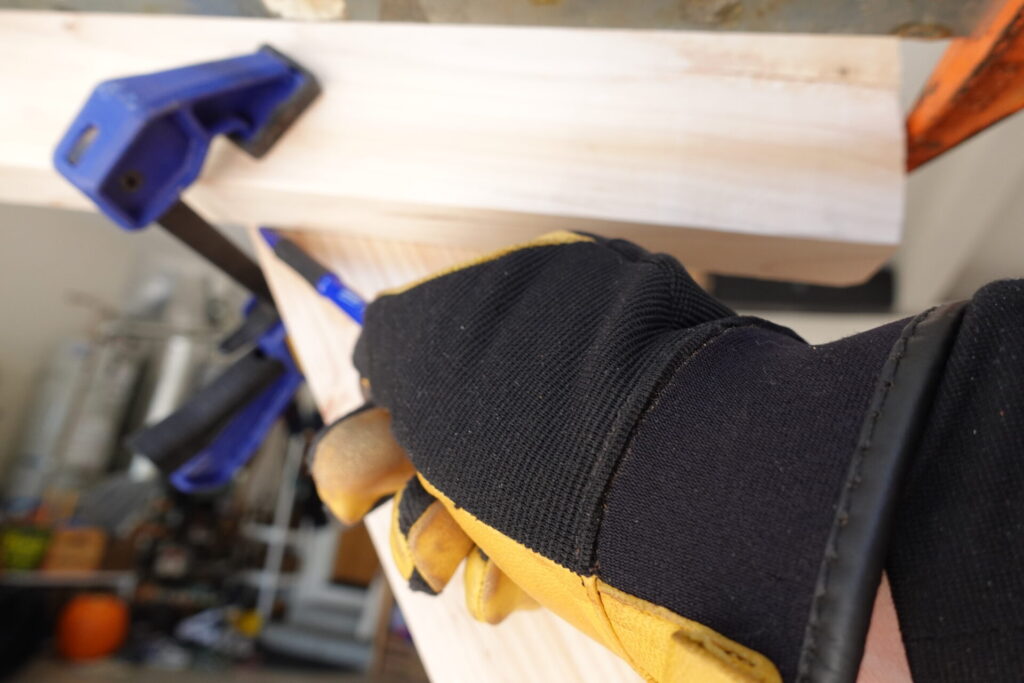
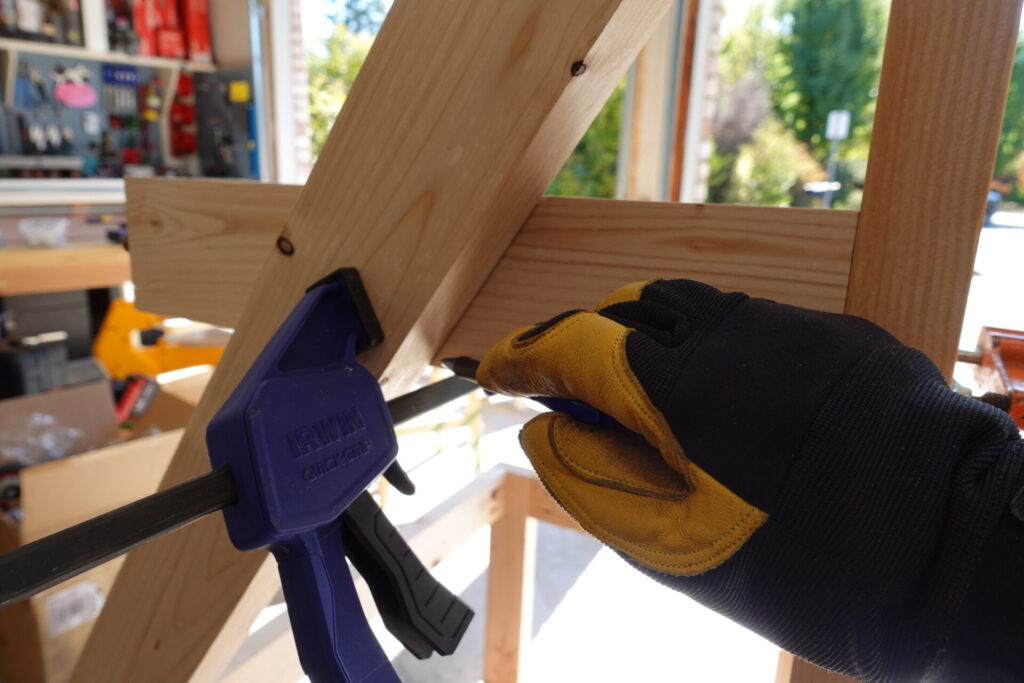
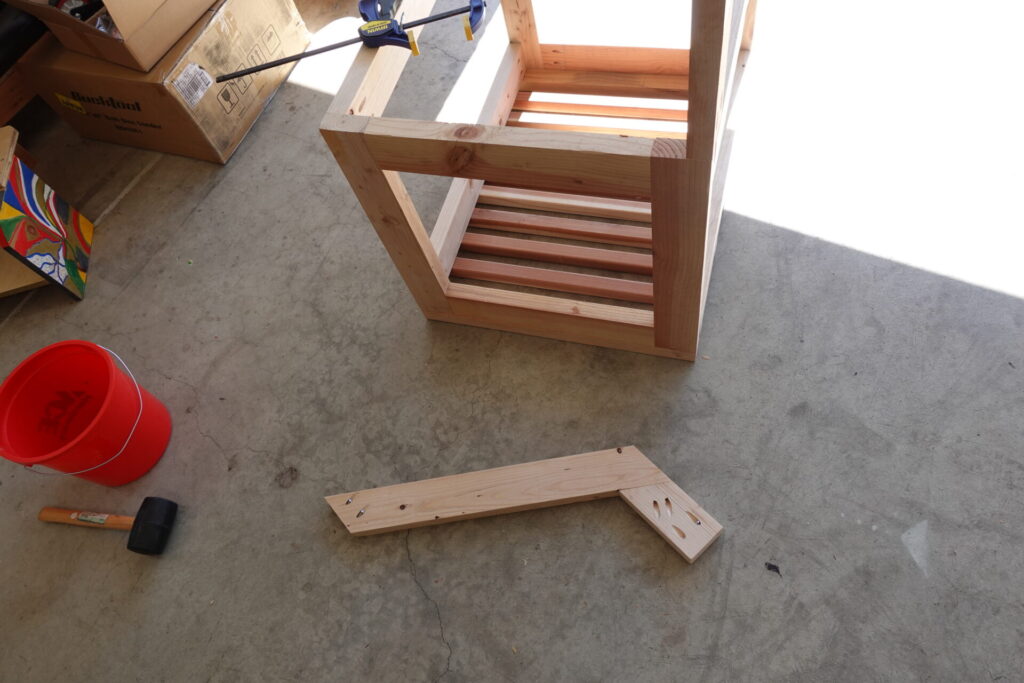
Attach the elbow and duplicate the marks on the other side.
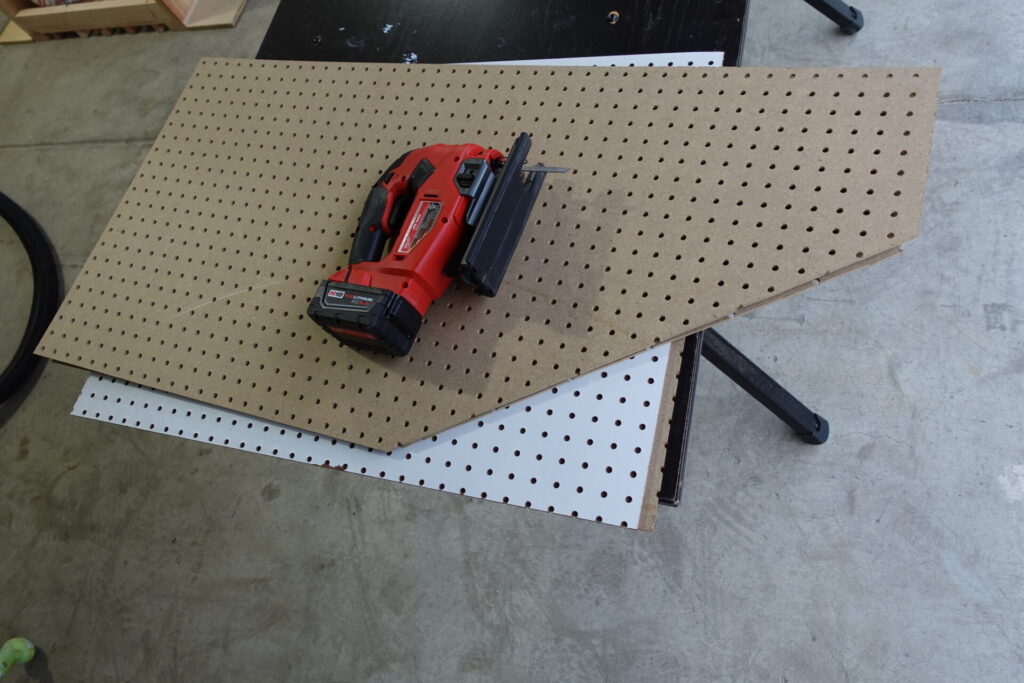
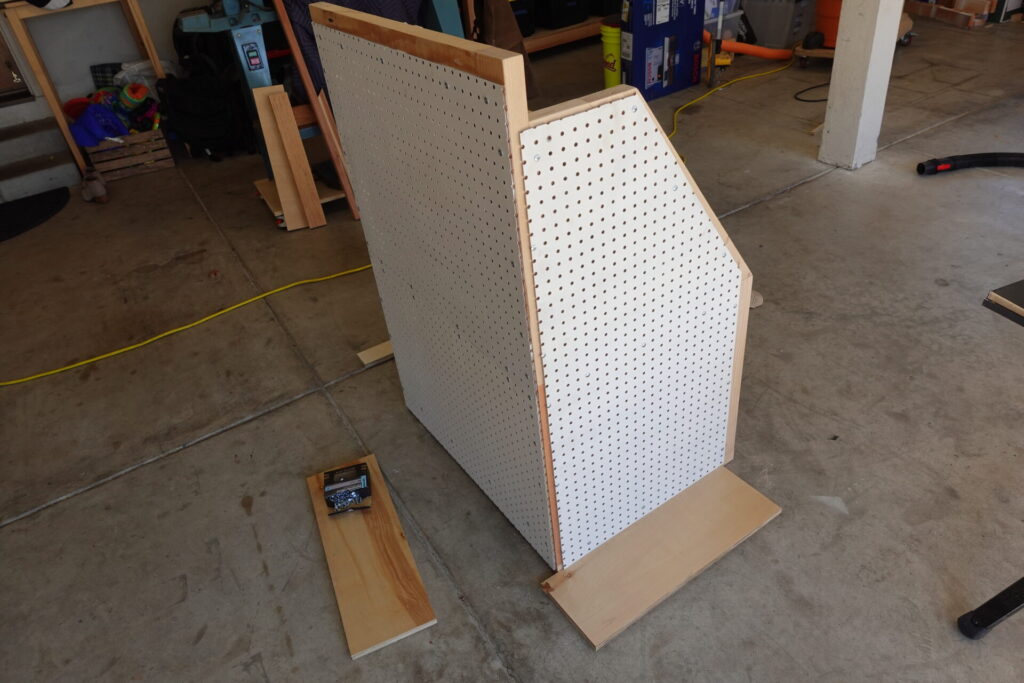
Step 7 – Measure & Cut Pegboard
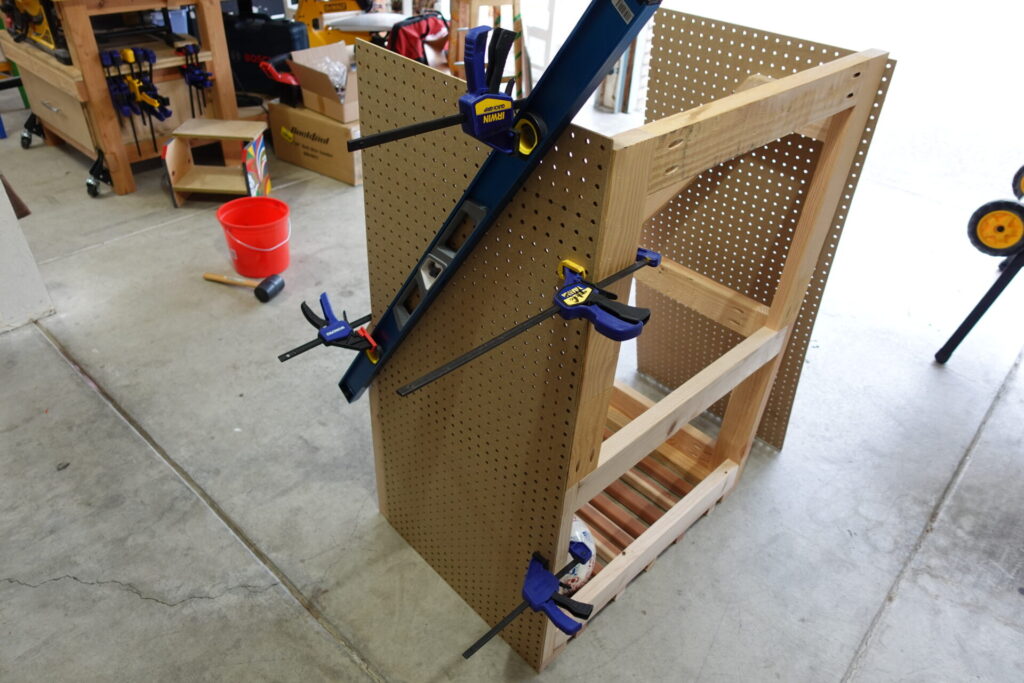
Step 8: Cut & Paint Peg Board

Step 9: Sand All the Rough Edges
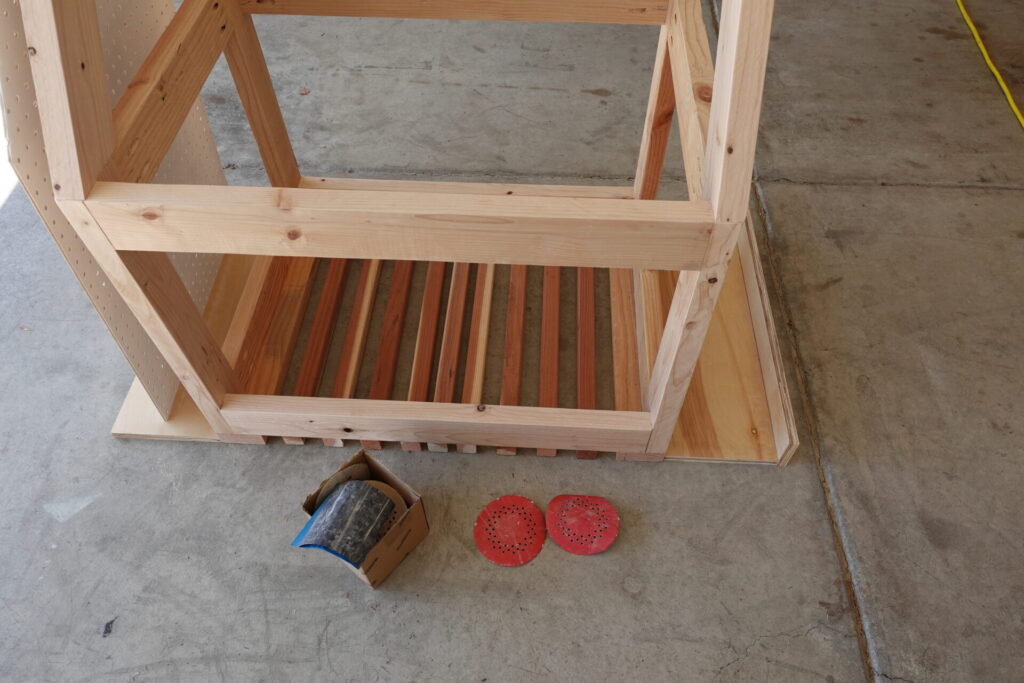
Step 10: Add Top Shelf
Step 11: Attach Peg Board
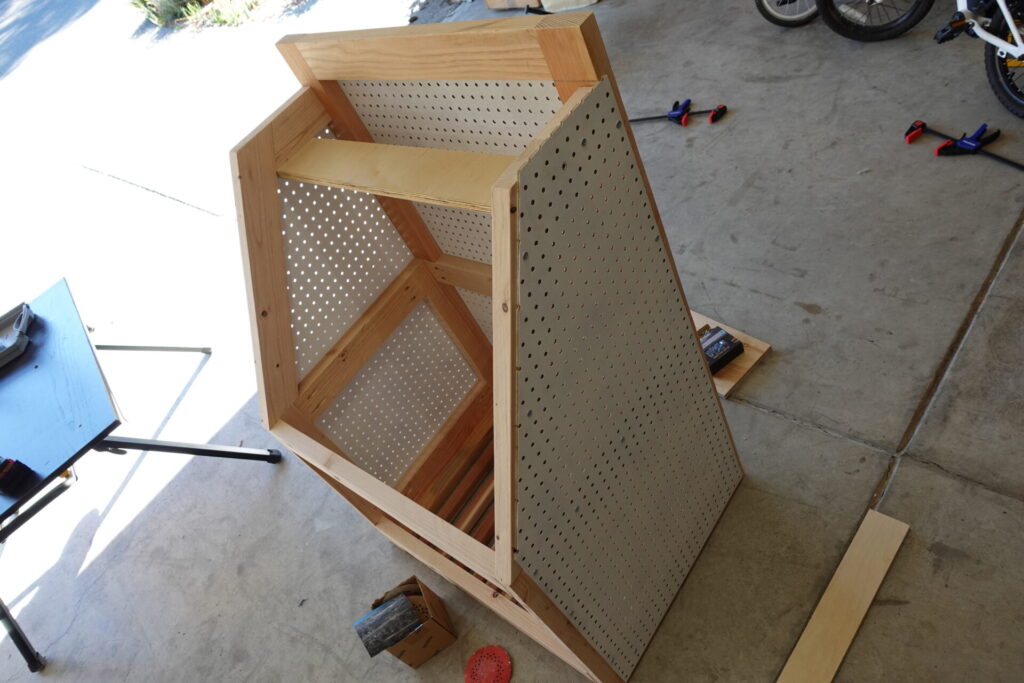
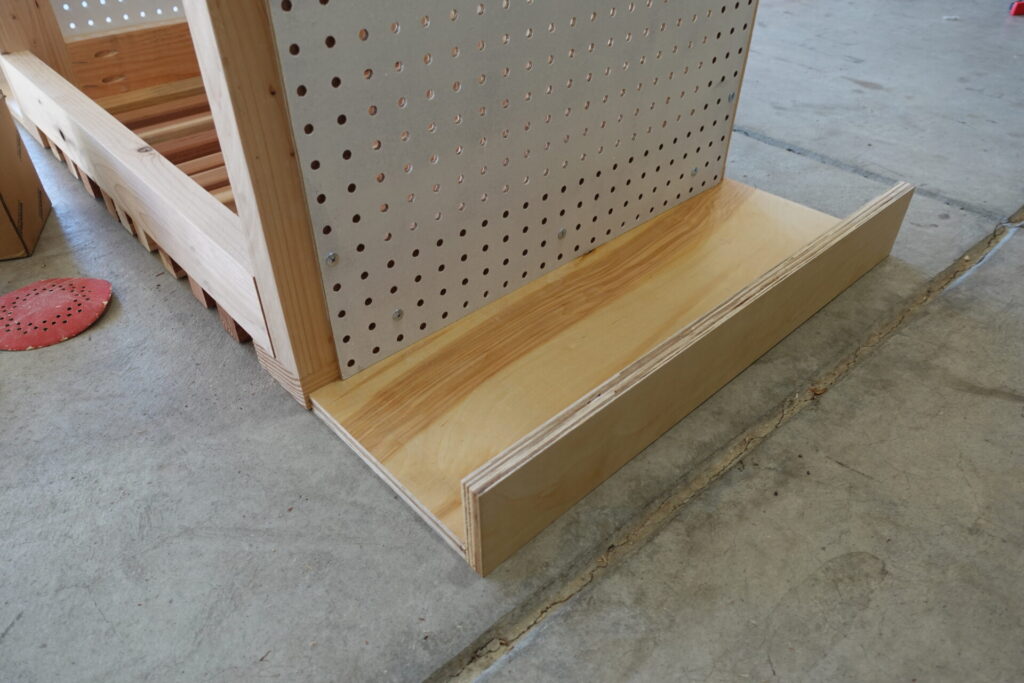
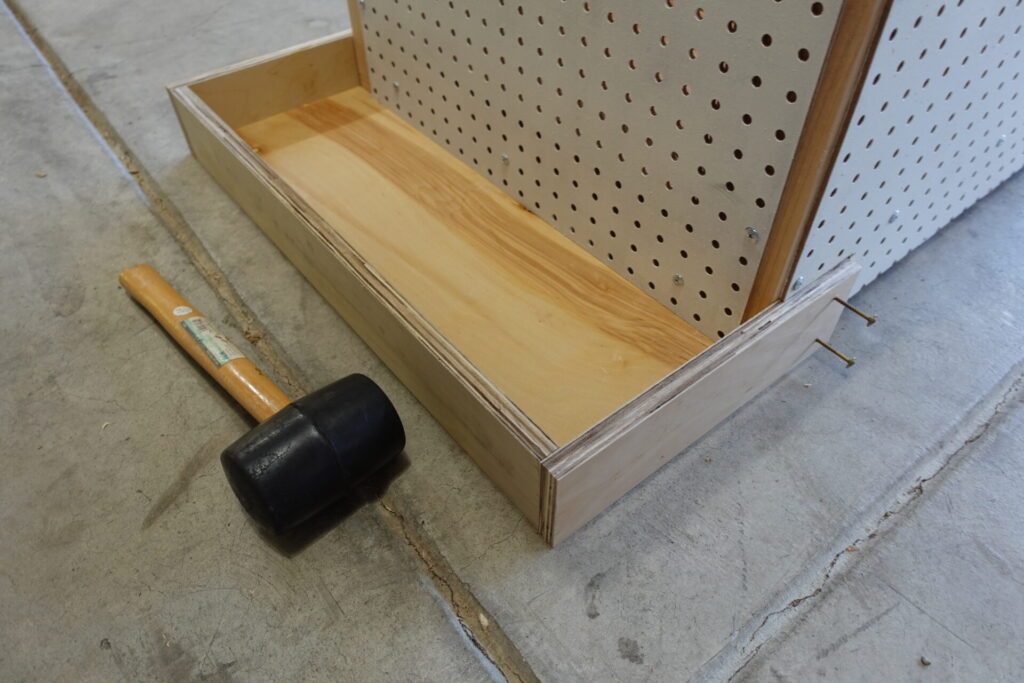
Step 12: Add Shelves
Step 13: Add Wheels

Step 13: One final sand and you’re done!